How to Install Windows 11 Without a Network Connection
No internet, no problem: a step-by-step guide to installing Windows 11 while offline.How-To
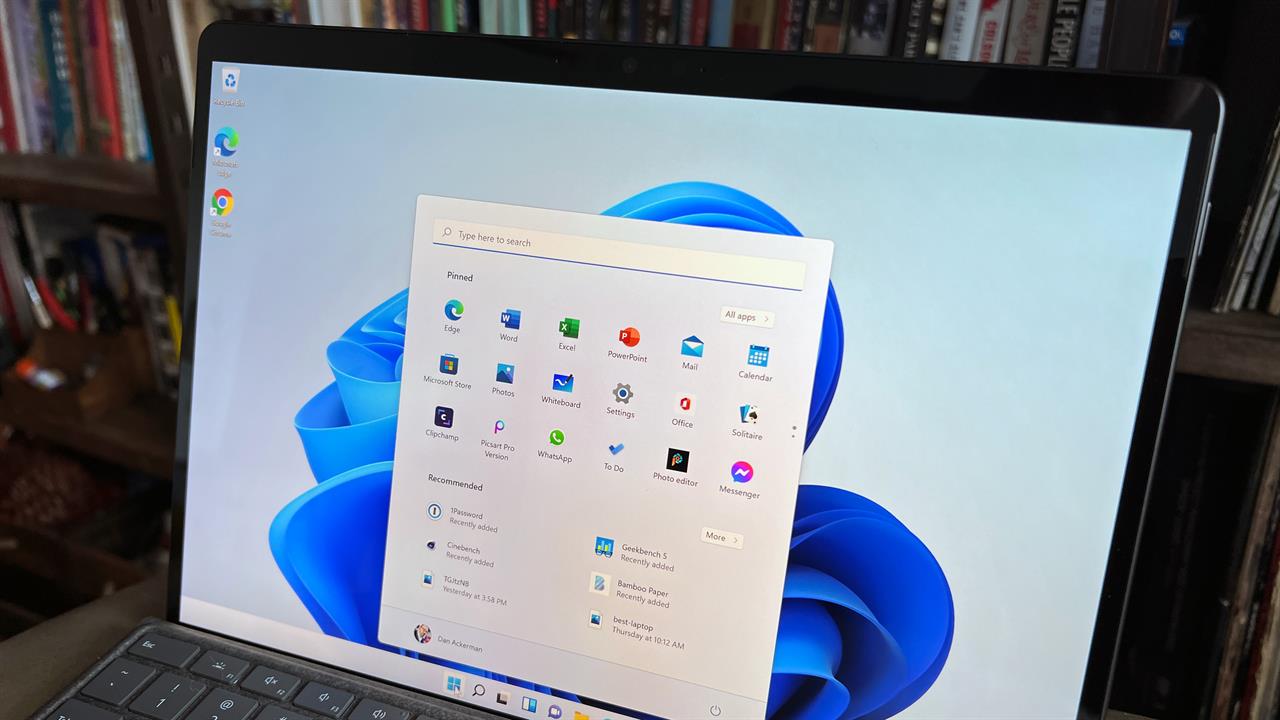 Photo: Dan Ackerman
I’ve installed Windows on more PCs than I can count, and remember when you could set it up without touching the internet. These days, Microsoft defaults to an online, Microsoft Account–linked setup. That’s a problem if your internet isn’t working or if you simply don’t want your PC tied to an online account.
If you’re building a PC from scratch, you’ll still need an internet connection to download Windows to a USB or similar external drive. But once you have bootable media, you can install it offline at any time.
If you already have a Windows 11 USB installer, skip to “Restart the PC and boot from the USB drive.” If you’re setting up a brand-new laptop or desktop, skip to “Bypass the network and Microsoft account setup.”
Create a bootable USB drive
- Go to Microsoft’s Download Windows 11 page.
- Under Create Windows 11 Installation Media, click Download Now.
- Run the file and click Accept.
- Confirm your language and click Next.
- Choose USB flash drive.
- Insert your USB drive, select it in the list, and click Next.
- Follow the prompts until creation is complete.
Restart the PC and boot from the USB drive
- Leave the USB drive plugged in.
- Restart the PC and enter BIOS/UEFI (usually F2, F12, Delete, or Esc at startup).
- Set the USB drive as the primary boot device.
- Save changes and restart.
- The Windows installer should launch automatically.
Bypass the network and Microsoft account setup (2025 method)
On some Windows 11 builds, Microsoft is removing the classic OOBE\BYPASSNRO command. The new method is simpler and avoids a reboot:
- When asked to connect to the internet, press Shift + F10 to open Command Prompt.
- Type:
start ms-cxh:localonly - Press Enter.
- A local account setup screen should appear, no internet required.
- Enter your username/password, adjust privacy settings, and finish setup.
Activate Windows 11 without a Microsoft account
If you're installing from scratch and still need to activate, note that a local account doesn’t block activation—only a valid product key and internet are required.
- Connect to the internet.
- Go to Settings > System > Activation.
- Click Change product key, enter your key, and follow the prompts.
While this may seem daunting at first, the actual process is fairly simple. It’s a few extra clicks, but you keep full control over setup, with no forced account sign-in, no premature online connections, and a clean local environment from the start.
Editor's note: Originally published June, 2024, and subsequently updated.
More from MC News
- Everything You Need to Know About WiFi 7
- Keyboard 101: Intro to Computer Keyboards
- The NVIDIA 50 Series Laptop Buying Guide
- Can Your PC Run OpenAI's New GPT-OSS Large Language Models?
- Best 3D Printer Projects for Nintendo Switch 2
- How to Upgrade Your Laptop's RAM and Storage
- How to Build Your Own AI Personal Assistant
- The End is Coming for Windows 10: What You (Still) Need to Know
- Fix It Yourself: Talking to iFixit on Why Repairable Tech Matters
Eric Franklin worked at CNET for over two decades, eventually becoming Editorial Director of CNET's Tech Reviews team. He now works as an SEO consultant and freelance writer.


