Tips for 3D Printing with Glow-in-the-Dark Filament
This fun but finicky material can produce stunning results with a few smart tweaks to your setup.How-To

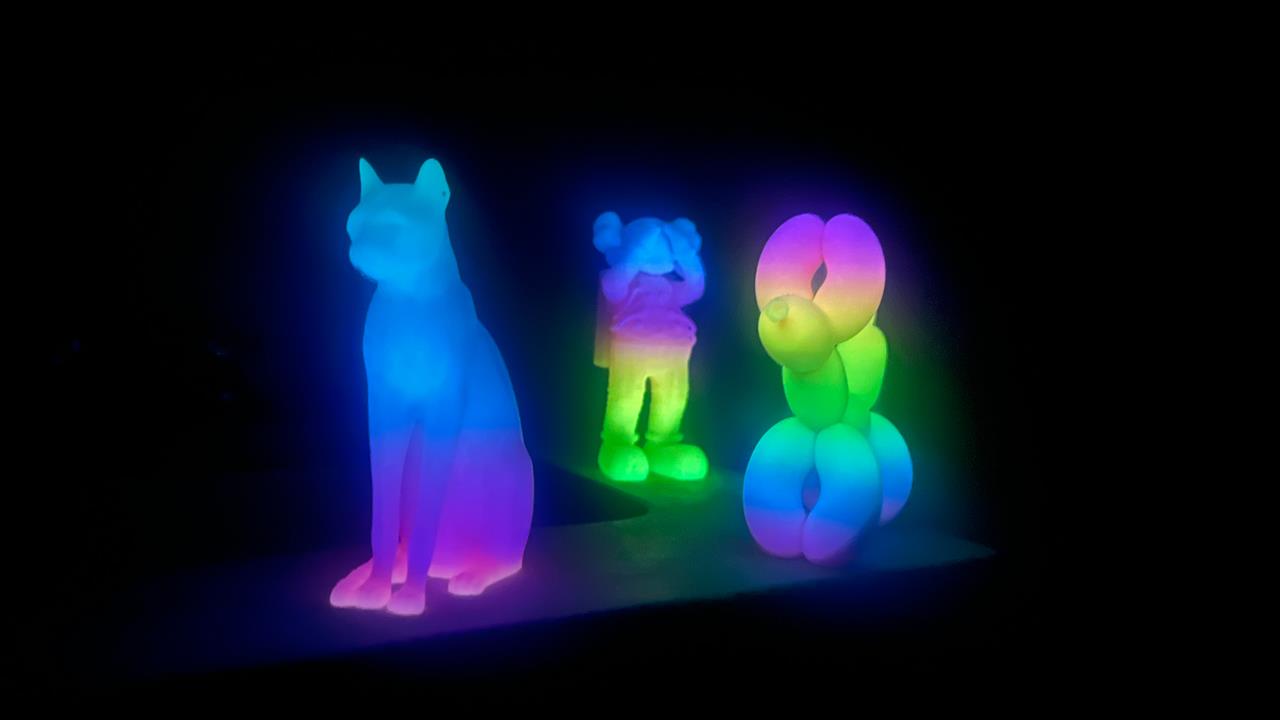
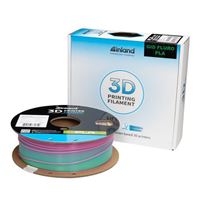
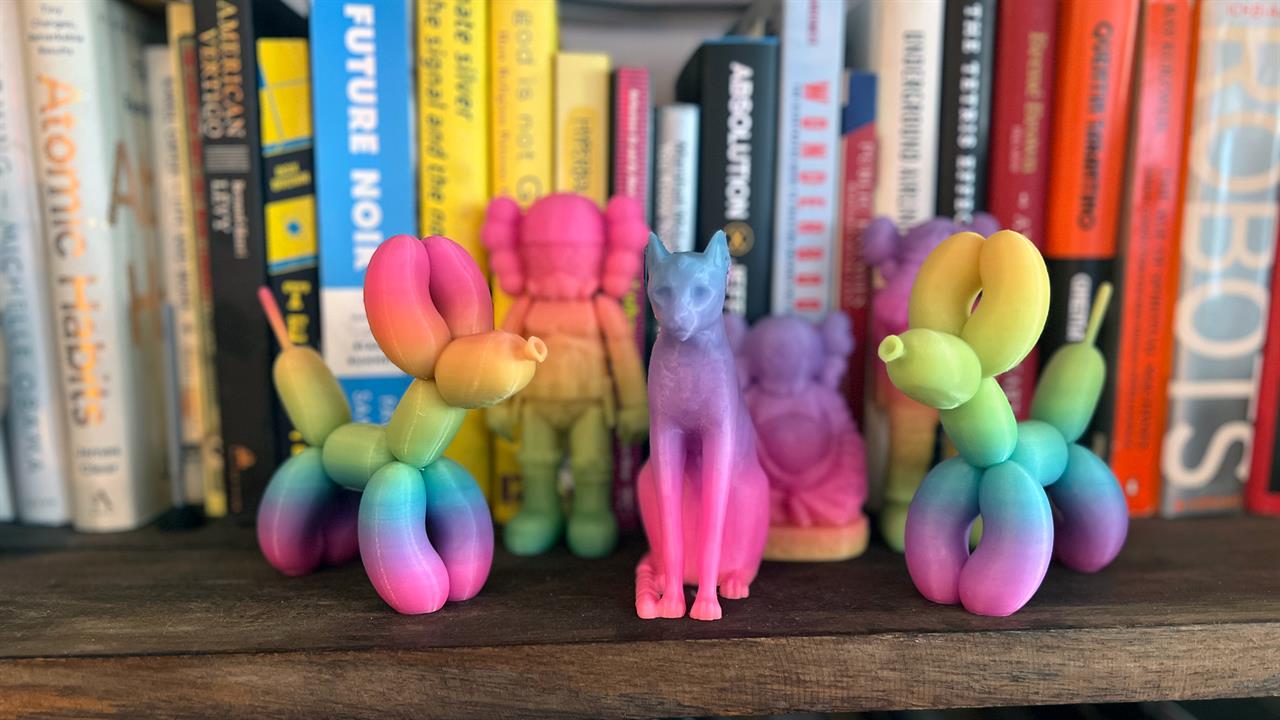
My latest 3D printing obsession is not Stanley tumbler accessories or handy card kits -- it's printing cool sculptures in a stunning rainbow glow-in-the-dark PLA. I'm currently using Inland's Glow in the Dark Fluorescent Multi-Colored PLA Filament, which has produced amazing results, but took a little more work than just adding a new spool to my workflow.
Unlike standard PLA, glowing filament is infused with phosphorescent materials like strontium aluminate, which not only gives it that eerie after-dark glow but also adds abrasiveness to the mix that can mess with even the most well-tuned printers.
I used this material, which I randomly picked up at the Brooklyn Micro Center just because it caught my eye, to create a series of 3D printed bookshelf pieces, including a model of the famous Egyptian Gayer-Anderson cat and a pop art-inspired balloon dog sculpture.
Filament Routing Matters
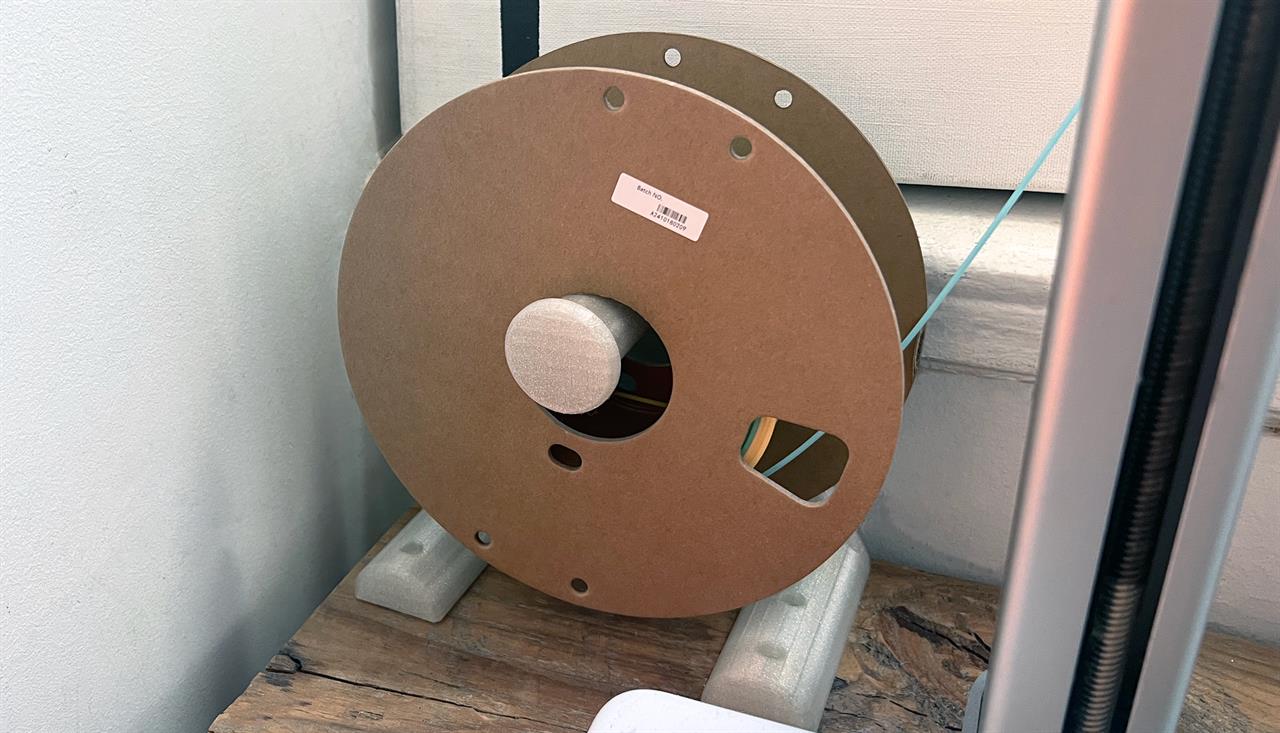
I ran into feeding issues when I used the Inland glow PLA on a Bambu A1 printer with the AMS Lite (an automatic material system). The glow filament’s stiffness and slight abrasiveness didn’t play nicely with the circuitous internal paths of the AMS Lite.
The fix? I 3D-printed an external spool holder and routed the filament manually into the extruder. It was a bit of a detour, but the payoff in smoother operation and fewer jams was worth it.
If you're seeing similar resistance, consider bypassing your filament feed system with a direct spool mount. The Bambu A1 includes an external spool mount, but I've got a homemade top-mount for my AMS Lite (another great project we can circle back to later), so I needed something that would fit on my desk.
Tune Temps and Speeds
Most manufacturers recommend printing glow PLA at a tighter range of temperatures than regular average PLA. Think 210–220°C for the nozzle, with a bed temp around 60°C. That helps melt the denser filament evenly, avoiding clogs and layer adhesion issues.
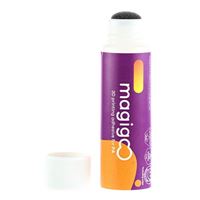
If you still have issues, you can also slow down your print speed a little to give the filament time to flow properly. But I found just using the external spool and some Magigoo adhesive was enough to solve any problems I was having.
Check the Nozzle
Because of those slightly abrasive glow particles, your nozzle could wear faster than with regular filament. If you’re still using a standard brass nozzle, consider swapping in a hardened steel nozzle, especially if you plan to use glow filament regularly. That said, throwing one spool into the mix occasionally shouldn't be cause for alarm.
Keep it Glow-ready
Phosphorescent materials are especially moisture-sensitive, so store your glow PLA in a sealed bag with desiccant when not using it.
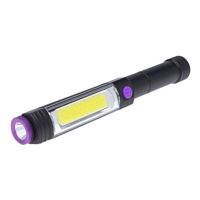
To get maximum glow, leave the finished prints in sunlight for an hour or so and you'll get a very vibrant glow. Indoor lighting works, too, but to a lesser degree. Want to fast-track the glow? Hit it with a UV flashlight.
Read more: 3D Printers and Maker Projects
- See the Top-Rated 3D Printers at Micro Center
- Insanely Useful Card Kits to 3D Print
- Supercharge Your Stanley with These 3D Printed Accessories
- We 3D-Printed a Guitar, and You Can Too
- FDM vs. Resin 3D Printing: Which is Right for You?
Micro Center Editor-in-Chief Dan Ackerman is a veteran tech reporter and has served as Editor-in-Chief of Gizmodo and Editorial Director at CNET. He's been testing and reviewing laptops and other consumer tech for almost 20 years and is the author of The Tetris Effect, a Cold War history of the world's most influential video game. Contact Dan at dackerman@microcenter.com.