How to Design and 3D Print a Custom Phone Charging Dock

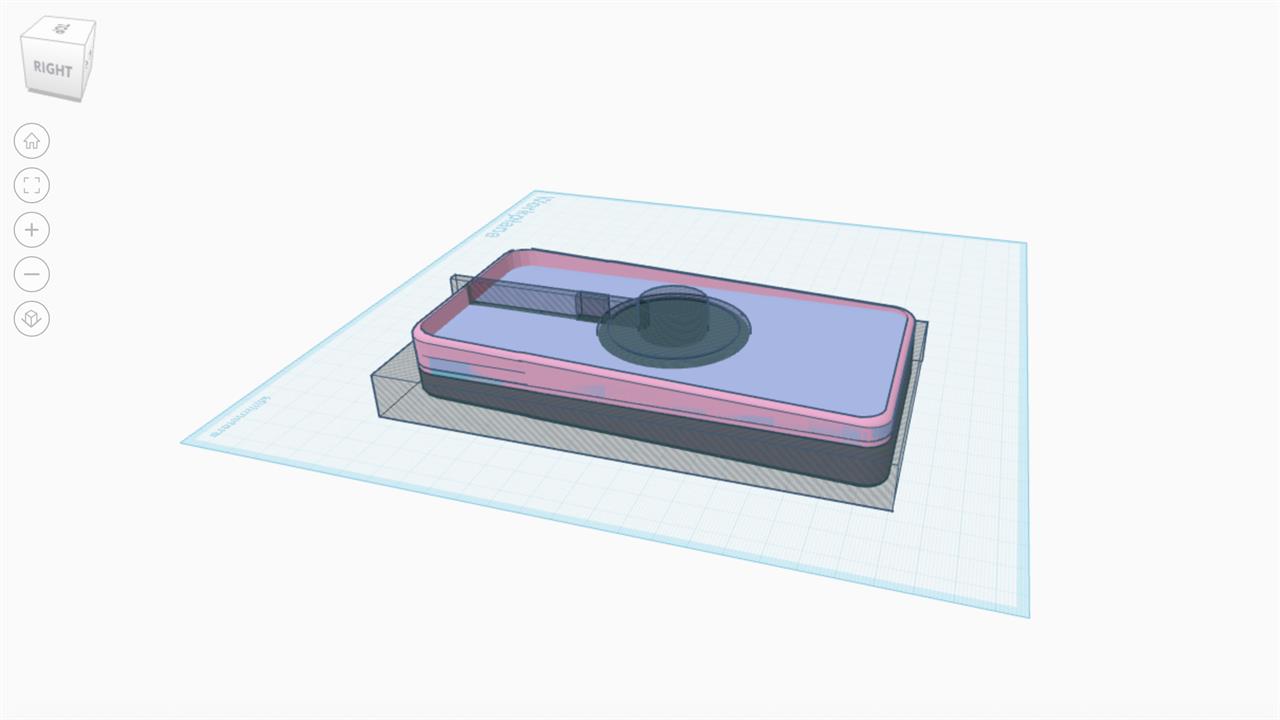
Photo: Dan Ackerman
If I don't plug my phone in overnight, I'm a dead man the next day. That's because I use my phone for so much, even if I have my laptop with me, like authenticator app codes and Wi-Fi tethering. But I don't love wrangling a Lightning cable every night or trying to get my phone to sit in a dock just right, especially since most docking solutions are built for phones without cases.
Being the DIY type, I decided to design the perfect phone charging dock to fit my MagSafe phone case, and to be a reliable bedside companion, ensuring my phone charges when I toss it on there at night.
Here was my gameplan:
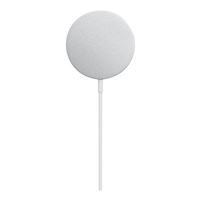
- Get an Apple MagSafe charging puck
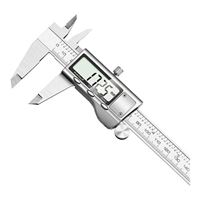
- Use digital calipers to measure the exact dimensions of my phone case
- Design a simple dock in TinkerCad
- 3D print, test, revise, and reprint until I'm satisfied
I wanted functionality and a minimalist aesthetic, so I fired up TinkerCad, which is an easy online CAD program that almost anyone can master in a couple of hours. While there are much more powerful and functional CAD apps you could use, this seemed like the easiest way to go for a design that's essentially a big rectangle.
Starting with a box slightly bigger than my phone-plus-case, I carved out a space that would perfectly fit my phone. Then I found a 3D model of an Apple MagSafe charger, imported it into my TinkerCad file, and used it to create a negative cutout of where the charger would fit into my dock.
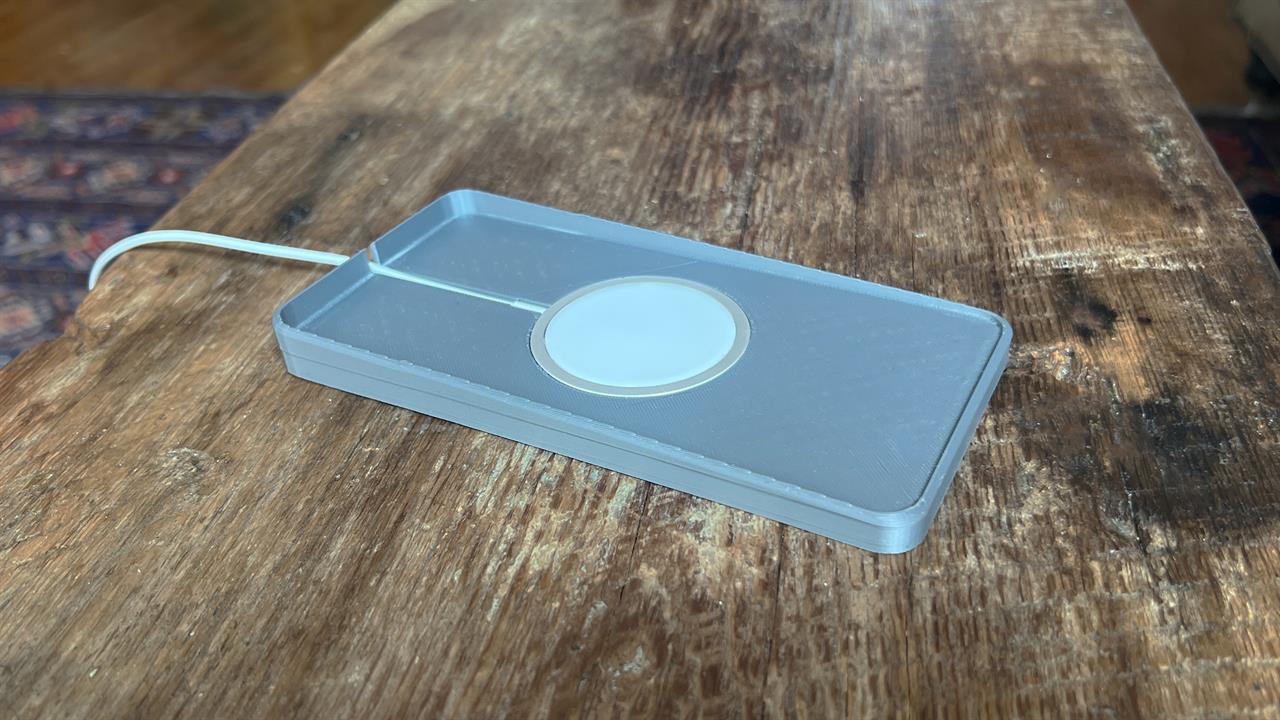
Photo: Dan Ackerman
I ended up printing and re-printing test versions of the dock, tweaking the design between iterations. Most of the changes were to help the MagSafe charger fit more snugly, and to give me enough room to grip the phone and remove it from the dock. For that, I angled the outer lip, higher at the top and lower at the bottom, which also helped the phone slide in more easily.
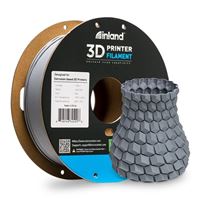
After about four prototypes, I hit on a final design I was happy with and printed it in PLA in a matte gray color. For this, I used my Bambu A1 3D printer, which remains the overall easiest to use printer I've tried in my many years of testing and reviewing 3D printers.
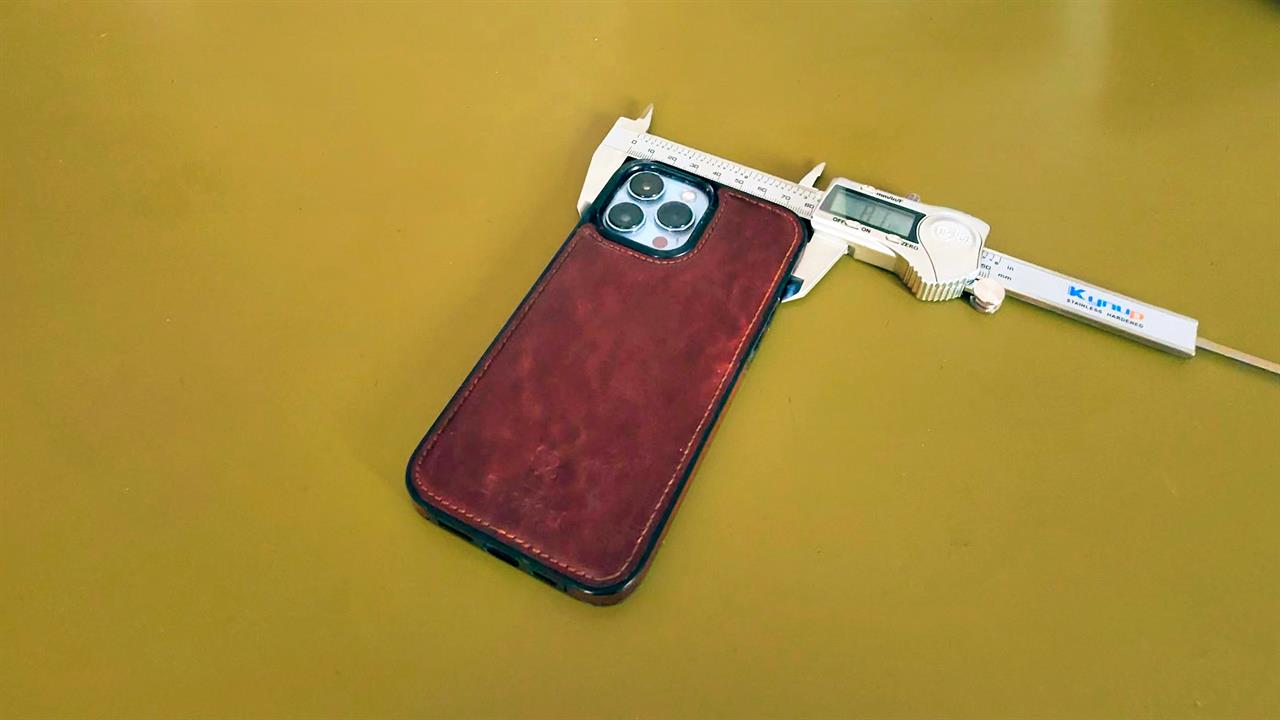
Photo: Dan Ackerman
Of course, shortly after that, I started thinking that I wanted to add a hole in the bottom to make removing the MagSafe charger easier and a pair of cutouts on the sides so I could grip the phone in the middle to remove it. So, I'm planning to go back to my design for more tweaks in the near future.
The nice thing about TinkerCad is that you can access a copy of my design file and adjust the length, height, and depth for your phone and case, then output it as an .stl file and print it yourself.
I'd love to see your sharable designs for useful personal projects, so you're invited to post them in the comments below.
Read more: 3D Printers and Maker Projects
- See the Top-Rated 3D Printers at Micro Center
- This 3D-Printed Case Turns Your M4 Mac Mini into a Mac Pro Lookalike
- Insanely Useful Card Kits to 3D Print
- Supercharge Your Stanley with These 3D Printed Accessories
- We 3D-Printed a Guitar, and You Can Too
- FDM vs. Resin 3D Printing: Which is Right for You?
Micro Center Editor-in-Chief Dan Ackerman is a veteran tech reporter and has served as Editor-in-Chief of Gizmodo and Editorial Director at CNET. He's been testing and reviewing laptops and other consumer tech for almost 20 years and is the author of The Tetris Effect, a Cold War history of the world's most influential video game. Contact Dan at dackerman@microcenter.com.