How To Manually Set Your DNS server in Windows 10

Many companies and services offer their own DNS servers that can be used. If you are interested in using one of these DNS servers, you will need to set up your PC to manually configure to that server.
This article will show you how to manually setup a DNS server on your Windows 10 PC:
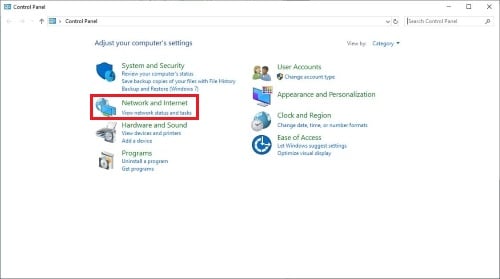
2. Click Network and Internet in Control Panel.
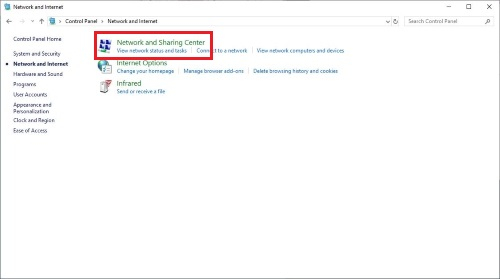
3. Click Network and Sharing Center.
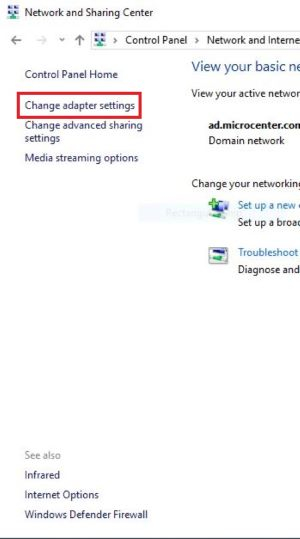
4. Next click Change adapter settings.
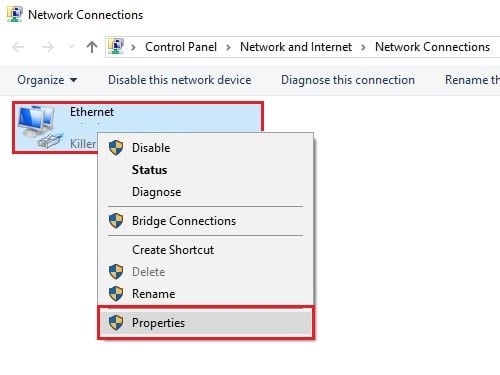
5. Right click on either “wireless” or “Ethernet,” then click Properties.
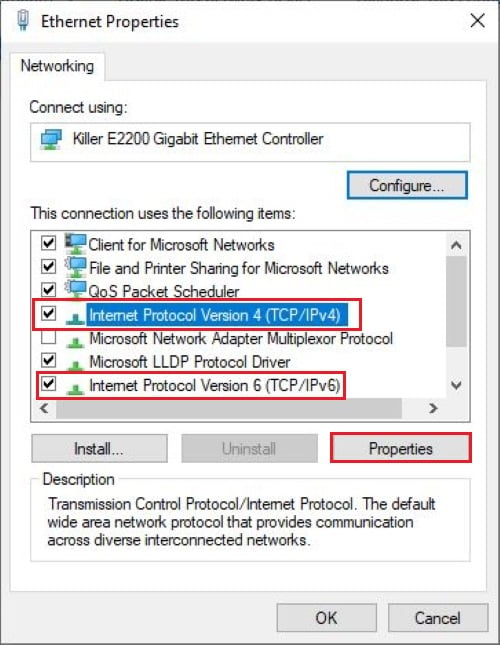
6. Under the Networking tab, select Internet Protocol Version 4 (TCP/IPv4) or Internet Protocol Version 6 (TCP/IPv6).
7. After selecting the IPv4 or 6, click Properties.
8. Select Use the following DNS server addresses.
Now type in the IP addresses of the new DNS server
Example: Google Public DNS server
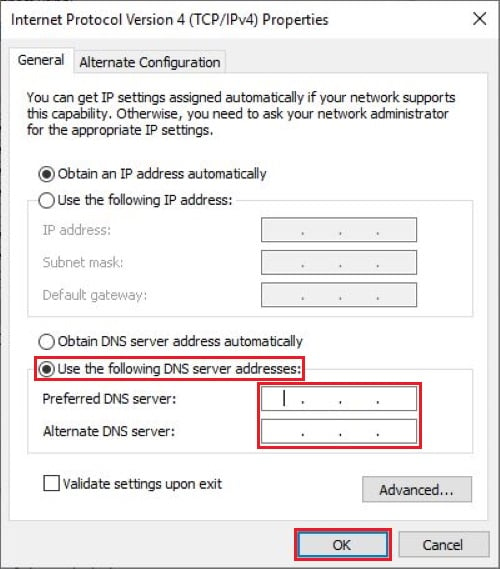
9. After entering the new DNS server, click OK.
10. Restart your PC to complete the changes.
This article will show you how to manually setup a DNS server on your Windows 10 PC:
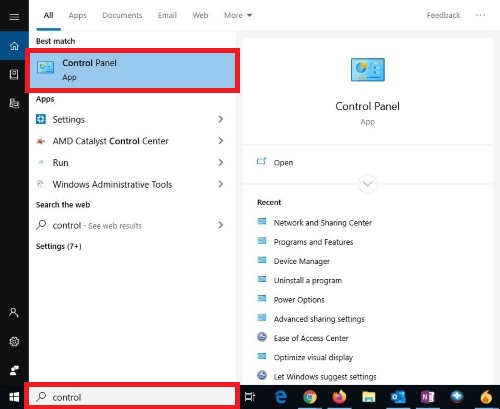
- Go to Control Panel. Search for it on your PC by clicking on the Start button or where it says "type here to search" and type in Control Panel.
2. Click Network and Internet in Control Panel.
3. Click Network and Sharing Center.
4. Next click Change adapter settings.
5. Right click on either “wireless” or “Ethernet,” then click Properties.
6. Under the Networking tab, select Internet Protocol Version 4 (TCP/IPv4) or Internet Protocol Version 6 (TCP/IPv6).
7. After selecting the IPv4 or 6, click Properties.
8. Select Use the following DNS server addresses.
Now type in the IP addresses of the new DNS server
Example: Google Public DNS server
- IPv4: 8.8.8.8 and/or 8.8.4.4
IPv6: 4860:4860::8888 and/or 2001:4860:4860::8844
9. After entering the new DNS server, click OK.
10. Restart your PC to complete the changes.