Hardware that can take your 3D Printing to the Next Level
Threaded inserts, bolts, fasteners, and magnets: what you need to make complex prints.Maker Projects

3D printing is a fantastic way to create just about anything you could possibly imagine. From the fun to the functional, the only real limitation is your own creativity. However, sometimes not everything you want to do can be accomplished on the print bed, and that’s where traditional hardware like bolts, nuts, heat-set inserts, spring, and magnets come into play. These traditional hardware tools can take a static print and make it dynamic with complex mechanisms and connections.
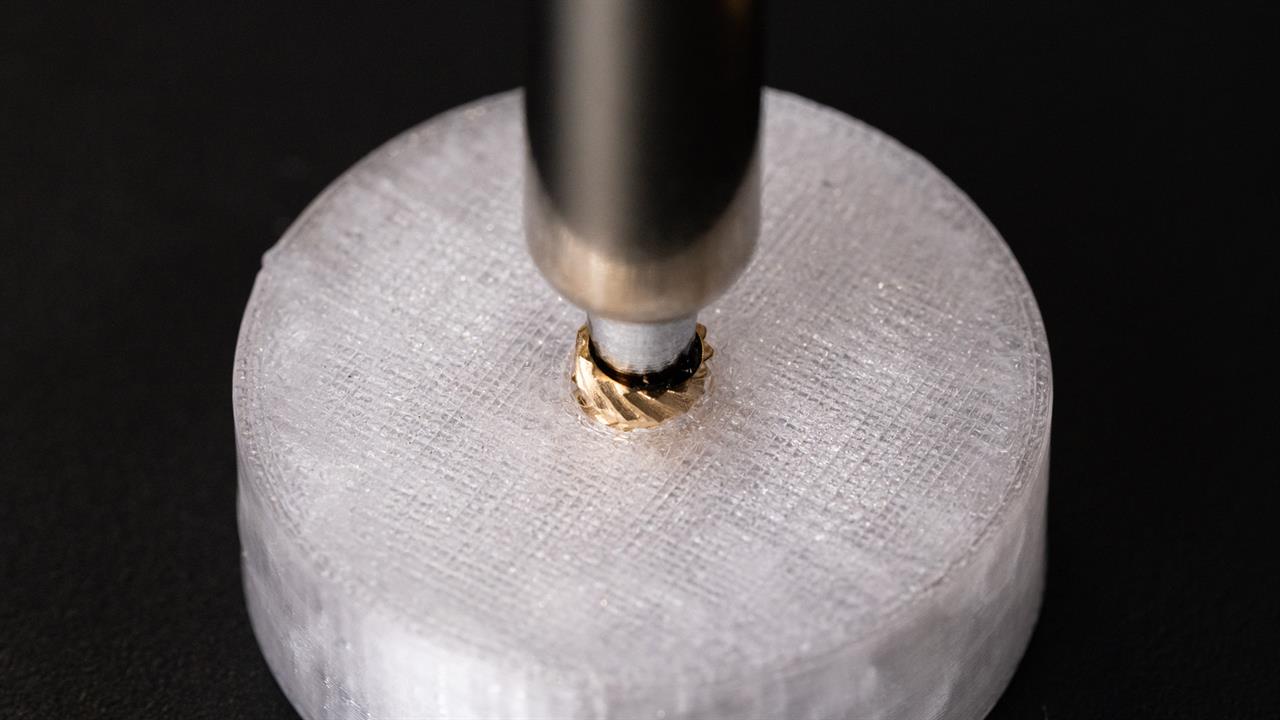 Photo: Jacob Bobo
 This guide will explore various essential hardware options, demonstrating how they can enhance your projects and ensure your final product looks great and performs well under real-world conditions.
Essential Hardware Every Hobbyist Should Have:
- Bolts and Nuts Set: For assembling parts securely and creating adjustable connections.
- Heat-Set Inserts and Insert Tools: Add durable threads to 3D-printed parts, allowing for repeated assembly without wear.
- Spring Assortment: To introduce movement and flexibility in designs, which is helpful in mechanisms and tensioned parts.
- Magnets: For easy attachment and detachment of components, ideal for modular designs and closures.
Whether you're a hobbyist or a professional, having these pieces of hardware on hand will equip you to tackle a wide range of 3D printing projects. Let’s take a look at what each can do for your projects.
Nuts and Bolts
Bolts and nuts are fundamental components in most mechanical assemblies, 3D-printed or otherwise. Integrating bolts and nuts into your designs can provide reliable connections essential for parts that will experience frequent assembly and disassembly or need to withstand substantial loads.
Choosing the Right Hardware:
- Material: Stainless steel is commonly used for its corrosion resistance and strength, but aluminum or nylon is chosen for lighter applications where less strength is required.
- Size: Metric sizes (e.g., M3, M4) are widely used in 3D printing. Choose sizes that match the thickness and intended load of your printed parts.
- Thread Type: Ensure the thread type of the bolts matches the nuts and any pre-threaded inserts used in the project. Standard thread types are sufficient for most applications.
Design Considerations:
- Clearance Holes: When designing holes for bolts and nuts in 3D-printed parts, an additional 0.15 mm clearance is advisable to ensure a proper fit. If the fit is too tight, increase the clearance incrementally by 0.05 mm. This approach avoids drilling and ensures that parts fit together smoothly.
- Test Prints: It's always good practice to create a small test print that includes the hole or countersink sizes you plan to use. This allows you to test the fit of your hardware before committing to an entire production run and reduces the risk of wasting material due to clearance issues.
- Countersinking and Counterboring: If the bolt heads need to be flush with or below the surface of the printed part, use countersinking or counterboring in your designs.
- Nut Traps: Incorporate nut traps in your designs. These are recesses that hold the nut in place, allowing for easy tightening without needing a wrench to hold the nut.
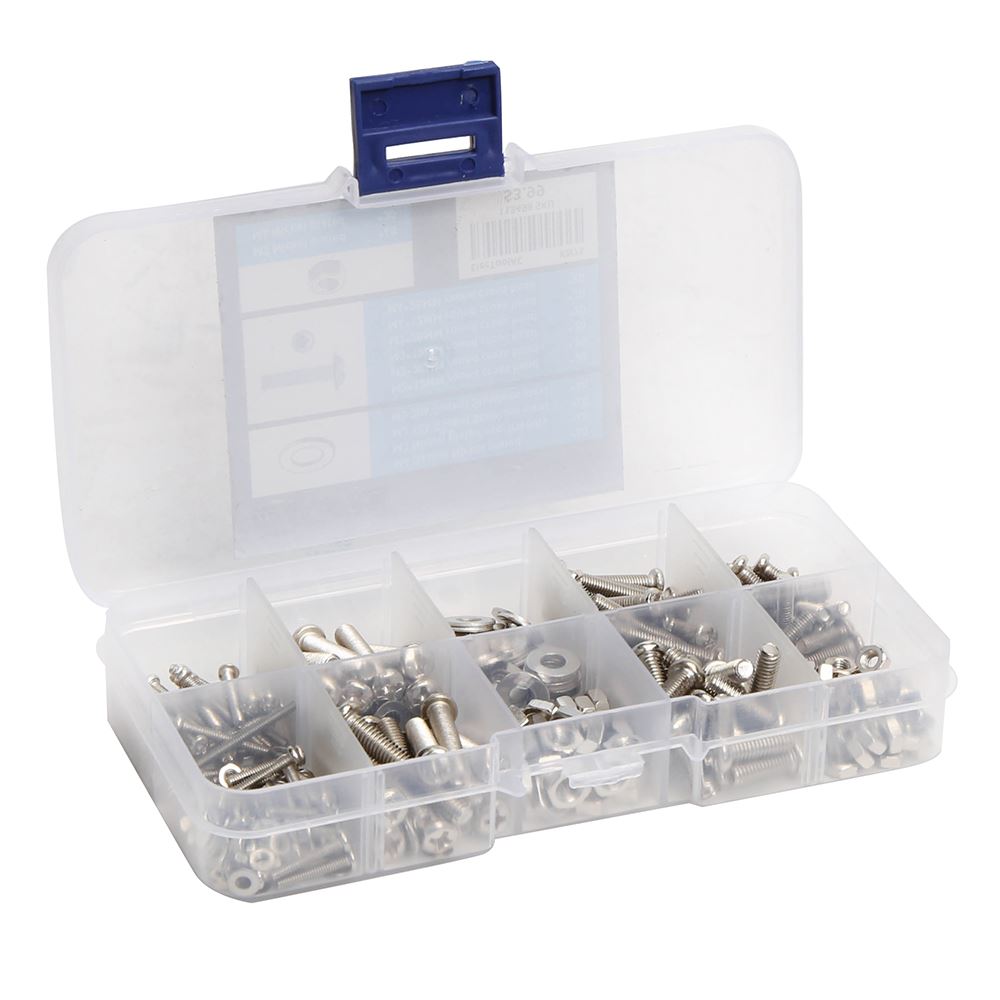
Any hardware set, like the Inland Bolt Set, is a great way to easily start integrating bolts and nuts into your 3D printed projects. They provide strength and adjustability, making your designs more versatile and easier to maintain. Whether you're building a straightforward project or a complex assembly, these components are indispensable tools in achieving professional-grade results.
Heat-Set Inserts and Insert Tools
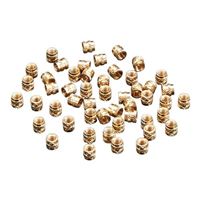
Heat-set inserts are perfect for creating strong, threaded connections in 3D-printed parts, particularly in applications where parts must be repeatedly assembled and disassembled. These inserts are small metal pieces, usually made of brass, that are embedded into the plastic to provide durable threads. Using the right tools and techniques to install heat-set inserts can significantly improve the structural integrity and longevity of your 3D-printed projects.
How to Use Heat-Set Inserts:
- Preparation: Start by designing your 3D-printed parts with slightly undersized holes where the inserts will go. This ensures a tight fit when the insert is heated and pressed in.
- Clearance: Provide tight clearance for the inserts. A good rule of thumb is to make the holes about 0.1 to 0.2 mm smaller than the insert's outer diameter. Test fitting is recommended to find the ideal size for your specific filament and printer.
Insertion Process:
- Heat the insert using the soldering iron with the specialized tip until it is hot enough to melt the plastic slightly.
- Gently press the insert into the hole. Apply steady pressure to ensure the insert goes in straight and level.
- Once the insert is in place, allow it to cool, solidifying the bond between the insert and the plastic.
Recommended Heat-Set Insert Kits:
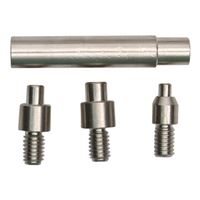
For many small to medium-sized 3D printing projects, the Adafruit Industries Brass Heat Set Inserts for Plastic M3x4mm (50 pack) is an excellent choice. This pack provides a standard size that balances strength and size, making it perfect for a wide range of applications. You will need an installation tool as well, and the Leo Sales Insert Kit is a great compliment. Not only are the inserts compatible, but the kit also includes a number of tips for different sized inserts.
 Photo: Micro Center
 Integrating heat-set inserts into your 3D-printed parts is a straightforward yet powerful way to add a professional look and feel. They provide the reliability of metal threads in the convenience of a plastic part, making them ideal for a wide range of applications, from simple enclosures to complex mechanical systems.
Springs
Springs introduce movement, tension, and flexibility into 3D-printed designs, making them versatile components. Whether you're creating a mechanical assembly, a functional prototype, or a custom gadget, springs can significantly enhance the functionality of your projects. They are handy for parts that require a force to return to a default position or need to absorb shock and vibration.
Types of Springs for 3D Printing Projects:
- Compression Springs: These springs compress under load and return to their original shape when removed. Makers commonly use compression springs in push-button mechanisms or to absorb shock.
- Tension Springs: These springs stretch under load and return to their original length once you remove the load, making them useful for applications requiring pulling force, such as retraction mechanisms.
- Torsion Springs: These springs twist to provide rotational force, making them commonly used in applications that require rotational movements, such as hinges or levers.
Choosing the Right Springs:
- Material: Manufacturers typically make springs from steel, which provides strength and durability. Stainless steel is a popular choice for its corrosion resistance, especially in environments with moisture.
- Size and Strength: Select springs that match your project's size and strength requirements. Ensure the spring's dimensions fit within the designed spaces of your 3D-printed parts.
- Load Requirements: Consider the amount of force the spring needs to exert. Choose a spring with the appropriate load rating to perform as expected under operational conditions.
Design Considerations:
- Spring Mounting: Design your 3D-printed parts with features to hold springs securely in place. This can include grooves, hooks, or posts that align with the ends of the springs.
- Clearance: Allow sufficient space around the spring to accommodate its movement and prevent it from binding or getting stuck.
- Testing: As with other hardware, it's a good practice to create a test print to evaluate the fit and function of the spring in your design. This helps ensure the spring operates correctly without putting undue stress on the printed parts.
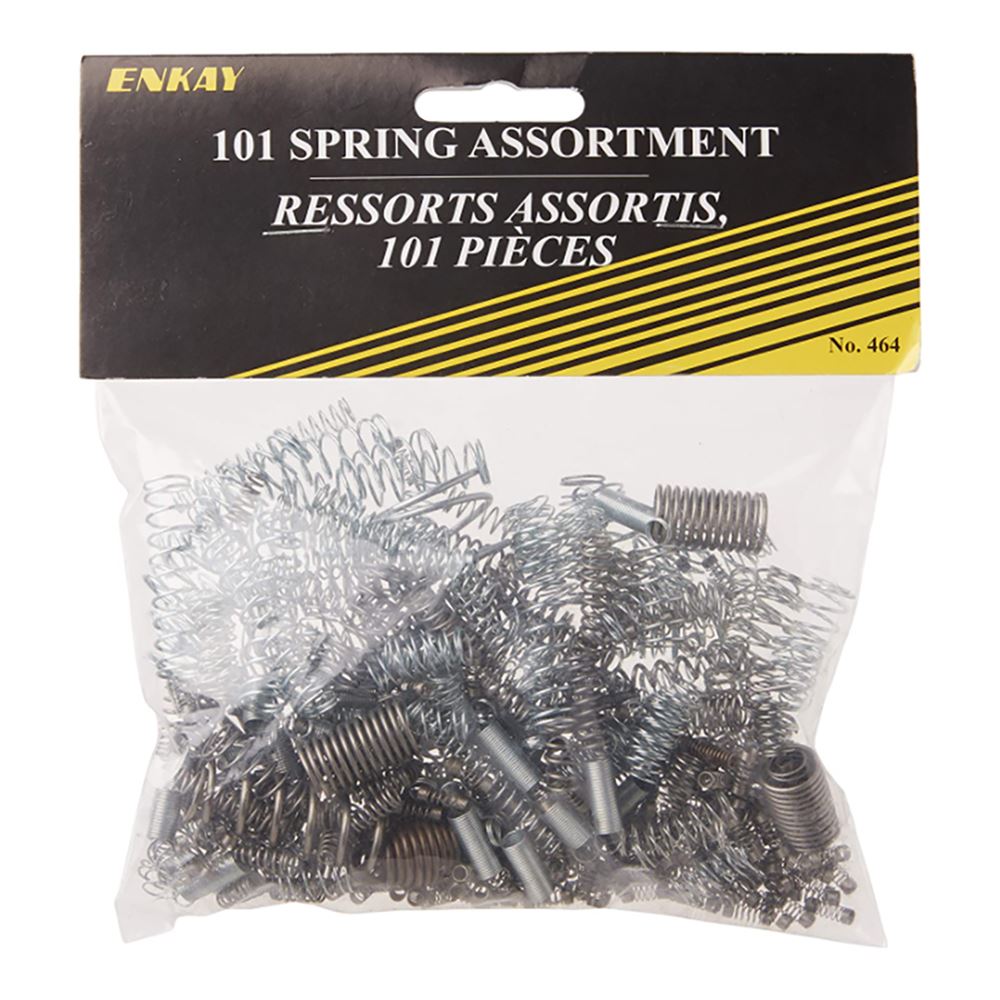
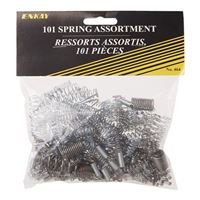
The Enkay Spring Assortment is a great way to cover all of your bases, with a wide variety of spring types and sizes. Incorporating springs into your 3D printed projects allows you to explore various mechanical functions, adding interactivity and movement. By understanding the types of springs and how to integrate them effectively, you can significantly expand the capabilities of your 3D-printed designs.
Magnets
Magnets are versatile components for 3D printed projects, offering a simple yet effective way to add functionality to your prints, making it easy to attach and detach parts, secure enclosures, or create mechanisms that easily snap together.
Types of Magnets for 3D Printing Projects:
- Neodymium Magnets: These are the most common magnets used in 3D printing. They are small, strong, and have a high magnetic field, making them ideal for applications requiring a solid hold in a compact space.
- Ceramic Magnets: Ceramic magnets cost less than neodymium magnets and are used in applications that don't require a strong magnetic force.
Choosing the Right Magnets:
- Size and Shape: Choose magnets that fit the design requirements of your project. Common shapes include discs, rectangles, and spheres. The size should match the space in your design and the strength needed for the connection.
- Strength: Typically, you measure the strength of a magnet by its pull force. Ensure the magnet's strength suits the application: if it's too weak, it won't hold; if it's too strong, it may damage the parts or be difficult to detach.
- Coating: Neodymium magnets are often coated with nickel or similar material to prevent corrosion and provide a smoother surface for embedding into plastic parts.
Design Considerations:
- Embedding Magnets: Design cavities or recesses in your 3D-printed parts to embed the magnets. These should be slightly larger than the magnet to allow for an easy fit.
- Orientation: Pay attention to the polarity of the magnets when embedding them. Incorrect polarity can result in repelling forces rather than attraction, which can disrupt the functionality of the design.
- Test Fit: As with other hardware, it's a good idea to create a test print to ensure that the magnets fit correctly and provide the desired level of attachment or detachment.
Starting Your Magnet Collection:
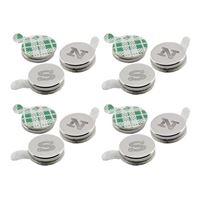
- For beginners using magnets in 3D printing, the Master Magnetics Magnets with Adhesive Back is an excellent choice. These magnets come with adhesive backing, making them easy to attach to your 3D-printed parts. Magnets are a powerful tool in 3D printing, enabling you to add functionality and ease of use to your designs. Whether securing an enclosure, creating a detachable part, or building a modular system, understanding how to use magnets effectively can significantly expand the capabilities of your 3D-printed creations.

Integrating hardware like bolts, nuts, heat-set inserts, springs, and magnets into your 3D-printed projects can significantly enhance their functionality and durability. These components provide the strength, flexibility, and modularity that 3D-printed plastic alone cannot offer. Using the proper hardware, you can create more robust, professional, and versatile designs. Start your benchtop hardware collection today and get to upgrading your prints!