3D Printing for Costumes: How to Size for Your Body
3D printing wearable parts can take a lot of trial and error. Here are some tips to cut down on your reprints.Maker Projects
3D printing has revolutionized hobbies like cosplay by enabling enthusiasts to create game-accurate props and costumes at home. Amongst the vast potential of 3D printing, creating detailed and intricate armor stands out as a particularly exciting use case. However, one of the greatest challenges is scaling armor to fit your body while maintaining the proportions and aesthetics of the original design. This guide will walk you through the key steps for finding, scaling, and testing your armor pieces, ensuring you’re ready for the convention floor with minimal reprints.
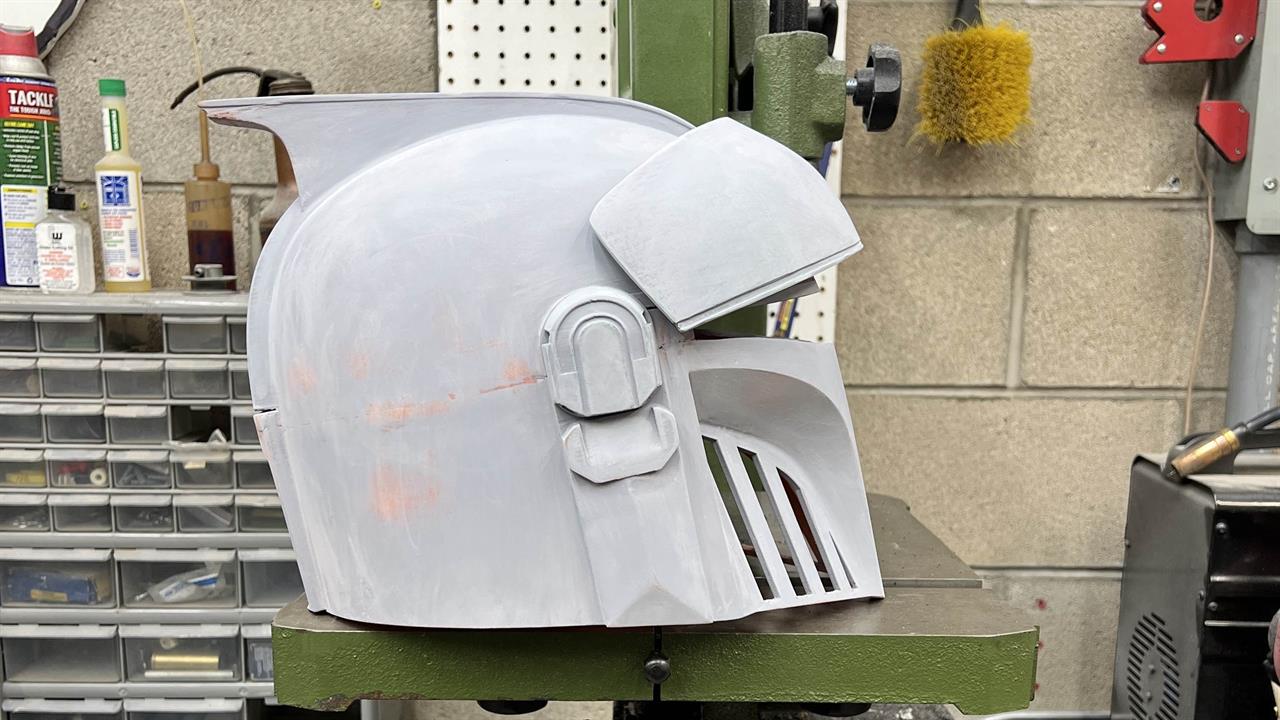 Photo: Micro Center
It is important to note, however, that reprints are almost certainly an inevitability. This guide won’t eliminate the need for trial and error, simply take the number of reprints from 15 to five. Don’t let yourself get overwhelmed as your printing and reprinting; this process is as fiddly as it is precise and can take time to lock in.
Step 1: Find the Files You Need
Before you start printing, you need to find suitable files for your project. Many resources offer free and paid options for cosplay armor files. Websites like Printables host a wide variety of free files from dedicated creators, while artists often sell high-quality, optimized files that make printing, assembly, and wearing easier.
For this guide, we’ll use Moeslizzac’s free files on Thingiverse as an example. Whether you go with free or paid options, ensure the files are designed for 3D printing and meet your desired level of detail.
Step 2: Take Accurate Measurements
Scaling armor properly requires precise measurements. Think of it as tailoring—but for rigid, wearable parts. Accurate measurements ensure comfort, proper proportions, mobility, and a snug fit.
Key Methods for Scaling:
- Armorsmith Designer: This paid tool allows users to create a digital avatar of their body and scale armor pieces with precision. It’s a user-friendly way to handle complex scaling tasks.
- Manual Calculation: This is a more budget-friendly approach and can be done by calculating scaling percentages. Most armor files are designed for an average body size, so start with the key measurements discussed in the next step.
Scaling Individual Armor Pieces:
Most armor files are designed for an average body size, so start with key measurements such as height, inseam, and arm length. Compare these to the reference character’s dimensions. Using a printed reference image of the character can help measure proportions and calculate a scaling multiplier. For example, if a printed character measures one foot tall and you measure six feet tall, your scale is going to be X6.
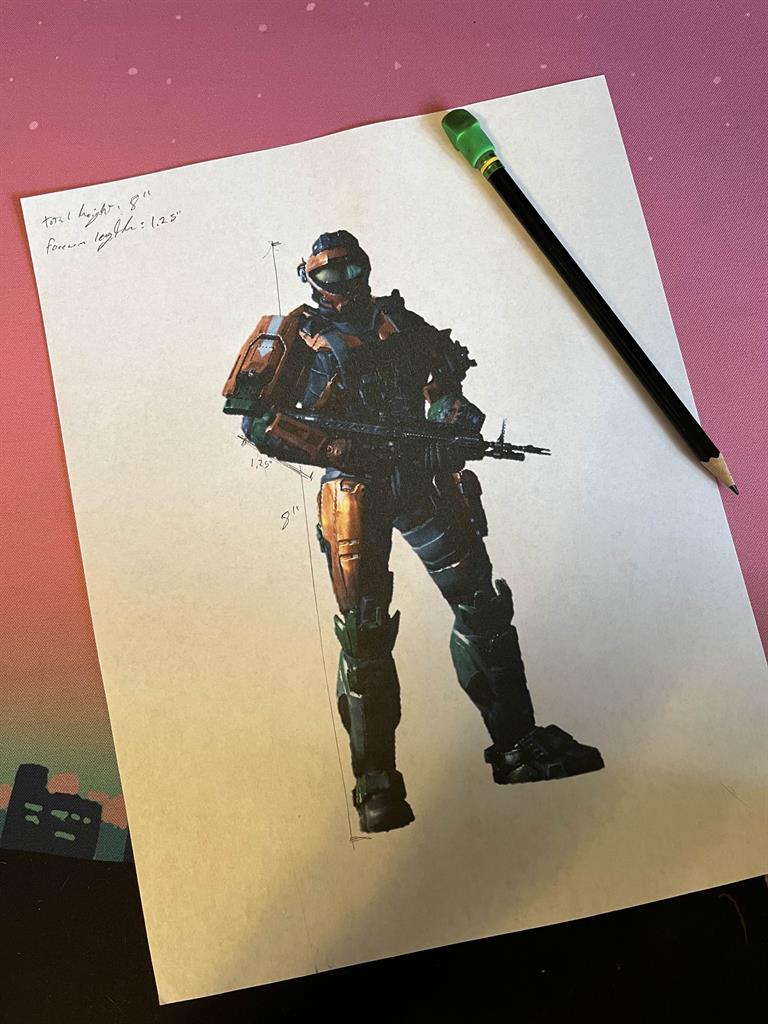
Apply your scaling multiplier to each armor piece. For instance, if a forearm piece measures 1.75 inches on paper, multiply that by your ratio to fit your arm. Using the above ratio, multiply 1.75 x 6 for 10.5 inches. Use a measuring tape to confirm comfort and placement, ensuring the piece won’t feel restrictive or awkward. Be sure to document scaling percentages for future adjustments, reprints, or repairs.
Step 3: Adjust for Proportions
Not all fictional characters have realistic proportions, so some adjustments may be necessary. Scaling parts like chest or belt armor slightly larger can enhance the silhouette of your cosplay and achieve a heroic, balanced look. At the same time, ensure leg armor or other components remain proportional to avoid awkward appearances, such as "chicken legs," wherein the top portion of the cosplay is large and bulky before giving way to thin, under-proportioned legs.
Balancing proportions is subjective and often requires trial and error; there isn’t one easy answer for how it should look. Trust your intuition and aim for a cohesive look.
Step 4: Try On and Test Fit
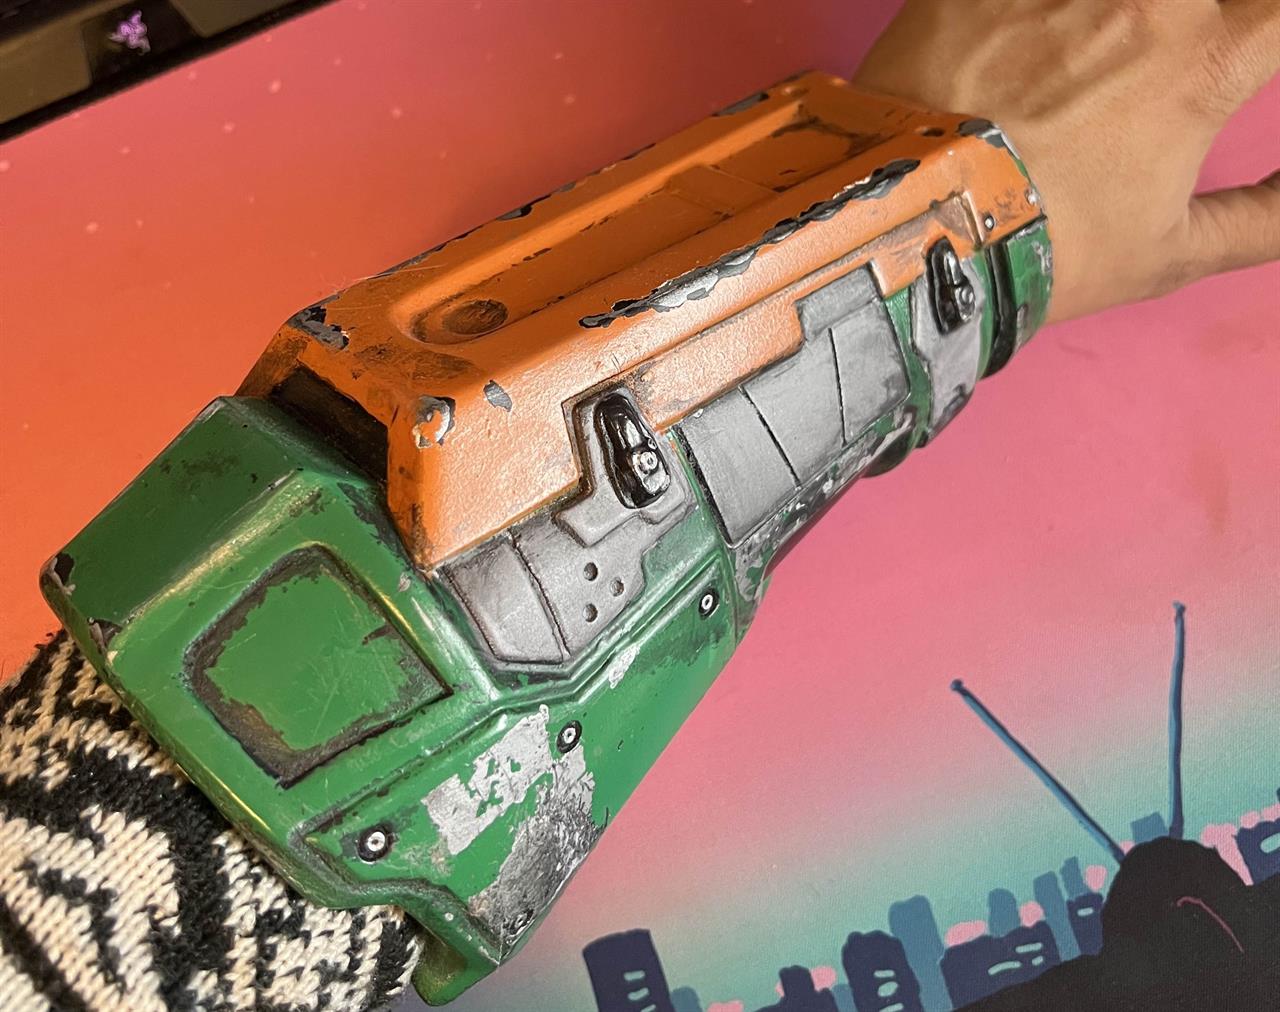 Photo: Micro Center
 Once your armor pieces are printed and assembled, testing the fit is crucial. Wearing multiple pieces together helps ensure overall comfort, proper proportions, joint movement, and ease of donning and removing the armor. Identify any issues early and tweak the scaling as needed. Don’t hesitate to reprint sections as required.
Step 5: Scale the Helmet
Helmets pose unique challenge, as it’s not just about making sure they fit, it’s about making sure they fit and you can still see through them. To achieve a comfortable, proportionate helmet, that fits well with the rest of the armor and doesn’t appear oversized, measure ear-to-ear width and nose-to-back-of-head length, as these dimensions are essential for a snug but comfortable fit. Some helmets feature removable magnetic backplates, allowing better scaling without sacrificing size, while others may require cutting parts of the neck area to improve fit while maintaining structural integrity.
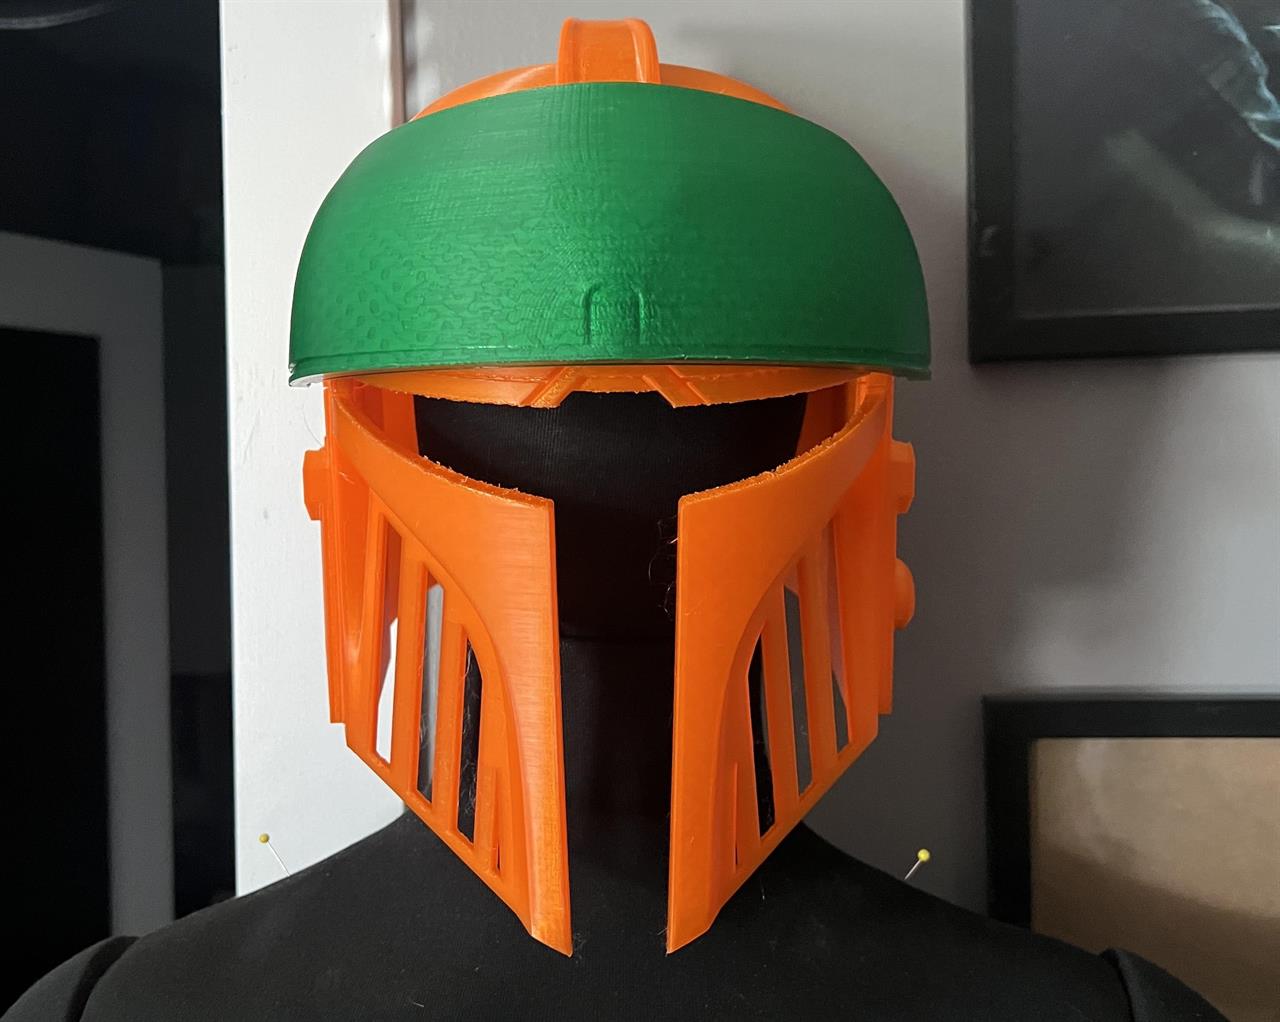 Photo: Micro Center
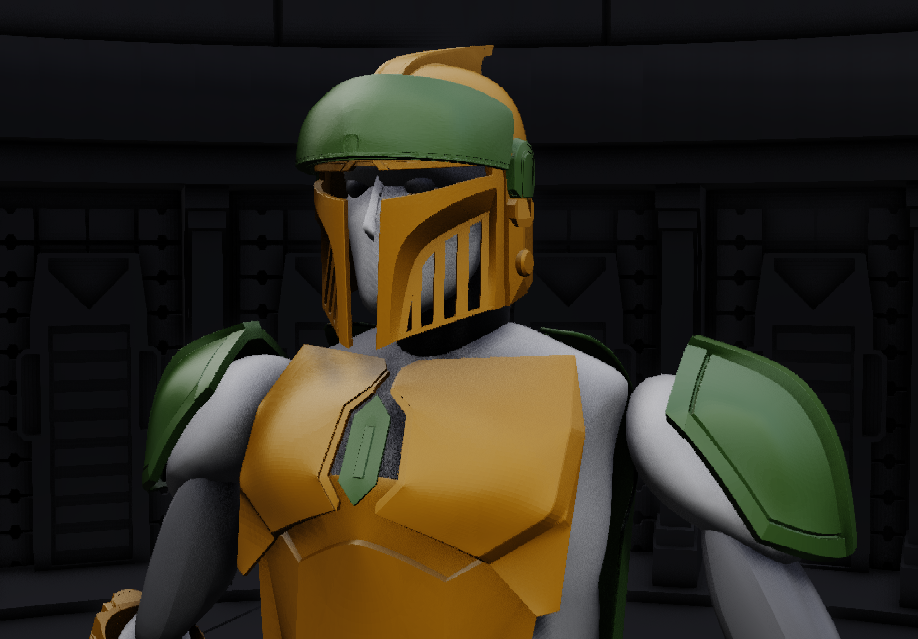
 For example, the helmet used in this guide was scaled with a focus on the forward-facing profile while maintaining side profile comfort. Slight modifications emphasized the design’s fin and ensured a practical fit.
Finishing Touches
Once your armor is scaled, printed, and tested, the final steps involve sanding, priming, and painting to bring your design to life. If something breaks or doesn’t work on the first attempt, you can always print it again. Iteration is part of the maker process. Take pride in your work. Each piece you create is a testament to your skills and creativity.
With the right approach, you can turn raw 3D prints into show-stopping cosplay armor that’s ready for the con floor. Happy printing!
Read More: