How to create a Signature in Outlook 2013
Description: This guide will show you how to create a customized signature for Outlook 2013.
- Open Outlook 2013.
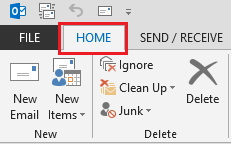
- Click the Home tab.
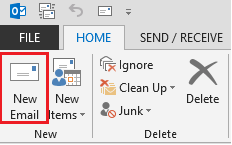
- Click New Email.
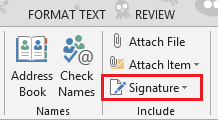
- Click Signature in the Include group.
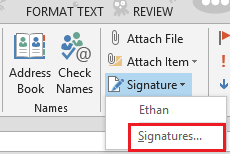
- Click Signatures in the drop down menu.
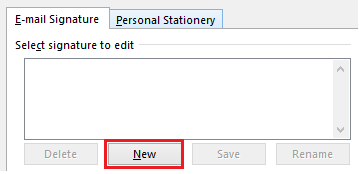
- Click New.
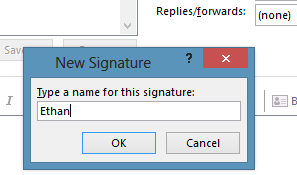
- Type a Name for the signature. Click OK.
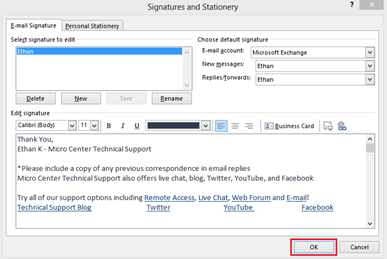
- Click in the Edit signature box to start editing a signature. The menu bar above the text box has options for changing Font, Size, inserting a picture, etc.

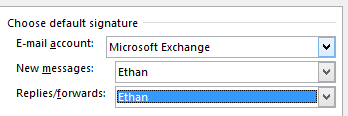
- Defaults can be set in the top right corner of the window. This will put the signature automatically in when creating, sending, and forwarding an email.
- Click OK to save the signature. The signature has been saved and now can be used when sending emails.
Technical Support Community
Free technical support is available for your desktops, laptops, printers, software usage and more, via our new community forum, where our tech support staff, or the Micro Center Community will be happy to answer your questions online.
Forums
Ask questions and get answers from our technical support team or our community.
PC Builds
Help in Choosing Parts
Troubleshooting

