How to use the Graphic Equalizer in Windows Media Player 12
This guide shows how to use the graphic equalizer to adjust audio output frequencies in Windows Media Player 12.
- Right click anywhere in Windows Media Player, then click on Enhancements. Select Graphic Equalizer.
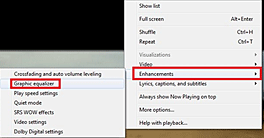
- If the graphic equalizer is turned off, click Turn on.
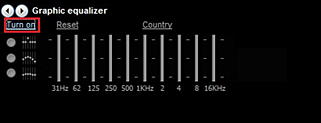
- You will have a number of options available to you at this point. On the left are three settings that control how the sliders move.
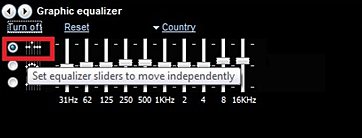
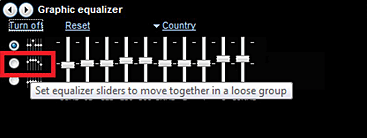
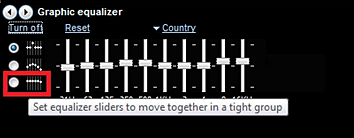
- These options can move independently, as a loose group, or a tight group.These settings become important if you are doing a custom setting on the graphic equalizer.
- At the top is a selection of preset settings for the equalizer.
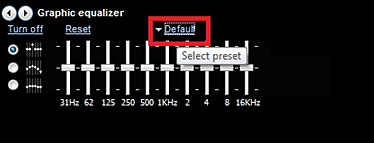
- Click the currently selected preset to display the full list.
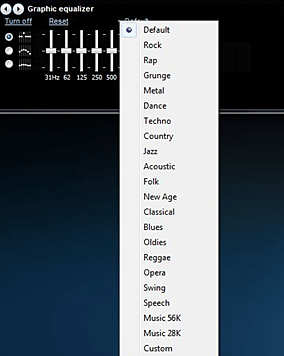
- Select the preset you want or click Custom at the bottom if you wish to adjust the settings manually. If you choose Custom move the sliders to the position you desire.
- Whichever setting you choose, a preset or a custom setting, the changes take effect immediately.
Technical Support Community
Free technical support is available for your desktops, laptops, printers, software usage and more, via our new community forum, where our tech support staff, or the Micro Center Community will be happy to answer your questions online.
Forums
Ask questions and get answers from our technical support team or our community.
PC Builds
Help in Choosing Parts
Troubleshooting

