

How to enable NVIDIA G-Sync
Description: This article will demonstrate how to enable NVIDIA G-Sync on a Windows PC. NVIDIA G-Sync creates a better gaming experience as it eliminates screen tearing and minimizes display stutter and input lag.
- Before beginning, make sure that your monitor supports NVIDIA’s G-Sync technology. A list of supported monitors at the time this article was written can be found at: https://www.nvidia.com/en-us/geforce/products/g-sync-monitors/specs/
- Make sure a DisplayPort cable is being used, as G-Sync is only compatible with DisplayPort. It must be a standard DisplayPort cable with no adapters or conversions. HDMI, DVI and VGA are not supported.
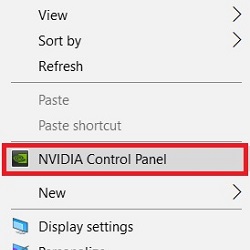
- Right click on the desktop background and select NVIDIA Control Panel from the list.
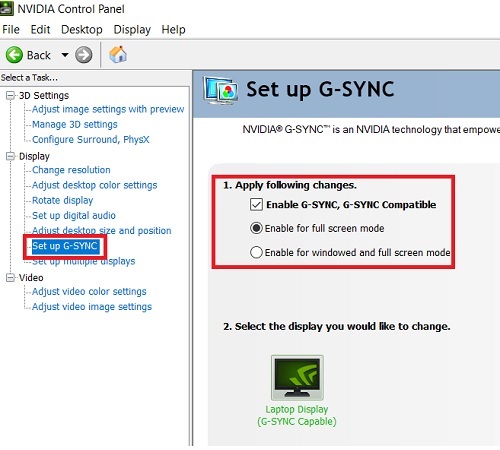
- Under the Display tab on the left side of the NVIDIA Control Panel, choose Set up G-Sync, followed by the Enable G-Sync, G-Sync Compatible checkbox.
- Under the Manage 3D Settings tab on the left side of the NVIDIA Control Panel, make sure Monitor Technology is set to G-SYNC.

- NVIDIA G-Sync is now enabled.
Technical Support Community
Free technical support is available for your desktops, laptops, printers, software usage and more, via our new community forum, where our tech support staff, or the Micro Center Community will be happy to answer your questions online.
Forums
Ask questions and get answers from our technical support team or our community.
PC Builds
Help in Choosing Parts
Troubleshooting