TPU Filament: What you Need to Know
TPU filament is a great way to create strong, flexible prints.Maker Projects
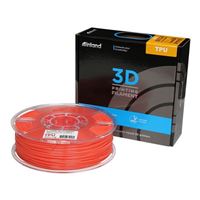
Are you ready to expand your 3D printing capabilities with a flexible and durable material? TPU, or Thermoplastic Polyurethane, is a fantastic filament that can add a new dimension to your projects. TPU is perfect for creating items that need to bend, stretch, or withstand wear and tear. From custom watch bands to durable automotive parts, TPU's versatility makes it a great addition to any hobbyist's toolbox.
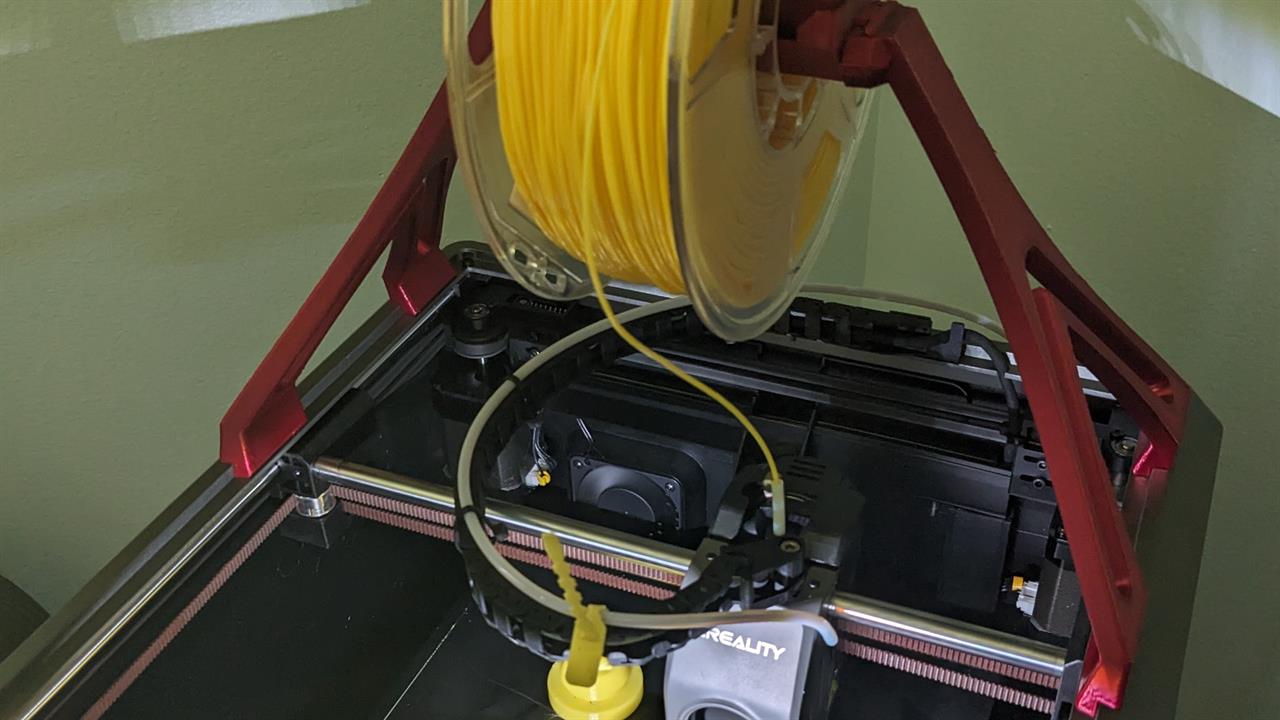 Photo: Micro Center
 Why Use TPU?
One of the key advantages of TPU is its malleability. This property allows you to create prints that can flex without breaking, making it ideal for applications where rigid plastics fail. Wearable gadgets, stress-relief toys, or functional parts like gaskets and seals all become possible prints with TPU.
Another fantastic aspect of TPU is its durability. Items printed with TPU can endure much more stress and strain than standard PLA or ABS prints. Whether working on a personal project or a practical solution, TPU can provide the strength and flexibility you need.
How to Get the Most out of TPU
We'll use the Creality K1 printer paired with the Creality Print slicer for this guide. The Creality K1 is a robust and reliable machine, perfect for tackling the unique challenges of printing with TPU filament. Its sturdy build and precise extruder control make it an excellent choice for hobbyists experimenting with flexible materials.
Importance of Direct Drive Extruders
The type of filament extruder you use is crucial when printing with TPU. For the best results, use direct-drive extruders with flexible filaments like TPU. Unlike Bowden extruders, which push filament through a long tube, direct-drive extruders have the filament path much closer to the hot end. Direct-drive extruders reduce the chances of the filament bending or buckling during printing, ensuring a smoother and more reliable print process.
Filament Spool Holder
To further enhance your TPU printing experience, we've designed a filament spool holder specifically for the Creality K1. This spool holder supports the filament spool above the printer's extruder, eliminating the need to pass the filament through the PTFE tube to the extruder. This setup minimizes friction and resistance, especially for flexible filaments, as tubes can cause snags while printing with TPU.
The spool holder is designed to be printed without supports and can fit on the K1 print bed if printed in two separate print runs. We'll include the model in this article so you can print it yourself. Using this spool holder will ensure a more consistent filament feed and reduce the risk of printing issues.
Printer Settings
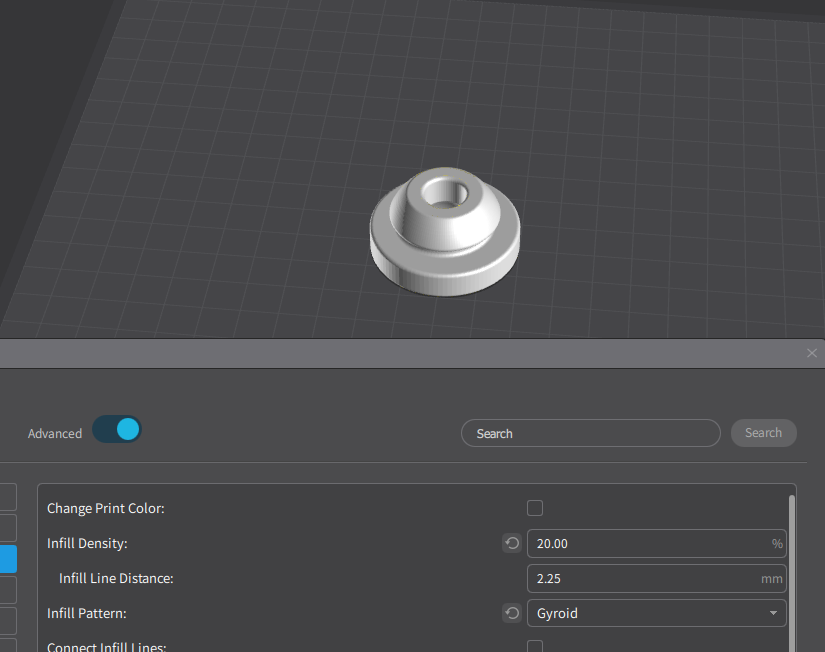
Infill Settings
Getting the correct infill settings is crucial for printing with TPU, especially if you want to balance flexibility and strength. Infill density plays a significant role in the final flexibility of your print. A lower infill density will result in a more flexible print, while a higher density will make it more rigid.
The infill pattern you choose is also important. For TPU, patterns that minimize the number of straight infill lines work best, allowing the material to flex more naturally. Patterns like gyroid or honeycomb are excellent choices because they provide strength while maintaining flexibility.
Print Speed and Temperature
Finding the right print speed and temperature for TPU is tricky. Printing too quickly can lead to under-extrusion or stringing while printing too slowly might cause over-extrusion. Typically, you print TPU at a slower speed of around 20-30 mm/s. However, as you’ll see below, the Creality K1 does allow for slightly faster prints. Temperature settings are equally important. TPU typically prints well at temperatures between 220°C and 240°C, but you might need to experiment within this range to find the sweet spot for your specific filament and printer setup. Adjust the temperature gradually to avoid sudden changes affecting the print quality.
Cooling Settings
Proper cooling is essential for successful TPU printing. Unlike PLA, which benefits from fast cooling, TPU requires a more balanced approach. Too much cooling can cause the layers to cool too quickly and not bond properly, while too little cooling can lead to stringing and poor print quality. Adjust your fan speed to 50-60% as a good starting point. Make further adjustments to settings based on the results you get to achieve the best quality prints.
Moisture Content
TPU filament is hygroscopic, meaning it absorbs moisture from the air. Moisture-laden TPU can lead to poor print quality, like bubbling, stringing, and weak layer adhesion. To prevent this, store your TPU filament in a dry, airtight container with desiccants when not in use. If you suspect your filament has absorbed moisture, dry it in a filament dryer for a few hours before printing.
Layer Adhesion and Print Orientation
One common challenge with TPU is its tendency to split along layer lines, especially under stress. To mitigate this, consider printing your models at an angle where the applied load will not directly pull on the layer lines. This way, the stress is distributed more evenly, reducing the risk of delamination. Proper print orientation can significantly enhance the strength and durability of your TPU prints.
Practical Printing with TPU
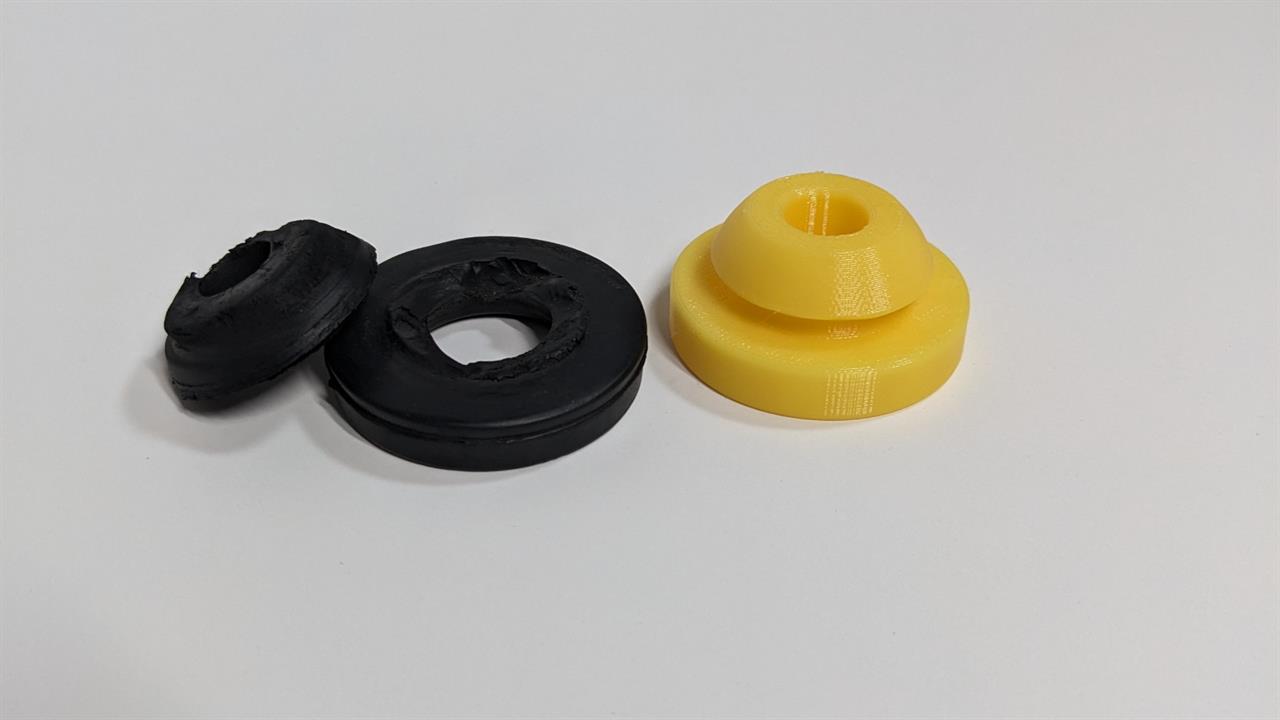
Now that we've covered the basics let's use a practical example to illustrate how to print with TPU: a replacement rubber vibration dampener for a VW air filter box.
Instead of purchasing new VW 036-129-689-B grommets, which retail for $4-8 each, I opted to print replacements for a fraction of that cost. Not only does this approach save money, but it offers the satisfaction of designing and producing custom parts tailored to your specific needs. It even allows for customization that store-bought parts can't offer.
Here’s a quick rundown of the steps I went through to print my part:
Step-by-Step Process
Prepare Your Model:
- Import the model into the Creality Print slicer.
Configure Printer Settings:
- Select TPU as the filament type in the slicer settings.
- Set the print speed to 300 mm/s
- Adjust the print temperature to 230°C
- Choose an appropriate infill pattern like gyroid
- Set the infill density to 20%.
Optimize Print Orientation:
- Position the part so that the layers run in a direction that will handle the stress effectively.
Set Up Cooling and Filament Handling:
- Configure the fan speed to 50% to achieve balanced cooling.
- Ensure the filament is dry and loaded correctly using the filament spool holder designed for the Creality K1 printer.
Print the Part:
- Start the print and monitor the first few layers to ensure proper adhesion and extrusion.
- Monitor the print for signs of issues, such as stringing or poor layer bonding, and make adjustments if necessary.
Post-Processing:
- Once the print is complete, carefully remove the part from the print bed.
- Inspect the part for any defects or weak points.
- If necessary, trim any excess material
See more 3D printer and maker projects:
- Painting in Bambu Studio: Printing with Multicolor Filament
- How To Clean and Cure Resin 3D Prints
- FDM vs. Resin 3D Printing: Which is Right for You?


