The Streaming Setup Build - From Your Motherboard to Your Microphone
In this article, we’ll be running you through EVERYTHING you’ll need to get started on your streaming career. From PC parts, to lighting, we’ll be covering the entire spectrum of streaming gear.PC Build Guides

Streaming is becoming more and more popular and shows no signs of slowing down. There are tons of streamers out there, and maybe you’ve been saving up for the opportunity to build your own streaming setup and begin your journey on popular platforms like Twitch and YouTube. Well in this article, we’ll be running you through EVERYTHING you’ll need to get started on your streaming career. From PC parts, to lighting, we’ll be covering the entire spectrum of streaming gear.
The Most Important Piece (Your Gaming PC)
Your PC is the most important piece of gear to budget for. In your stream career, having a PC that is too weak will keep you from playing the games you want to play at a smooth frame rate for you or your viewers to enjoy. Luckily, lots of the latest generations of PC parts are strong enough to the point you can enjoy the games you love, and your viewers can properly enjoy them as well.
CPU
For the processor we’re going to be opting for the AMD Ryzen 7 5800X, The processor isn’t the highest in the AMD lineup (and if you have room in your budget, springing for the best is always a good idea), however, it offers amazing performance through its 8 cores allowing you to stream and game on one PC while consistently hitting over 144+ fps average on the most popular games on Twitch and YouTube. It’s a killer CPU for someone setting up their first streaming PC and pairs well with any graphics card you can throw at it.
GPU
For the graphics card, we have an AMD 6900 XT. Since we’re using a Ryzen 7 5800x, we can use the x264 encoding option on OBS, without fear of performance loss, and we get the performance of a top-of-the-line GPU.
Motherboard
For the motherboard, we’re going with the MSI X570S Tomahawk. The Tomahawk is a great board providing power delivery comparable to enthusiast-tier boards while also offering some of the latest audio and Wi-Fi hardware capabilities.
SSD
For the SSD, we’ll go with the Samsung 980 Pro 1TB SSD. The 980 Pro can utilize the Gen 4 slot on your motherboard, allowing for amazing transfer speeds for all your streaming/content creation needs. It’ll boot up your PC in seconds, and get your games and programs running without making your audience wait.
Power Supply
For the power supply, we’re going to use the RM 850 from Corsair. It has more than enough power to handle the 5800x and 6900 XT and is known for having a long life span so you won’t have to replace it next year.
Cooler
For the cooler, we’ll add the Corsair H150i, to keep temps down on the processor and visuals up on the entire build. Personally, I prefer the white model as it gives the whole system a clean look. Plus, it has controllable RBG through the Corsair iCue software.
Case
The case is completely up to you. If you’d like to use the cooler I mentioned, ensure the case you use supports a radiator of at least 360mm. I personally like Lian Li cases, particularly the O11/O11 XL lineups.
And that’s the build done. Keep in mind we recommend an installation key for Windows 10/11, which puts the whole build just a smidge over $2,000. And if you’re uncomfortable building it, we offer Custom PC Building Services with a quick turnaround time so you can get home and get streaming with no hassle.
Peripherals and Accessories
Now that the PC itself is done, you still need to get your monitor, mouse, keyboard, and everything stream related. So, let’s start with the monitor.
Monitor
For the monitor, you’d want something that will perform well with the beefy, long-lasting PC you just made, so we’re looking for a 1080 or 1440p monitor, with an IPS panel that runs at a minimum of 144hz. This will provide a comfortable and noticeably smoother viewing experience thanks to the high refresh rate. For this, I recommend the AOC 27G2E. It’s a 27” monitor that hits all the key points we’re looking for, while also having a low response time - 1ms for our competitive gamers out there.
Mouse
This is very personal. You’d want to purchase a mouse you feel comfortable with based on your hand size and interests. I personally have large hands and want a mouse that provides a precise sensor, while also being comfortable and wireless. For this, I personally use the PRO X Superlight from Logitech. It’s a very high-quality mouse for gamers, which is apparent by just how many people use it. It’s wireless which means cable management is drastically simplified, and it pairs nicely with the Logitech G Hub software, the software you’ll be needing for the webcam we will mention in a moment.
Keyboard
This is another preference-based peripheral. In general, though, you’d want to take note of the different kinds of switches, and which ones you would like for your keyboard, as well as the overall look and size of the keyboard and whether or not it satisfies your needs. For me, I use the Tenkeyless GMMK keyboard from Glorious, with the Glorious Panda switches and G.Skill’s Crystal Crown keycaps, And it’s pretty enough to do numbers on a stream setup tour.
Webcam
An important thing to note before we show the recommended webcam is that you do NOT need to go overkill and spend 500-1000+ dollars on a mirrorless camera to get good picture quality. The key to having good quality in your webcam for your streams and videos is the lighting you provide to what you are trying to display. With that being said, the Logitech C920s webcam is a perfect webcam for starting out your streaming career. At 1080p, 30fps, and with the right lighting, this webcam can do wonders for you. If you still feel the need to upgrade - maybe to a camera with a wider lens or a higher framerate for smoother viewing - the Logitech Brio can also provide amazing quality for your webcam while still saving you money compared to the cheapest mirrorless camera.
Lighting
This is an important piece. With good lighting, you can make almost any camera look really good, and for lighting, I would like to recommend the Elgato Key Light Air. Elgato offers even more impressive lights for when you’re ready to upgrade, but from personal experience, even the Key Light Air provides more than enough light to improve your camera quality. You can pair one with the lighting in your room, or do a setup with two to help you put emphasis on shadows and you, compared to your background. What I love about this lighting is how easy it is to control from your phone or desktop while you’re playing. It only takes a couple seconds to adjust the lighting for a cool, warm, bright, or dull look.
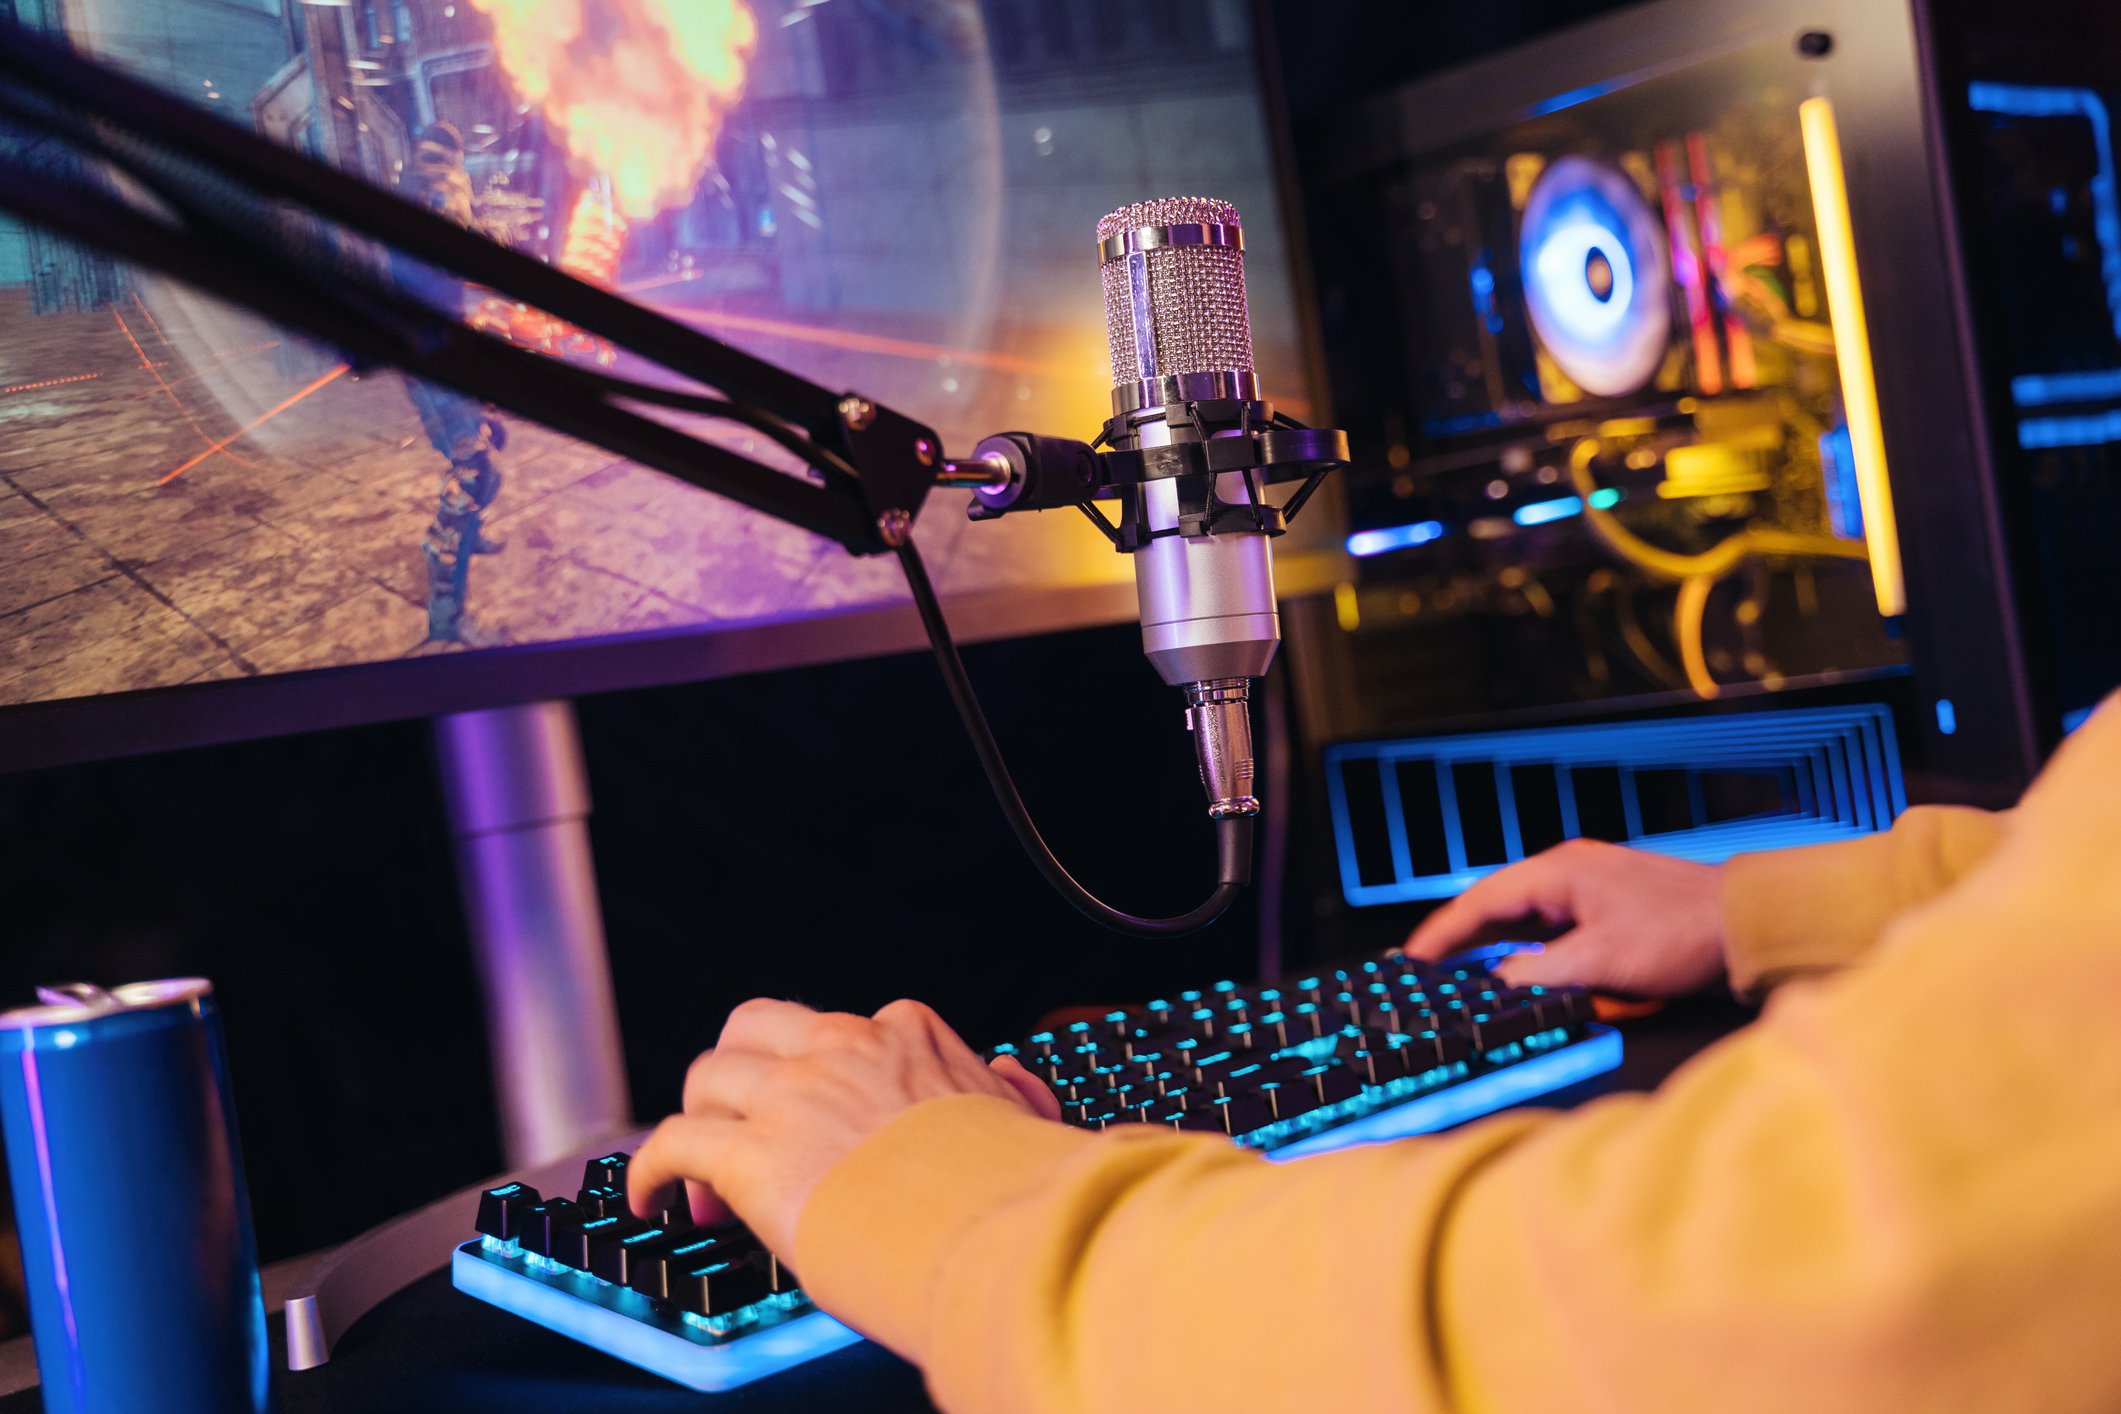
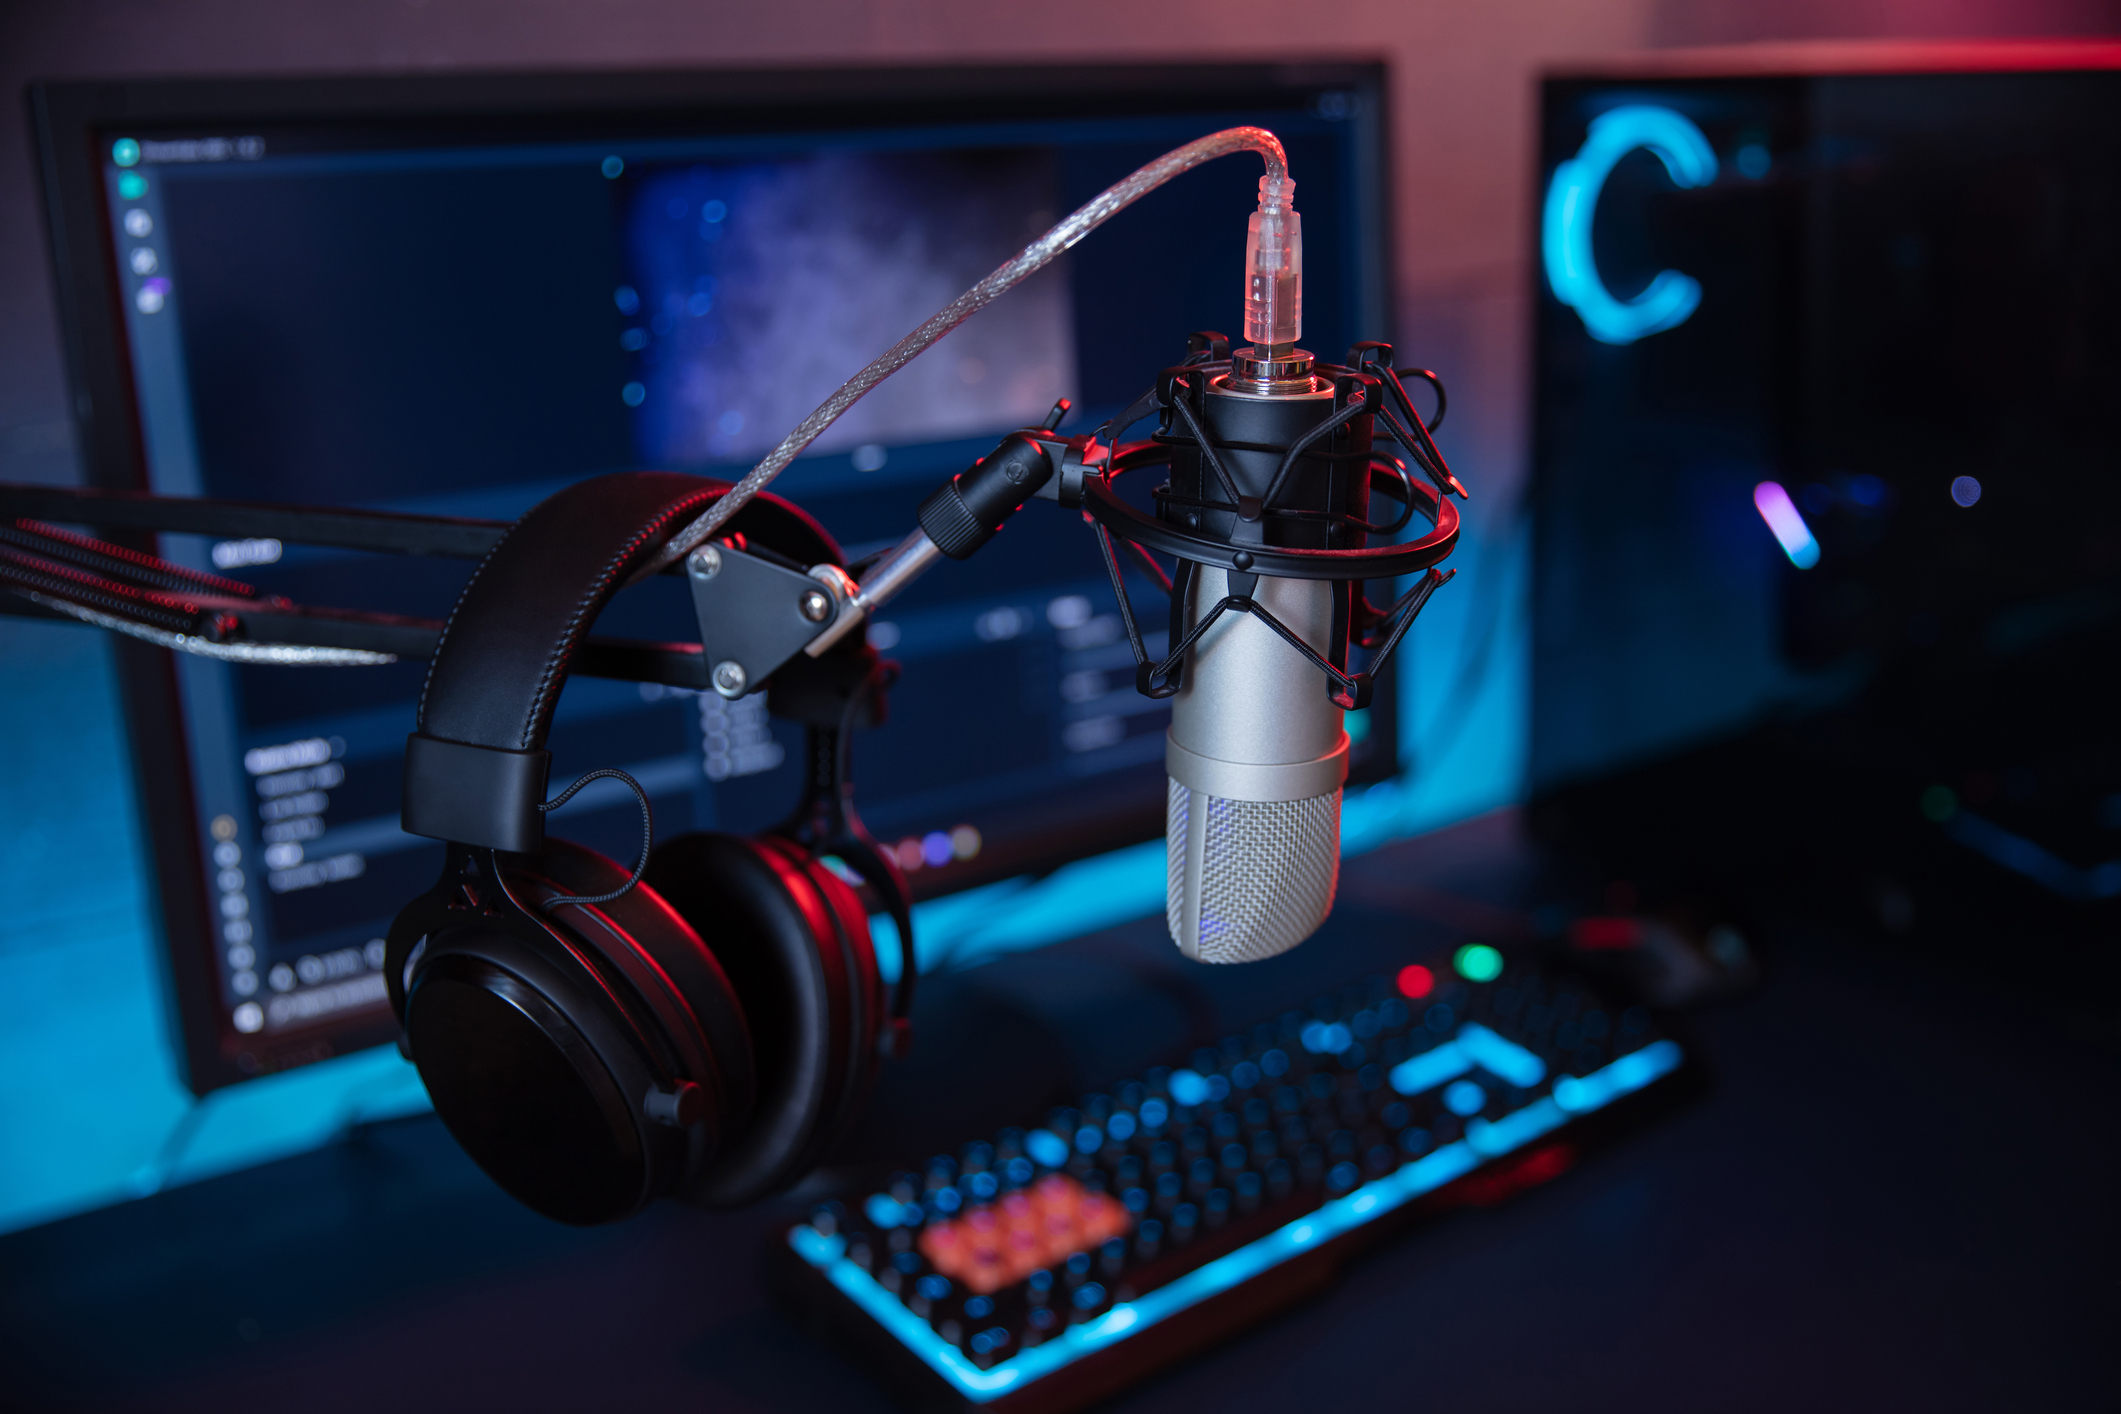
Microphone
The last piece to the puzzle is the microphone. When people enter your streams, your voice and your webcam will be the first things people take notice of, so you’d want them to be at their highest possible quality. Because of this, I’d like to recommend the Shure MV7 microphone. It’s an amazing microphone that provides crisp vocals, even on the USB setting alone. If you were to connect it to a mixer via XLR, (which is completely optional) you would open the flood gates to even better audio quality that will leave your friends and teammates in all your games wondering what kind of mic you have. It also allows you to adjust your mic and headset levels from the microphone itself. The MV7 provides a lot and I think it’s the perfect way to finish off this stream setup build plan.