Red Light On Motherboard: What Does It Mean?
Encountering a red light on your motherboard during startup can be alarming, but it doesn't necessarily signal a catastrophic failure. This article provides a step-by-step guide to understanding and resolving common issues associated with red lights on motherboards.How-To

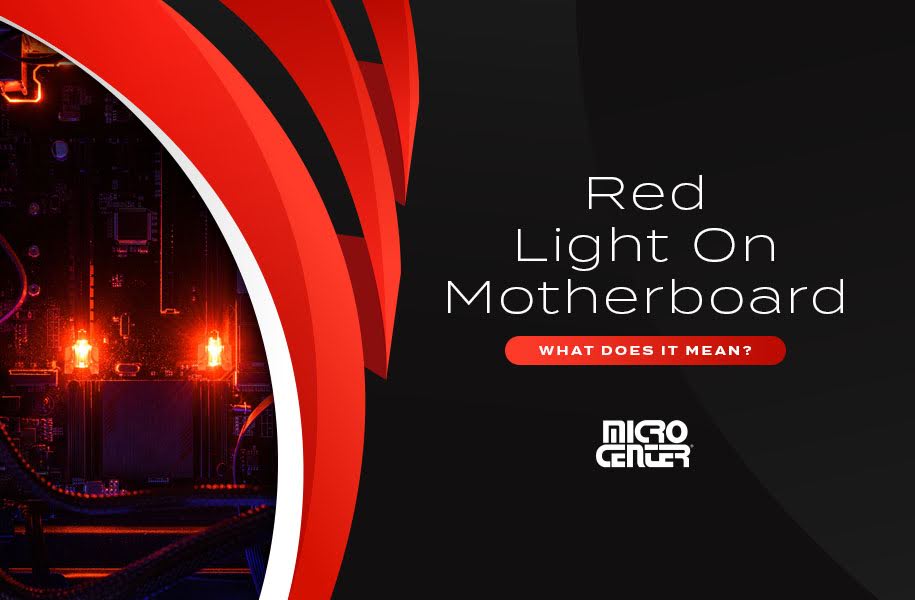
The red light is a near-universal symbol for an error or malfunction. So, if a red light pops up on your motherboard while attempting to power up your PC, don't panic, but be prepared to troubleshoot.
Wondering what exactly a red light on your motherboard means and what to troubleshoot? Let's look at how the average computer user or PC builder can solve the mystery.
What Does a Red Light On Your Motherboard Mean?
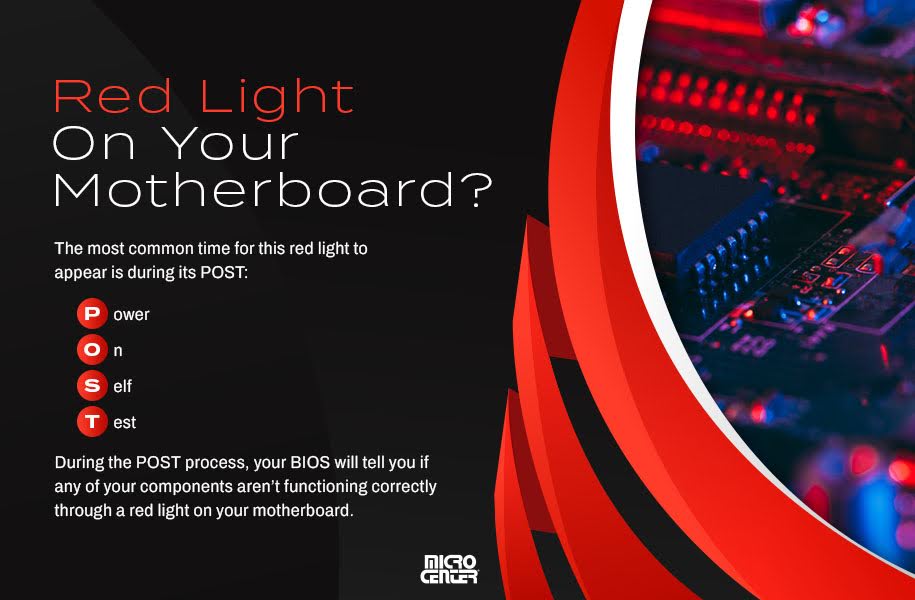
Typically, a red light on your computer's motherboard means that one of your computer's internal components isn't working correctly. The most common time for this red light to appear is during its POST (Power On Self-Test), or the start-up sequence that takes place when you turn the PC's power on.
Your PC's BIOS (Basic In-Out System) is the base-level software that lives on the PC's motherboard and handles the basic startup and operation of its components. When you power on your system, the BIOS runs a series of tests collectively known as the POST. During the POST process, your BIOS will tell you if any of your components aren't functioning correctly. And how does it tell you? Why, through a red light on your motherboard, of course.
Check Your Manual
First, read the manual for your motherboard. Almost all motherboard manuals include information on how to interpret errors and warning lights, so you'll want to keep the manual close at hand while you troubleshoot. If you've misplaced your manual (it happens to all of us), most are available from the manufacturer with a quick search for "[motherboard model] manual."
Not sure how to tell what motherboard you have? Bring up the System Information panel via Start Menu > Windows Tools > System Information and look for "BaseBoard Manufacturer" and "BaseBoard Product," which will tell you the make and model of your board. If that doesn’t work, other options are available, including using your system’s command line interface.
Check New Parts
If you've recently swapped out or installed any new computer parts on your PC, check those first. When your system is experiencing a new error, new components are the logical place to start looking. Verify that the new parts are fully seated on their connectors and that they're installed correctly according to their manuals. It's also worth looking up information on internet forums to see if there are any known issues with your new parts.
Which Light Is Illuminated?
On most current motherboards, you'll find four different red lights known as diagnostic LEDs. Look at which light is illuminated to determine which piece of your hardware is experiencing problems. Here's a quick rundown of what these diagnostic LEDs can mean and how to diagnose the associated problems:
Warning: Some of the steps described below involve disconnecting and reconnecting components on your motherboard. Always make sure your system is powered off and that your PC's power supply is switched off before you attempt to disconnect or reconnect anything.
BOOT
If your BOOT light is on, it means the computer’s system is having trouble locating a bootable drive. In order to boot up and start its normal operations, your computer needs at least one storage volume, such as a solid-state drive or hard disk drive, available. That hard drive also needs to have a usable operating system (such as Windows or macOS) installed.
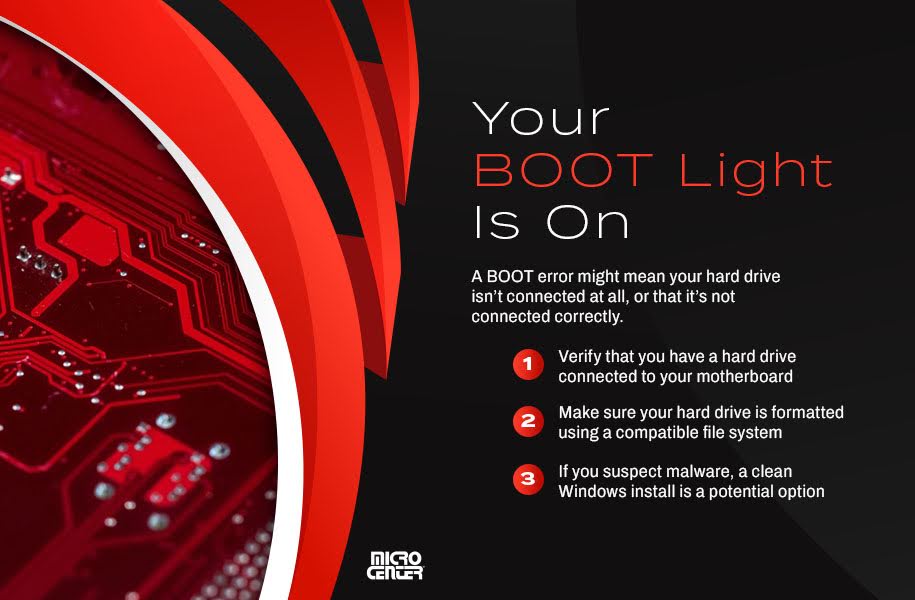
A BOOT error might mean your hard drive isn't connected at all, or that it's not connected correctly. Verify that you have a hard drive connected to your motherboard, either via SATA ports or (more commonly these days) through your motherboard's PCIe slots. Make sure your hard drive is formatted using a compatible file system and has a working operating system installed. If you suspect the operating system might be experiencing issues (such as from malware), a clean Windows install is a potential option.
Finally, a BOOT error can indicate a problem with the CMOS (the semiconductor that holds your system's BIOS). Try resetting your CMOS - there are a few different ways to do this, including restoring factory defaults through BIOS and changing out your CMOS battery.
VGA
This light indicates a problem with the system's graphics and/or its display. Here are some of the common causes for a VGA error light:
DRAM
The DRAM light refers to your system's RAM (Random Access Memory). This is your computer's equivalent of short-term working memory, which allows it to quickly retrieve files you’re using.
By far the most common cause of a red light in the DRAM position is a RAM module that's not correctly seated in its slot on the motherboard. Check all of your RAM sticks and verify that they're all firmly inserted into the slots, with the notches aligned and the side clamps in place. When the RAM is properly seated, it should "click" into its slot.
It's also possible that the RAM you're using isn't compatible with your motherboard. Make sure that you're not using RAM from the wrong generation (such as trying to install DDR5 RAM on a DDR4 board).
CPU
If your motherboard's CPU light is on, it means the central processing unit - basically your computer's brain - is not working correctly. This diagnostic light can have a few different causes, so it's important to work through all the possibilities, including:
- The CPU isn't properly seated in its socket. Pop out the CPU and press it gently back in, staying alert for the "click" feel and sound.
- The CPU has one or more bent connector pins. Remove the CPU and check its pins to see if any are obviously out of alignment with the others. Bending the pins back yourself is possible, but it requires the right tools and a lot of patience, so it's often easier to take your PC to a professional, who can realign the pins safely.
- The CPU's fan isn't plugged in. Check the CPU's fan cable and verify that it's plugged all the way into the header.
- Your CMOS needs to be reset. As previously mentioned, you can reset your CMOS through various methods, including restoring factory settings through BIOS.
Replacing Your Motherboard/Power Supply
If you've tried everything else, a problem with the power supply or the motherboard itself can also be the root cause of a red error light on your motherboard.
Power Supply
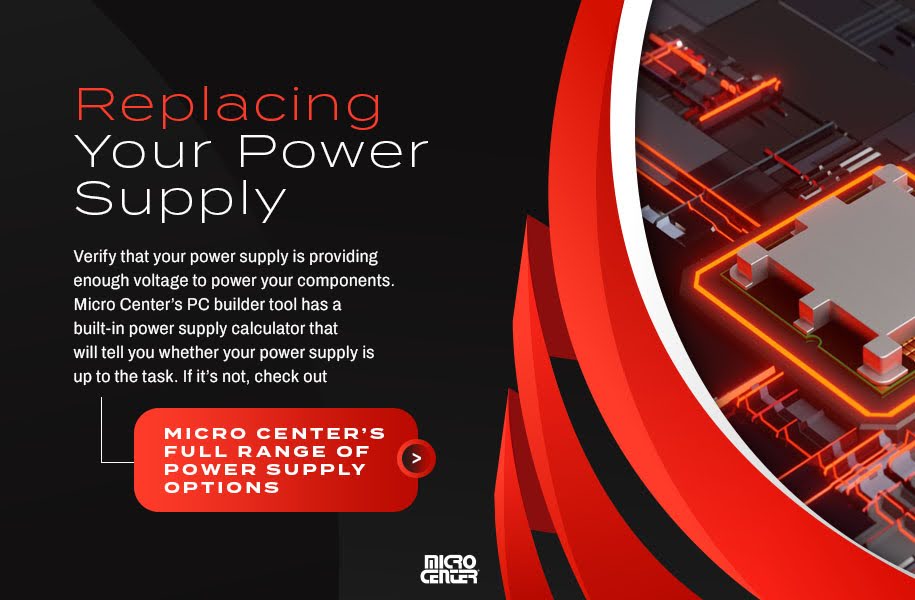
First, verify that your power supply is providing enough voltage to power your components. Micro Center's PC builder tool has a built-in power supply calculator that will tell you whether your power supply is up to the task. If it's not, check out Micro Center's full range of power supply options.
Power supplies can also fail or become damaged. Fortunately, you can test your own power supply using some fairly simple equipment. Just make sure to follow all of the safety precautions, since you'll be working with an electrical device that can shock you or damage your motherboard if you're not careful. When in doubt, remember that the PC repair experts at Micro Center can help you safely troubleshoot power supply issues.
Motherboard
It's also possible that your motherboard itself is the problem. This can be tough to determine since many motherboards won’t show any obvious sign of damage when they die. The easiest way to identify a bad board is to test it with components (including a CPU and power supply) that you know are good, or test your other components with a motherboard you know is functional.
If testing with known-good parts isn’t an option, you'll probably want to talk to a qualified PC repair person who can help you diagnose your motherboard issues. Micro Center's experts look at malfunctioning motherboards all day, every day, and we know exactly what to look for to help you find the answer. Schedule your free consultation today!
Red Light On Your Motherboard? We Can Help.
Still not sure what to make of the red light on your motherboard? Let the PC pros at Micro Center apply our expertise. Make an appointment today at your local Micro Center, or walk in and tell us what’s on your mind. If it's time to replace some components, shop our full selection of graphics cards, motherboards, power supplies, CPUs, and more.