How To Turn Your Raspberry Pi 4 into a Retro Gaming Console

RetroPie is a fantastic way to get a whole library of classic games on a single machine. In this guide, we'll walk through the steps to install RetroPie on your Raspberry Pi 4 using the Raspberry Pi Imager and provide you with 3D-printed designs to enhance your setup. Along the way, you'll discover how easy it is to switch between multiple Raspberry Pi projects using different microSD cards and how a simple 3D-printed microSD card organizer can help keep everything organized.
 Photo: Jacob Bobo
 Materials and Tools Needed
Before beginning the setup, gathering everything you'll need for the project is essential. Here's a list of the materials and tools required to install RetroPie and make use of the custom 3D-printed designs:
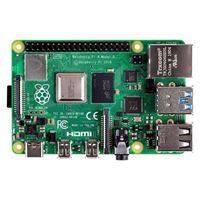
The Raspberry Pi 4 is the core of this project and is ideal for running RetroPie.
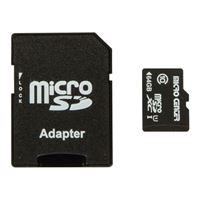
RetroPie runs from a microSD card, and you'll want at least 16GB to store both the operating system and games. If you plan on using multiple Raspberry Pi projects, having extra microSD cards will make switching between setups effortless.
You'll need the Raspberry Pi Imager to install RetroPie on the microSD card. You can download it directly from the official Raspberry Pi website.
To connect the Pi 4 to your TV or monitor.
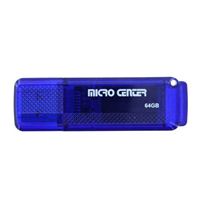
The USB drive will transfer ROMs (game files) to RetroPie. While this guide will cover preparing the USB
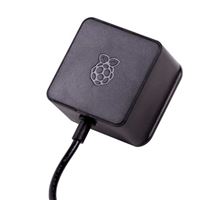
Use the official Raspberry Pi 4 power supply (or any reliable 5V 3A USB-C power supply) to power the Pi 4.
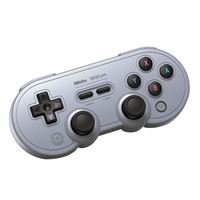
While RetroPie supports a variety of gaming controllers, a USB controller is often the easiest way to get started.
Installing RetroPie
Now that you have all the necessary tools and materials, it's time to start setting up RetroPie on your Raspberry Pi 4.
Step 1: Downloading the Raspberry Pi Imager
Download and install the Raspberry Pi Imager on your PC to get started. This software will help you install RetroPie on your microSD card.
- Head to the official Raspberry Pi Imager page.
- Download the correct version of the Imager for your operating system (Windows, macOS, or Linux).
- Once downloaded, install the software and launch the Raspberry Pi Imager.
Step 2: Installing RetroPie on the MicroSD Card
Next, using the Raspberry Pi Imager, you'll install RetroPie onto your microSD card.
- Insert your microSD card into your computer's card reader.
- Open the Raspberry Pi Imager.
- Select Choose OS and scroll to the "Emulation and game OS" section. Click on RetroPie and select the version that matches your Raspberry Pi 4 model.
- Click Choose Storage and select your microSD card from the list.
- Click Write and confirm the installation. The Imager will download and write the RetroPie image to the microSD card.
Step 3: Booting Up the Raspberry Pi
Now that RetroPie is installed, it's time to set up your Raspberry Pi 4.
- Insert the microSD card with RetroPie into your Raspberry Pi 4.
- Connect your Raspberry Pi to your TV or monitor using an HDMI cable.
- Plug in your power supply to boot up the Raspberry Pi.
- RetroPie should now load on your screen. You'll be prompted to configure the controller at this stage.
- Map the necessary keys for navigation
Organizing MicroSD Cards
Whether gaming with RetroPie or running a home automation system, each Raspberry Pi project requires a dedicated microSD card. Rather than constantly re-flashing a single card, you can use multiple cards—one dedicated to each project. This allows you to swap cards in and out, minimizing the setup time for different projects. Just power down your Raspberry Pi, swap the card and reboot with your new setup.
Keeping Track of Cards with a 3D Printed Organizer
To help you stay organized, we've designed a 3D-printed microSD card organizer. This compact holder securely stores multiple microSD cards, keeping them easily accessible and preventing them from getting lost.
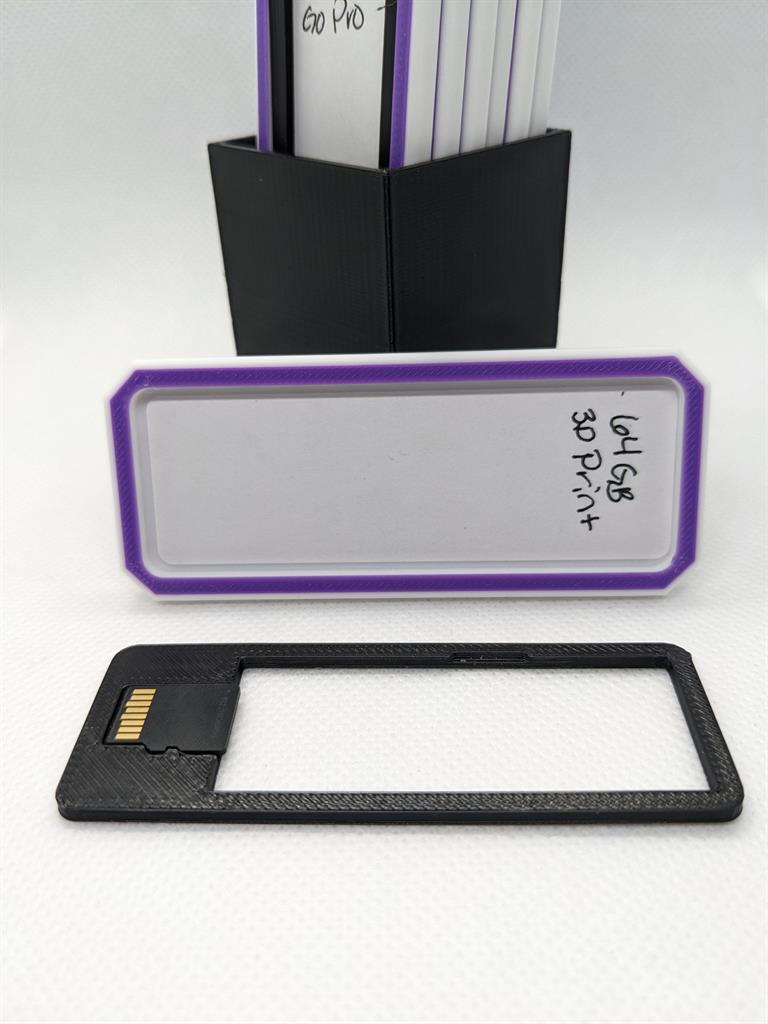
You can download the STL file for this microSD card organizer here. https://www.printables.com/model/1027481-microsd-card-organizer
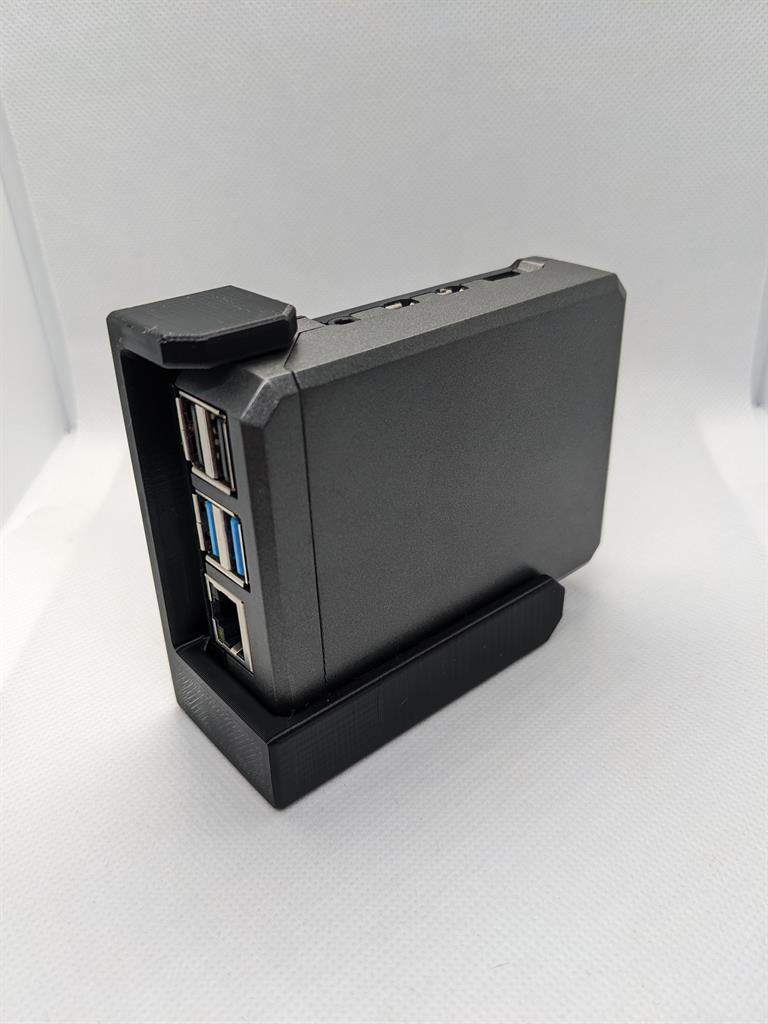
3D Printed Mount for the Neo Case
This 3D-printed TV mount fits the Neo Raspberry Pi 4 case, ensuring a snug and secure hold. It attaches to the back of your TV using adhesive strips, keeping the Raspberry Pi hidden and organized and your gaming area clutter-free.
You can download the STL file for this Pi TV mount here. https://www.printables.com/model/1027467-retropie-tv-mount
Preparing a USB for ROMs
After installing RetroPie on your Raspberry Pi 4, the next step is to load it with games, commonly known as ROMs. This guide will walk you through setting up a USB drive to store and transfer your ROMs to RetroPie.
Step 1: Formatting the USB Drive
Before adding any ROMs, you must format your USB drive to ensure compatibility with RetroPie.
- Insert your USB drive into your computer.
- Format the drive as FAT32 (on Windows) or MS-DOS (FAT) (on macOS). This will ensure that RetroPie can read the USB drive.
Step 2: Creating the RetroPie Folder
Next, you'll create a folder on the USB drive that RetroPie will use to generate the emulator file structure.
- Open the USB drive on your computer.
- Create a new folder called "retropie" (make sure it is exactly this name).
Step 3: Generating the File Structure on the USB Drive
- Plug the USB drive into your Raspberry Pi 4 while RetroPie is running.
- RetroPie will automatically create the necessary folder structure for ROMs and other system files.
- Once finished, remove the USB drive from the Raspberry Pi.
Step 4: Transferring ROMs to the USB Drive
- Plug the USB drive back into your computer. You'll now see a variety of folders for each emulator.
- Copy your ROM files into their respective folders based on the console to which they belong.
- Safely eject the USB drive from your computer.
Step 5: Loading ROMs into RetroPie
- Insert the USB drive back into your Raspberry Pi 4.
- RetroPie will automatically transfer the ROMs from the USB to the correct location on your Raspberry Pi's microSD card.
- Once the transfer is complete, remove the USB drive.
- Restart EmulationStation, and your games should appear in the menu, ready to play.
With RetroPie installed on your Raspberry Pi 4, you now have a powerful and customizable retro gaming console at your fingertips.
We hope this guide has helped you get started with RetroPie and make the most of your Raspberry Pi 4. Remember, this is just the beginning—there are countless ways to customize and expand your gaming setup with new emulators, controllers, and accessories.
Happy gaming!