How to set up Parental Controls in Windows 10

Looking to control your kids PC usage? This guide will show you how to set up parental controls in Windows 10. Parental Controls in Windows 10 can be used to restrict screen time, block websites, control what game ratings your child has access to, and prevent making purchases in the Microsoft store without your approval. While earlier versions of Windows controlled these settings locally, Windows 10 requires the use of a Microsoft Account to use this feature.
Here is how to set up parental controls:
- Sign in to your Microsoft Account at https://account.microsoft.com and select the Family tab then choose Create a Family Group.

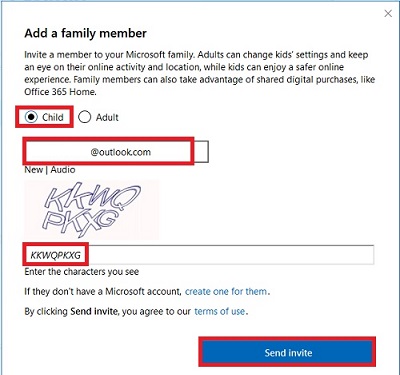
- You will be prompted to add a family member. Select child, add the email address for their Microsoft Account, complete the captcha, and then Send Invite.
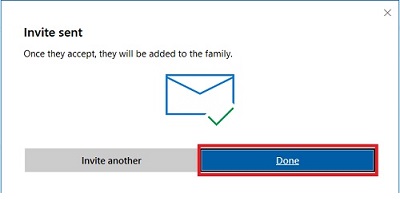
- If you have additional children, you can choose Invite Another and repeat the previous step. Choose Done when finished.
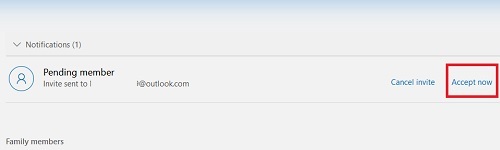
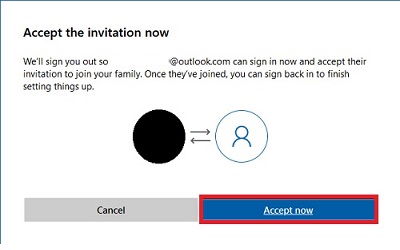
- To accept a family member, on the Family tab, choose Accept Now beside Pending member.
- Choose Accept Now.
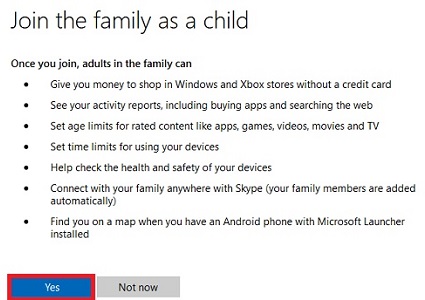
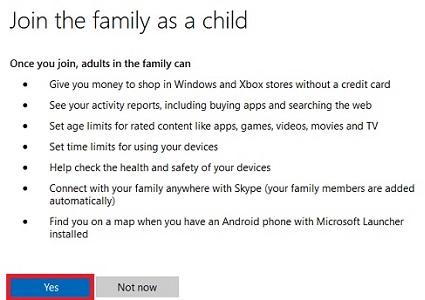
- Choose Yes.
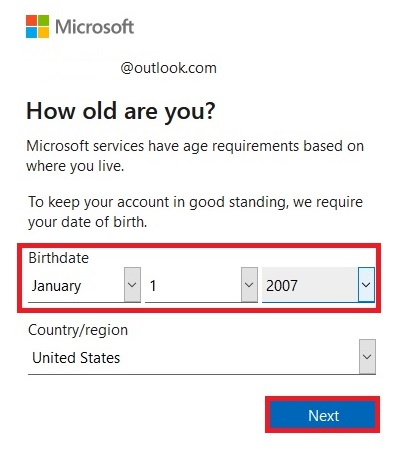
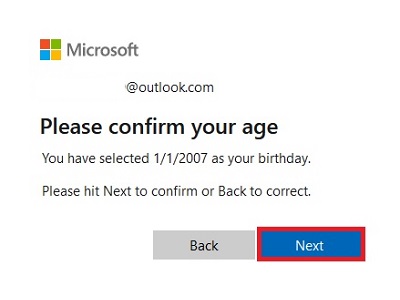
- If this is a new account or the child has never set their birth date, set the date of birth for the child. Next confirm the age of the child, and then choose Yes to accept the invitation again.
- You will now be signed in to the child’s account. In the top right corner, select their icon and select Sign in with a different account to switch back to your account.
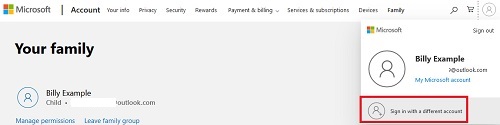
- Choose the Family tab to see the child listed in your Family Group.
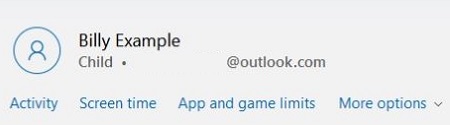
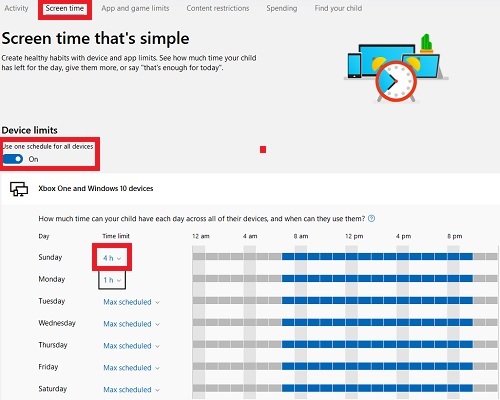
- You can now manage screen time and other settings for all devices your child accesses with their Microsoft Account.