Upgrading the Ender 3 V2 with a Micro Swiss Hotend
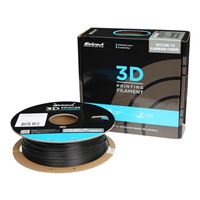
Printing with nylon and other specialty filaments on a stock printer can cause a lot of damage to your 3D printer. That’s why it’s important to make sure your printer is able to handle those materials.
Like me, you might need a few upgrades to start working with nylon. I’ve got a full walkthrough of my experience upgrading the Creality Ender 3 V2 over here (LINK TK), but if you just need help replacing the hotend, here’s a step-by-step guide to make that upgrade a snap.
Assembling the new hotend
Assembling the hotend is fairly straightforward, but does have a few steps:
- Screw the heat block into the heat break
- Screw the nozzle into the heat block
- Insert the heat break into the heat sink
- Tighten the set screw on the heat sink
The pictures below show how all these parts go together. For projects like this with small parts, I like to work on an old towel so the parts are less likely to roll or bounce away if I drop them.
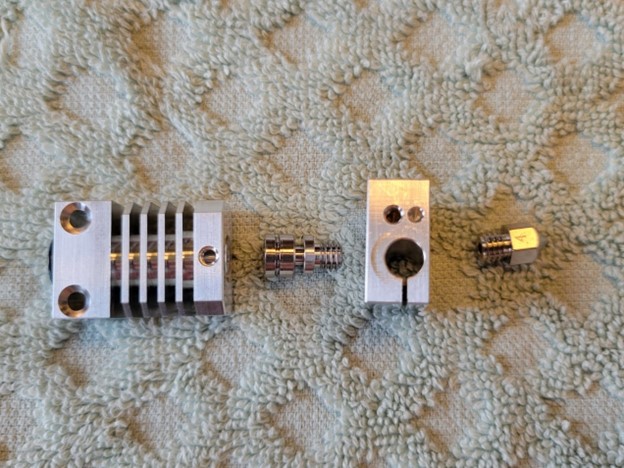
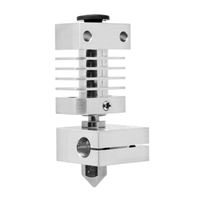
Photo: Nick Biederman. The new hotend consists of 4 major parts. From left to right we have the heat sink, heat break, heat block, and nozzle.
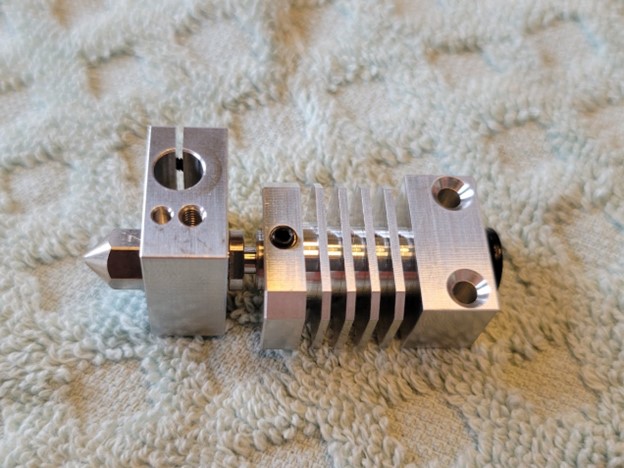
Photo: Nick Biederman. The assembled hotend should look like this.
Removing the stock hotend
Next, remove the stock hotend. After powering off and unplugging the printer, remove the hotend cover. On the Ender 3 v2 this is done by removing two screws on the back.
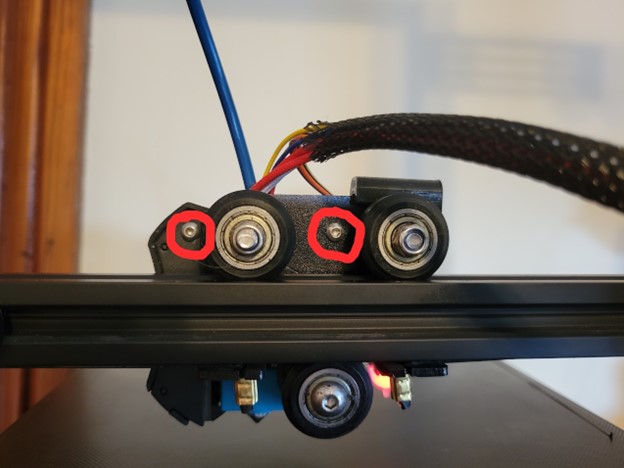
Photo: Nick Biederman. The two screws circled in red hold the hotend cover in place.
After removing the hotend cover, remove the two screws holding the hotend to the carriage. Lots of dust has built up under the hotend cover over the last couple of years, so I’ll be cleaning that up as well.
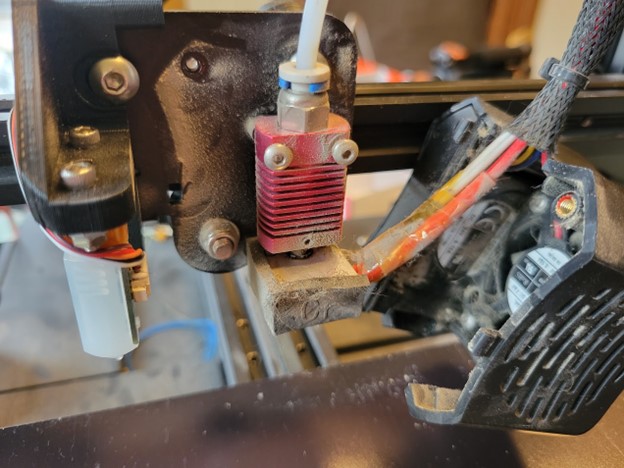
Photo: Nick Biederman. The two screws through the red heat sink hold the hotend in place. This is a great time to clean up all the dust that has collected too.
With the hotend loose, remove the PTFE tube. This is done by pressing down on the plastic retainer of the pneumatic fitting and pulling the tube out.
Finally, remove the thermistor by removing the Phillips screw in the heat block, then loosen the set screw to remove the heat block.
Installing the new hotend
With the old hotend fully removed, reverse the process to install the new hotend. Slide the heater into the new heat block and tighten the screws, then slide the thermistor into the small hole and reinstall the Phillips screw. Be careful not to overtighten the thermistor screw; you don’t want to damage the insulation on the wires. The new heat block uses two clamping screws rather than a single set screw to hold the heater in place.

Photo: Nick Biederman. The thermistor sits in the hole closest to the nozzle. Make sure the wires pass on either side of the threaded hole and tighten the screw gently.

Photo: Nick Biederman. Micro Swiss uses two clamp screws to hold the heater in place instead of a singular set screw.
Using the screws included with the hotend, screw the hotend onto the carriage. The new screws are flat head while the originals are pan head, so you can’t reuse the old screws.

Photo: Nick Biederman. The new hotend should sit like this once installed. If needed, loosen the set screw in the heat sink and rotate the heat block to position the wires properly.
At this point, you can reinstall the existing PTFE tube or install the upgraded tube. In my case, I pushed the Capricorn tube into the fitting and let the excess hang for the time being.
To ensure everything is good and tight, preheat the hotend to about 200°C and snug down the screws holding the thermistor and heater. Using the thin wrench included in your hotend kit to support the heat break, tighten down the nozzle and heat break. If you don’t tighten these fittings while the hotend is hot, you’ll likely get leaks. Using two wrenches is necessary to avoid putting too much torque on the heat break and breaking it.

Photo: Nick Biederman. Tightening the nozzle requires two wrenches to ensure the heat break isn’t damaged.
Finally, put the silicone boot on the heat block and reinstall the hotend cover and fan.
And with that, all that’s left is to add some zip ties to tidy everything up. Your Ender 3 V2 is now ready for nylon. Go forth and print!
Read more:
- Mastering 3D Printer Calibration
- How to Create High-Heat Nylon Prints
- See 3D printers at Micro Center
- See 3D printer filament at Micro Center
- See 3D printer accessories at Micro Center