How to Build a DIY Drying Chamber with Household Items

One of the few, but very important rules, of 3D printing is to store your filament in a cool, dry place. Unfortunately, between accidents and natural condensation in the air, filament will get wet. And wet filament means bubbling, stringing, and poor layer adhesion. Thankfully, there’s a way to return that filament to its former, malleable glory with just a few, easily sourced pieces.
We’ll be walking through the process of creating a DIY filament drying chamber using a household hair dryer, a Raspberry Pi Pico, and a few custom 3D-printed components. Inspired by the principles behind a clothes dryer, this drying chamber circulates warm, dry air over the filament while monitoring its status with temperature and humidity readings.
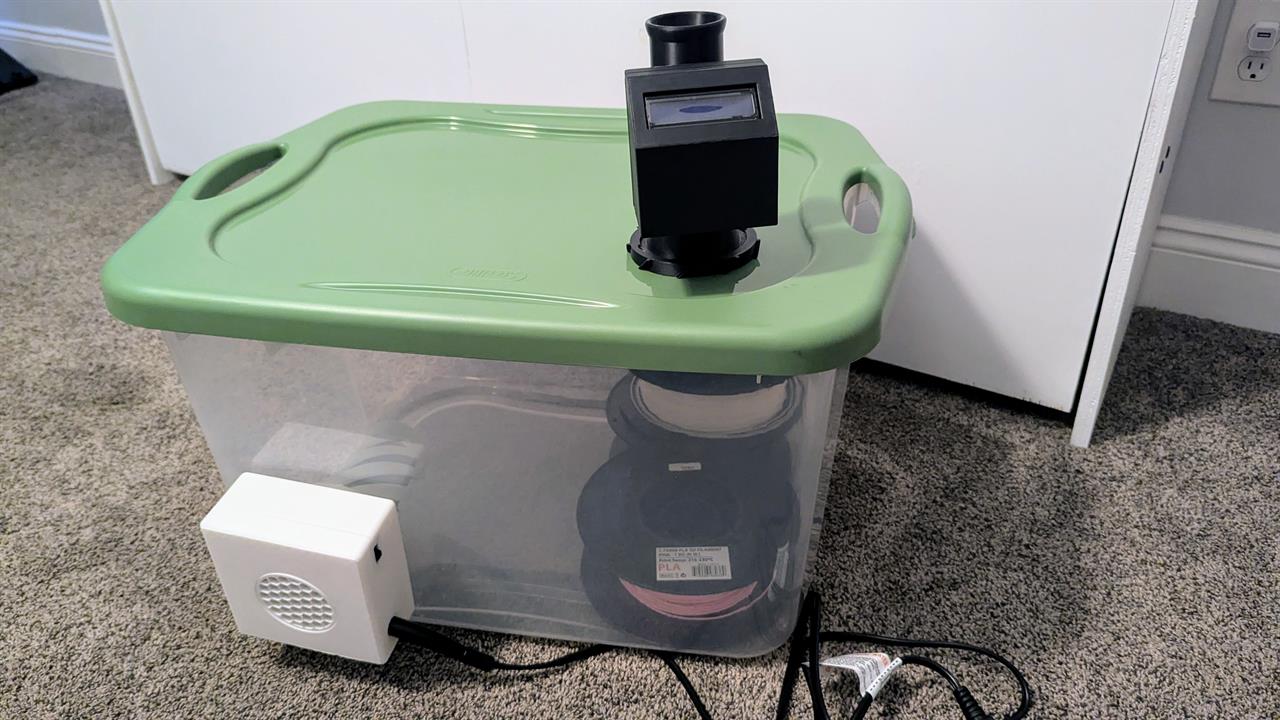 Photo: Micro Center
 But keep in mind, this is an ongoing project. There are a lot of variables that can affect how it works in practice. However, being an ongoing project, there’s also plenty of room for personal customization and improvements. Depending on your result, this might become a game-changing filament drying solution or simply a learning experience. Either way, it's an exciting opportunity to innovate and experiment in the maker community.
What You’ll Need
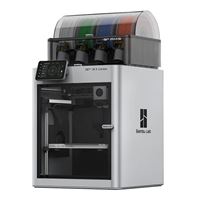
- 3D Printer (we used the Bambu Lab X1C)
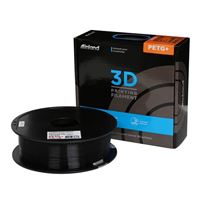
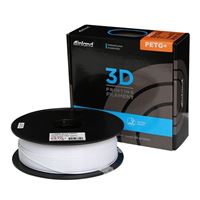
- Filament (we recommend Inland White and Black PETG)
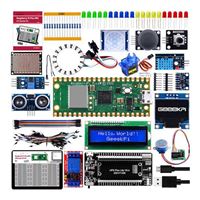
- The Raspberry Pi Pico W Ultimate Kit -We’ll be using wiring, connectors, DHT11 Temperature and Humidity Sensor, and the LCD1602 display module from this kit
- A hair drier (we used – and took apart - a Conair 1875)
- A large plastic storage container with lid. We will be cutting into this container, so make sure you don’t need it for anything else!
- Three .py script files that can be found at the bottom of this article
Safety First
Projects like this involve working with 120V electrical components, including a hair dryer's heating element and fan. While this makes for a powerful and compact solution, it also introduces risks. Here are a few safety measures to keep in mind:
Treat the DIY Drying Chamber like a Space Heater:
- Never leave the drying chamber unattended while it's in operation.
- Always operate the chamber on a stable, non-flammable surface in a well-ventilated area.
Use Proper Electrical Precautions:
- The hair dryer's built-in GFCI (ground-fault circuit interrupter) and overheat protection offer an important layer of safety.
- Double-check all wiring connections to ensure they are secure and insulated.
- Keep the power cord clear of heat sources and moving parts.
Monitor Chamber Conditions:
- Use the Raspberry Pi Pico and sensors to monitor temperature and humidity levels.
- Ensure the chamber does not exceed safe temperature limits to prevent damage to the filament, plastic container, or its surroundings.
By taking these precautions, you can keep yourself and your belongings safe while experimenting with this DIY project.
The 3D Printed Components
Before any building can be done, it’s important to have all the components ready to go, including the 3D printed components. All the pieces can be found on our Printables page and can be readily adjusted to fit your needs. Let’s break down what each of these components are and how they’re used.
Bulkhead Connector for the Heating Element:
The bulkhead connector allows the hair dryer's heating element to pass through the chamber wall. It’s designed to be a snug fit so as to prevent air leaks while securely holding the element in place. If adjustments are made to this piece, ensure that the fit is still snug, as a loose fit can greatly diminish the effectiveness of the drying chamber.
Housing for the Dryer Fan:
The dryer fan housing provides an enclosure for the fan and switch while ensuring proper alignment and airflow into the chamber.

Exhaust Stack with Sensor Mount:
The exhaust stack is particularly crucial for the drying chamber, as it directs moist air out of the chamber. Without it, the drying chamber would just be a sauna: hot, very damp, and not actually drying filament. The exhaust stack also includes a slot for the DHT11 sensor to monitor the temperature and humidity of the outgoing air.
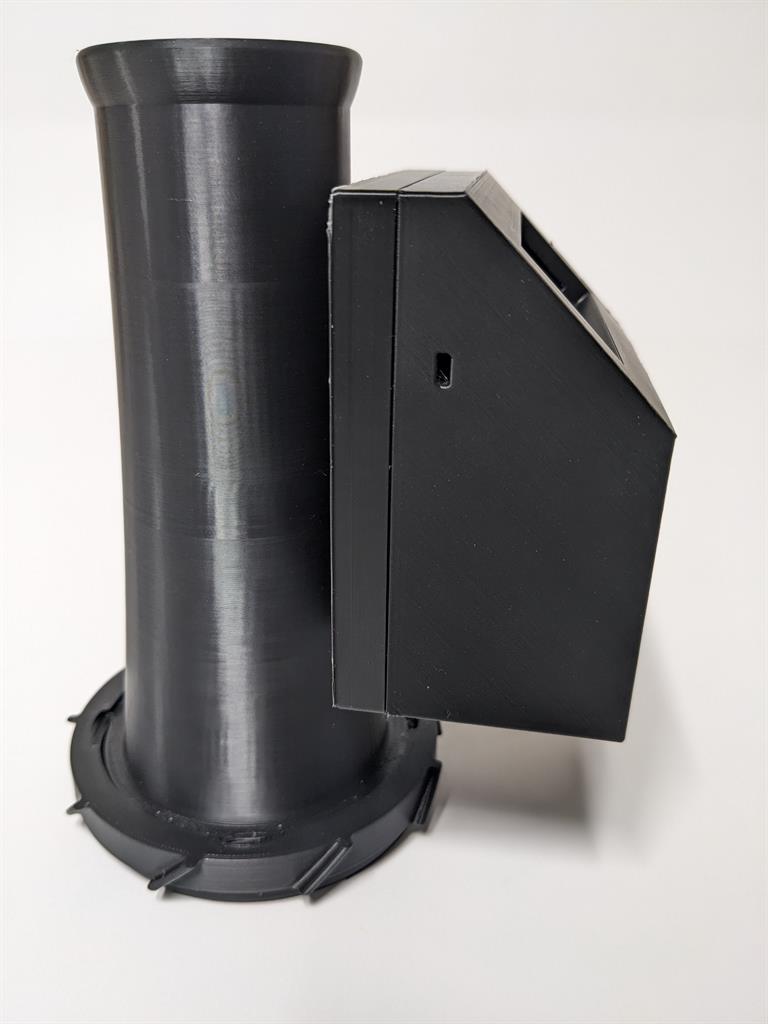
Sensor and Display Mounts:
The sensor and display mounts keep the Raspberry Pi Pico and LCD1602 display organized and accessible outside the chamber while protecting them from heat.
The Circuit and Script
At the heart of this project is a simple circuit powered by a Raspberry Pi Pico. It connects the key components—the DHT11 sensor for monitoring temperature and humidity and the LCD1602 display for real-time feedback.
How It Works
The DHT11 sensor measures temperature and humidity within the chamber and outputs digital readings via GPIO15. From there, the LCD1602 Display (I2C) displays real-time data from the sensor using the I2C protocol to reduce wiring complexity and conserve GPIO pins. These components are powered by the Pico, with the 3.3V pin powering the DHT 11 and the 5V pin powering the LCD1602.
To begin, connect the components to the Raspberry Pi Pico using the Circuit Overview and photos below. Once assembled, we’ll move on to the script required for the drying chamber.
Circuit Overview
Setting up the Raspberry Pi Pico Script
The MicroPython script coordinates sensor readings, real-time display, and data logging. Key functions include capturing temperature and humidity readings from the DHT11 sensor, updating the display to show the latest readings for instant feedback, as well as logging data by appending each reading to a file (continuous_log.txt) on the Pico, ensuring a running log for trend analysis.
Step 1: Preparing the Libraries
To begin, obtain the dht library. This will be used to read data from the sensor and is often included in the MicroPython installation (MicroPython can be downloaded here). If it is not, it can be found at the MicroPython DHT GitHub Repository. Save the file as dht.py.
Once downloaded, prepare the basic_lcd library. Do this by creating a new file using the script provided at the bottom of this article. Save the file as basic_lcd.py
Step 2: Connecting the Raspberry Pi Pico
Connect the Pico to Your Computer using a USB cable and then open Thonny IDE. Confirm that the Pico is running MicroPython (RP2040). If not, flash MicroPython onto your Pico.
From there, we’ll be setting up the interpreter, which will display outputs as we work. To do so, in Thonny, go to Tools > Options > Interpreter. Select MicroPython (Raspberry Pi Pico) and the correct USB port for your device.
Step 3: Uploading the Libraries
Next, upload the libraries, starting with dht.py. To do so, open Thonny and click File > New to create a new file. Copy the contents of dht.py into the editor. Finally, save the file to the Pico by clicking File > Save As, then choose Raspberry Pi Pico, and save the file with the name dht.py.
We’ll also be uploading basic_lcd.py the same way. open Thonny and click File > New to create a new file. Copy the contents of basic_lcd.py TK into the editor. Finally, save the file to the Pico by clicking File > Save As, then choose Raspberry Pi Pico, and save the file with the name basic_lcd.py.
Step 4: Prepare the Final Script
There’s one more script that needs to be incorporated in order for our drying chamber to properly function. Just like above, start by opening a script in Thonny by clicking File > New to create a new file. Then, copy the final version of your script (you can use ours, main.py, as well) into the Thonny editor. Before you move on, verify the script runs and imports the necessary files (dht.py and basic_lcd.py).
Step 5: Save the Script to the Pico
Before the script can be tested, it needs to be saved to the Pico. To do so, click File > Save As. Choose "Raspberry Pi Pico" to save the script to the Pico's filesystem. Name the script main.py. This will ensure the Pico will automatically run this script upon boot.
To verify that the file has been successfully save to the Pico, check the filesystem. To do so, open the "Files" pane in Thonny (View > Files). Ensure that main.py is saved on the Pico, as well as the required libraries (dht.py and basic_lcd.py).
Step 6: Test the Script
The last step before assembling the drying chamber is to test the script to make sure that everything is running properly. To do so, click the green "Run" button (or press F5) in Thonny to execute the script on the Pico. Check to make sure that the LCD is displaying the DHT11 readings and that log data is being written to continuous_log.txt and rotate to log_archive.txt when the file size exceeds the set limit.
If an error is encountered, check the Thonny terminal for messages. The most common errors we found were incorrect library files, wiring problems, or script typos. Verify that library files are spelled correctly and properly uploaded, the Pico is properly connected to the components, and that there are not typos in the script.
Once everything runs properly, it’s time to set up the drying chamber.
Building the Drying Chamber
Step 1: Preparing the Drying Chamber
The first thing we need to do is modify the storage container so that it will properly fit our electronics. To begin, cut a circular opening in the side of the container for the 3D printed bulkhead. We recommend tracing the bulkhead before cutting to ensure a tight fit. Repeat this process with the exhaust stack on the lid of the container. A hot knife will make this process smoother.
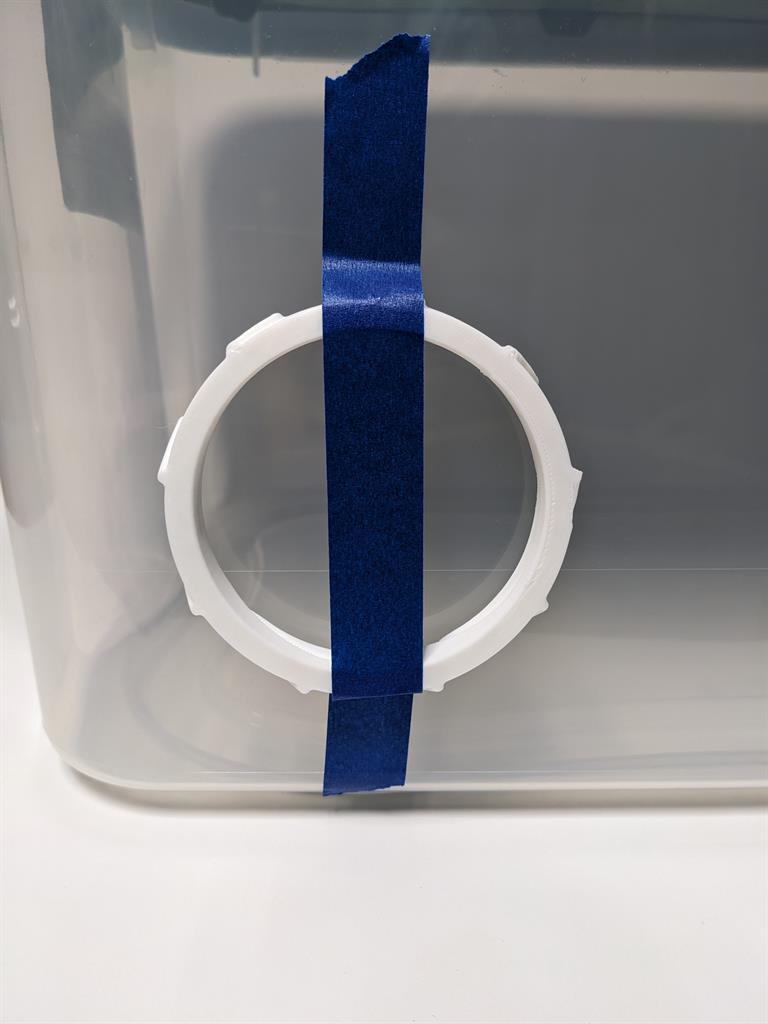
Step 2: Mount the Exhaust Stack
Once the cuts have been made, install the exhaust stack to the top opening. Next, mount the DHT11 sensor inside the exhaust stack, positioning it to measure outgoing air.
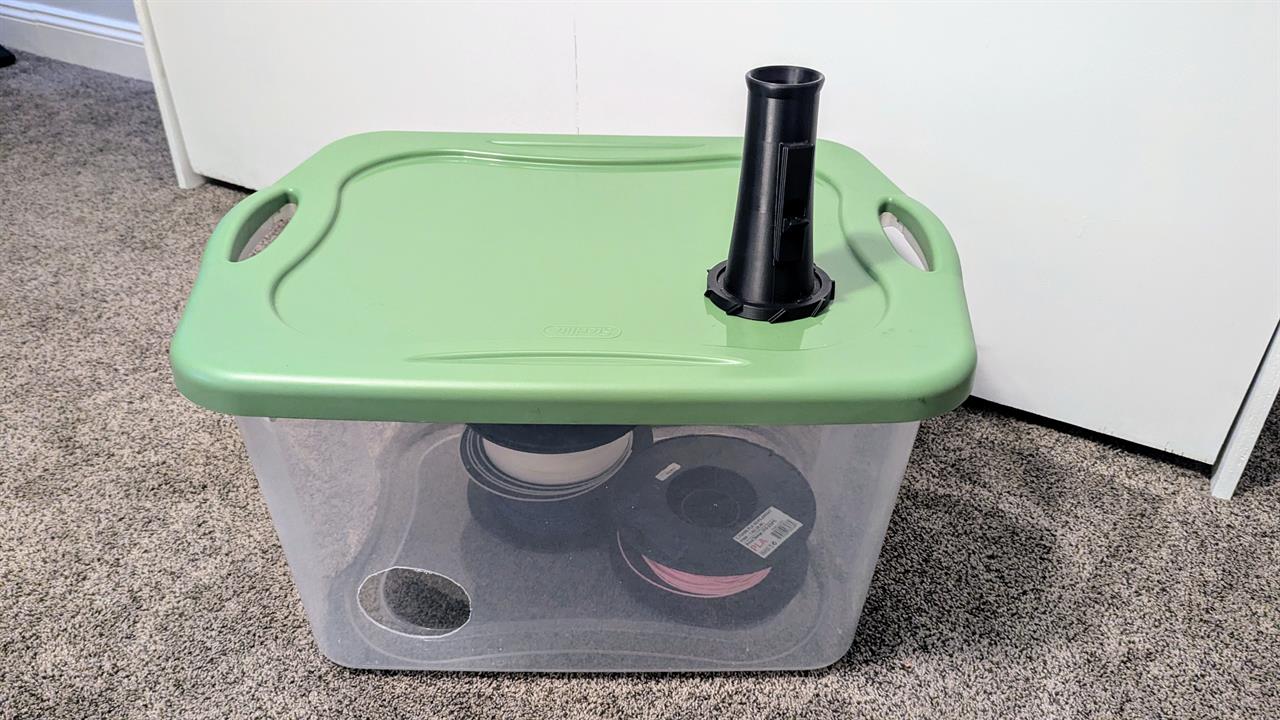 Photo: Micro Center
 Step 3: Extract the Fan from the Hair Dryer.
This step will vary depending on which hair dryer you used, but you should end with something similar to the photo below. Make sure the heat shield remains on the hair dryer fan.
Step 4: Mounting the Heating Element and Fan
Using the hole on the side of the container we cut in step one, we’ll be attaching the heating fan from our hair dryer. To do so, Secure the hair dryer's fan and heating element into the 3D-printed housing. From there, connect the housing to the bulkhead, ensuring proper alignment for airflow.

Step 5: Integrating the Electronics
If you haven’t yet, or if you’ve disconnected them, Connect the DHT11 sensor and LCD1602 to the Pico according to the circuit diagram. Once connected, mount the Pico and LCD outside the container using the 3D-printed enclosure.
Before moving on to the next step, be sure to test the connections. Power on the Pico and confirm that the LCD displays real-time temperature and humidity readings. Verify that the DHT11 sensor responds to changes in air conditions.
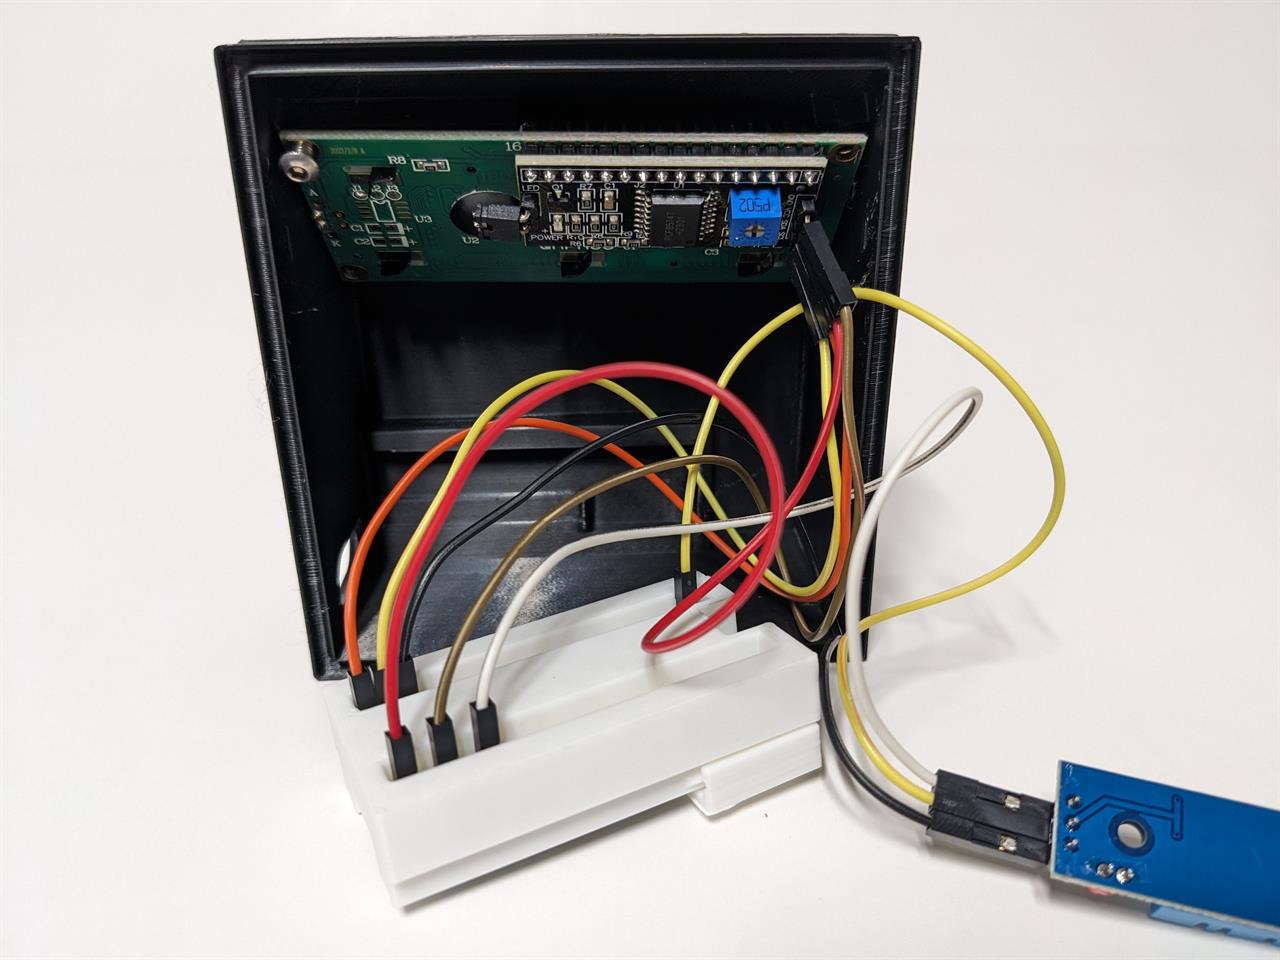 Photo: Micro Center
 Step 6 (optional): Placing the Filament
If you have filament ready for drying, now is a great time to get them placed in the container. We recommend using risers or racks to elevate the filament, maximizing airflow. Similarly, avoid placing the filament in direct contact with the container, as this may cause uneven drying.
Step 7: Final Setup and Testing
All that’s left to do is Run the System. Set the hair dryer to its low setting to reach a chamber temperature of about 120°F. Monitor the LCD for temperature and humidity readings to confirm airflow and heating.
Always be sure to track performance, but especially during the first trial run, as this is where unexpected mistakes can show themselves. Observe changes in humidity over time to assess drying effectiveness. Check that all components operate safely without overheating.

Congratulations, you’ve successfully built your own filament drying chamber!
Tips for Success:
- Test in Short Sessions: Run the system in intervals to verify stability and refine the setup.
- Monitor Filament Condition: Periodically inspect the filament for signs of drying, such as improved rigidity or absence of popping during extrusion.
What Worked Well
In our testing, we found that the drying chamber worked incredibly well, thanks to a few key details:
Consistent Heat Distribution:- On its low setting, the hair dryer maintained a steady chamber temperature of approximately 120°F. We did not make any attempts with the higher wattage setting.
- The design ensured warm air circulated evenly around the filament spools.
- The Raspberry Pi Pico displayed temperature and humidity readings on the LCD.
- The DHT11 sensor tracked a noticeable drop in humidity within the chamber over time.
- After several hours of operation, test spools exhibited improved printability.
- Bubbling and stringing during extrusion were significantly reduced
Challenges Encountered
Of course, not every prototype is without its flaws. Here are a few things we noticed that could be improved in future iterations.
Humidity Levels in Exhaust:- Although the DHT11 sensor recorded declining humidity, the heated dry air exiting the chamber at a high rate made humidity readings unreliable. Relocating the humidity sensor or adding a sensor would be worthwhile.
- Minor gaps in the chamber's seals led to air leaks, which could impact efficiency over longer sessions. Using an insulated, sealed chamber would increase efficiency dramatically.
- The hair dryer's power consumption makes it a poor candidate for continuous operation or dry storage.
By the Numbers
Humidity:- Initial readings showed a high relative humidity of 55%-60%, which dropped to 30-40% after four hours.
- The chamber consistently hovered around the target temperature of 120°F, with fluctuations of ±5°F depending on ambient conditions.
Final Thoughts:
This prototype demonstrated the potential of a DIY filament drying chamber for improving filament quality. While the results showed promise, there is room for refinement to maximize efficiency and usability. The journey doesn't end here—it's just the beginning of a practical and customizable solution.
Of course, if you’d rather not DIY a filament drying chamber, you can also pick one up, like this one from Sovol, at your local Micro Center!