3D Printing a Retropie Handheld Case with Custom Icons
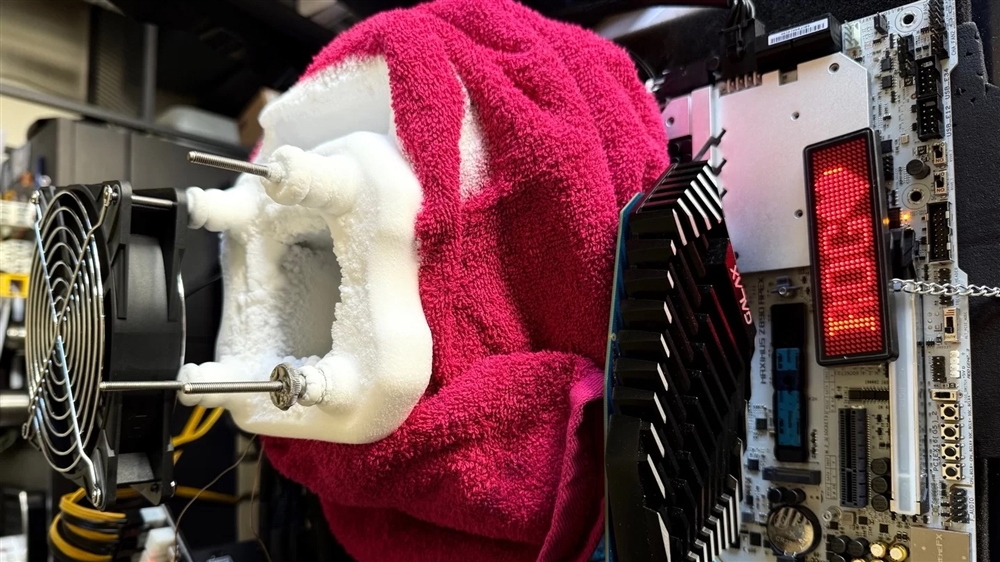
Recently I decided to print a case for my PiGrrl 2 with the Atari logo on it. PiGrrl is a series of Raspberry Pi powered portable emulation consoles produced by Adafruit. PiGrrl 2 is the most recent version to use a full-sized Raspberry Pi, so it’s more powerful than the three other versions. Here’s a picture of the result:

Before printing, I needed to add the Atari logo to the .stl. Since Adafruit distributes the Fusion 360 source files, I would generally use Fusion to make these changes. However, I didn’t have Fusion installed on the computer I was working on, so I decided to use Tinkercad instead. Tinkercad is Autodesk’s browser-based 3D modeling program. It’s not as powerful as Fusion 360, but it’s excellent for building models with simple geometry or tasks like embossing a logo onto an .stl.
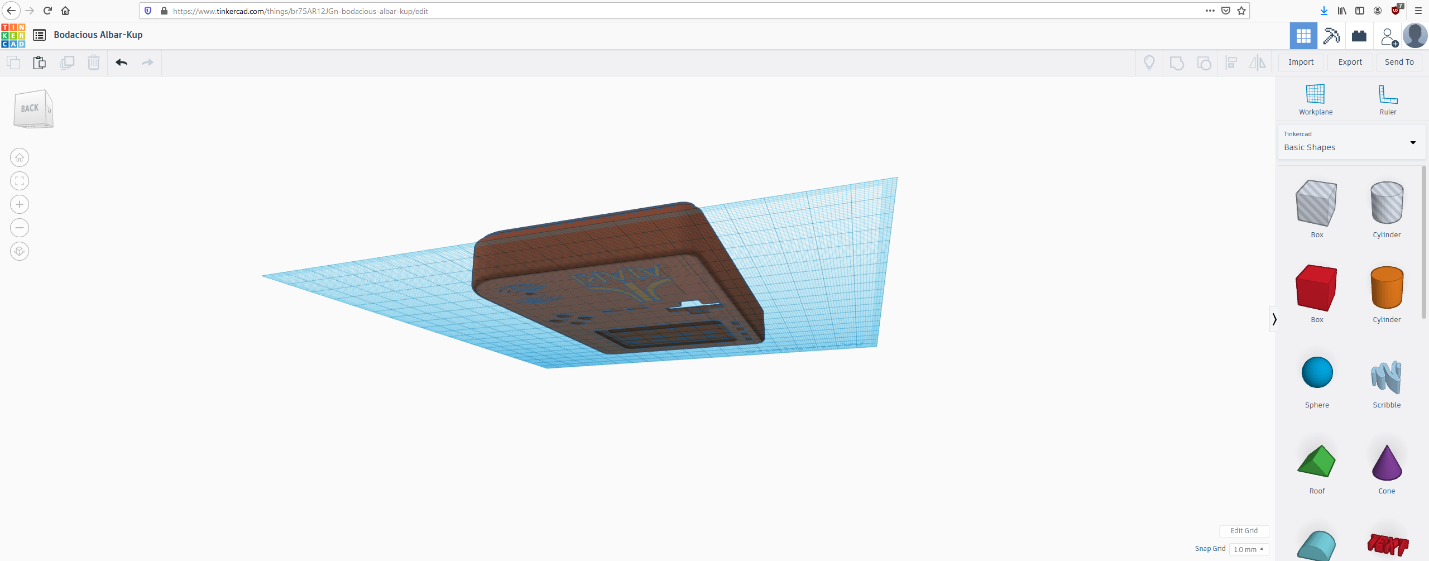
After making a Tinkercad account, you’ll need to get a hold of the .stl you want to emboss a logo onto and a .svg of the logo. I downloaded the .stl from Adafruit’s thing on Thingiverse and used a .ai of the Atari logo I exported as a .svg for this project. Once you have your files, import the .stl into Tinkercad and make sure it’s solid. Solids will show up as an opaque colored object. Holes are transparent grey.


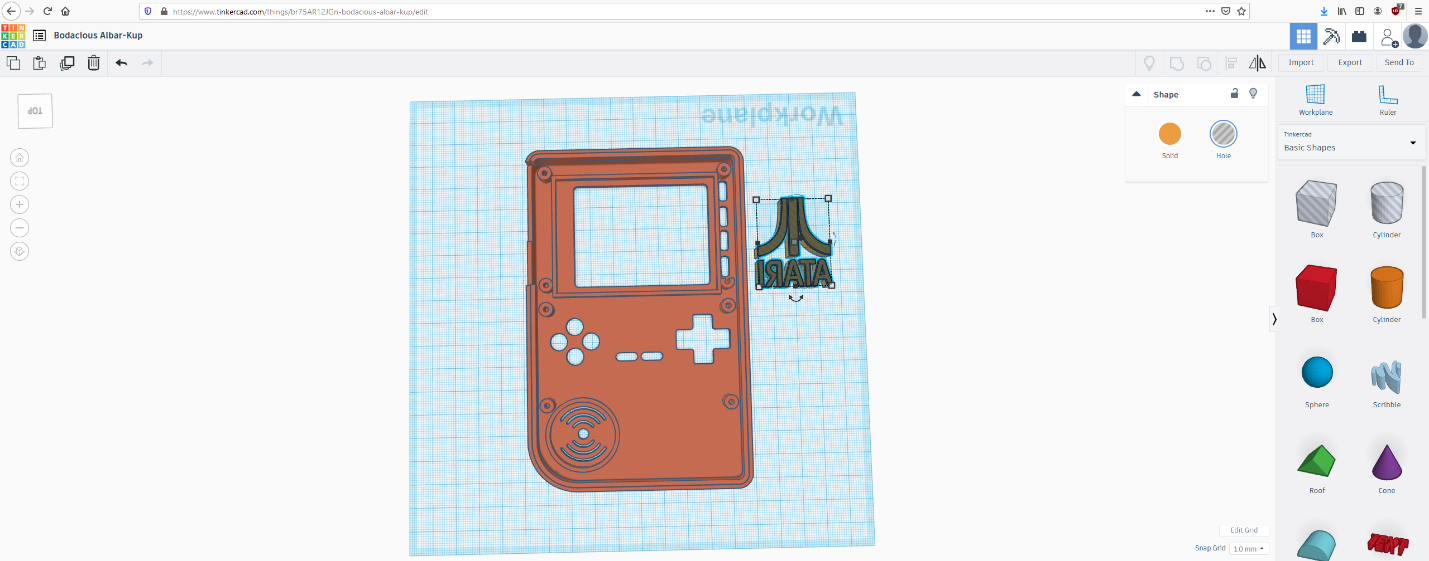
Place both the hole and the solid logo in place on the .stl. I found it easiest to stack the logos and move them into place at the same time. You can see the stacked logos before I moved them into place below.
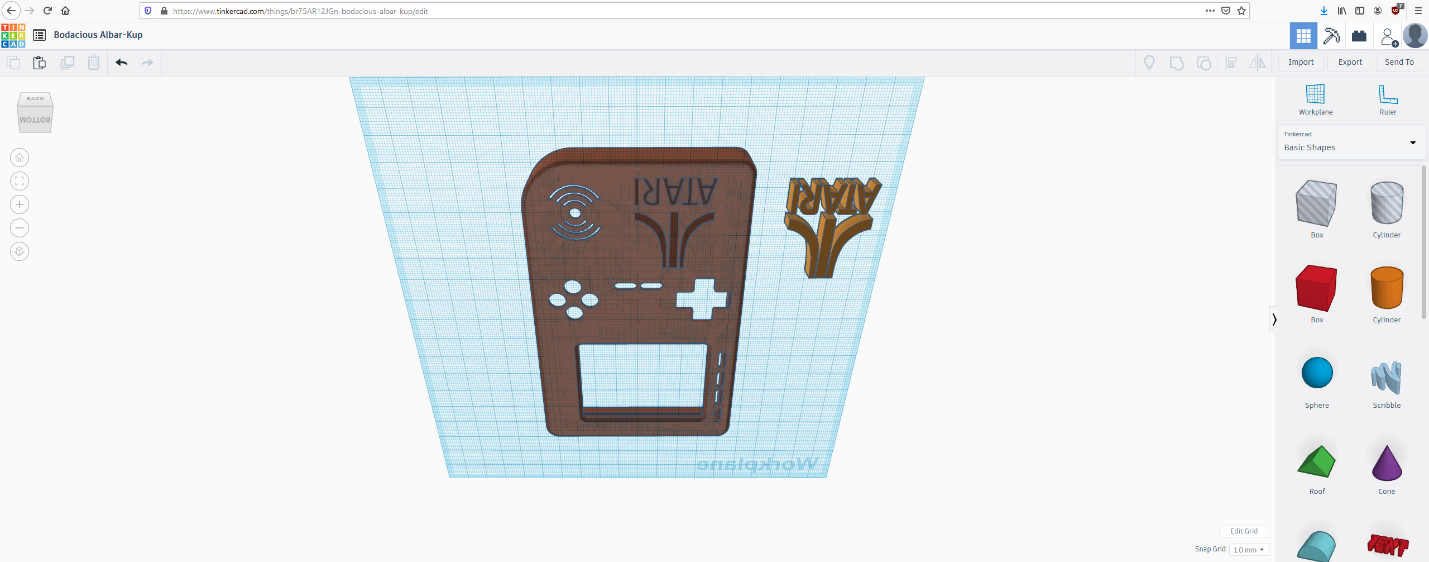
Select everything by pressing ctrl+a, then deselect the solid logo by holding shift and clicking it. This will be much easier if part of it sits below the build platform. Press ctrl+g to group the solid and hole together, creating a cavity in the solid. Here I have moved the logo to the side showing the result of grouping the solid and hole together.
Extrude cut the solid logo back to the build platform.
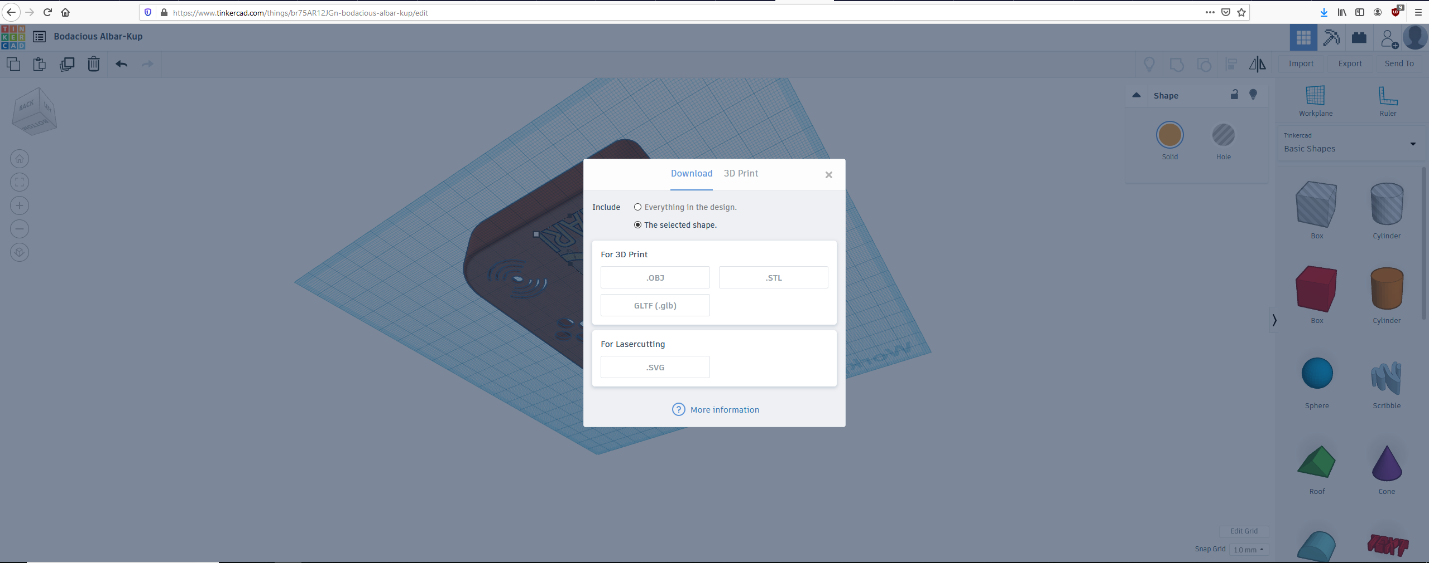
You now have 2 separate solids. Select one, then click export and check "The selected shape". Repeat this for the other body.
From here the process for doing a 2-color print varies from printer to printer, so I won’t go into detail on that. It generally involves importing both objects into your slicer and choosing a separate extruder for each object.
Though this process is great for 2 color printers, you can omit the steps regarding the solid version of the logo if you don’t have a 2 color printer. You can print in a single color or use a color swap to create a 2 color print. Check out this video detailing color swaps on the Ender 3. The process is essentially identical for any printer. Color swaps are a great way to add a little color without needing to replace or upgrade your printer.
Embossing a logo, text, or other design onto an object is a great way to add a little personalization and visual interest to an otherwise simple design. This process works best on flay or mostly flat objects, as the logo will be distorted by curves.