How To Clean and Cure Resin 3D Prints

Welcome to the world of 3D resin printing! Whether you're a seasoned professional or just starting, understanding the critical steps of post-processing is essential to achieving high-quality results. This guide will walk you through the techniques of cleaning and curing photopolymer resin prints, which are crucial for enhancing the durability and appearance of your projects.
For demonstration purposes, we used this Spiral Chess Set designed by Don1700 on Thingiverse.
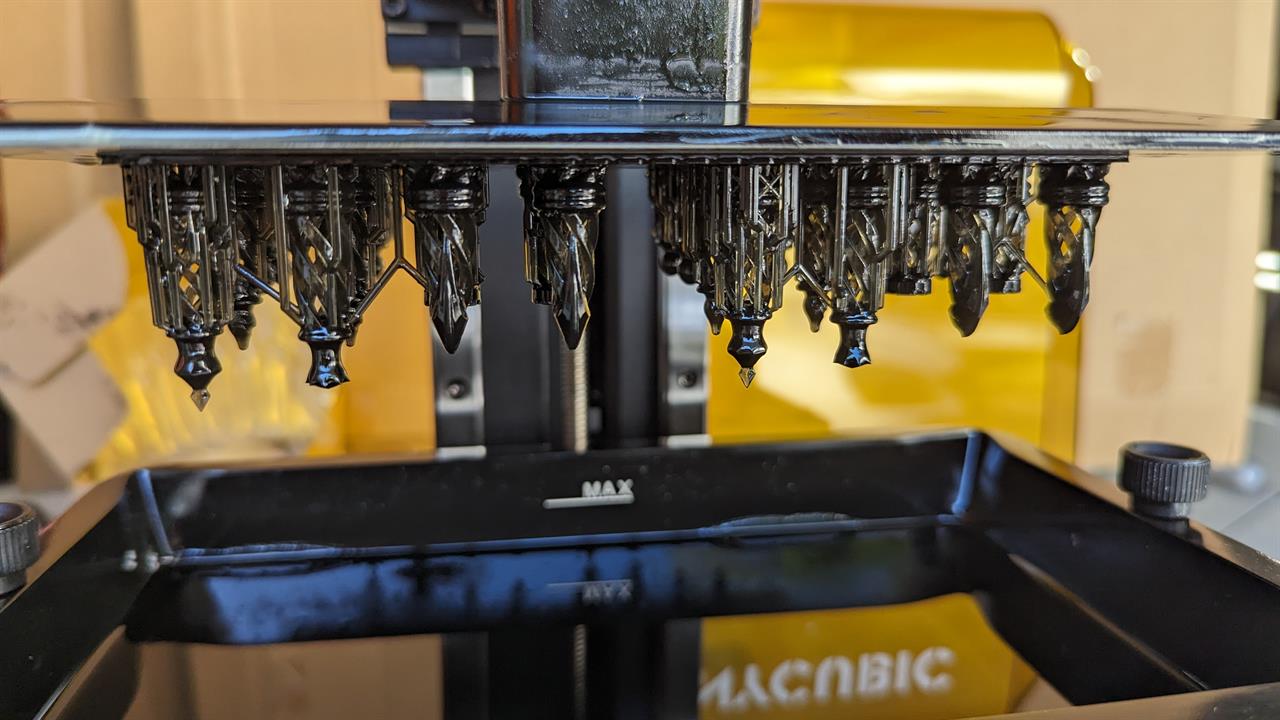 Photo: Micro Center
 Basics of Resin Printing
Resin 3D printing uses UV light to cure liquid photopolymer resin into solid objects layer by layer. Compared to traditional FDM 3D printing, resin is known for its precision and ability to produce smooth, detailed prints ideal for complex models. However, unlike filament-based printing, resin printing requires specific post-processing steps due to the nature of the materials used.
Photopolymer resins come in various formulations, each tailored to different applications and mechanical properties. No matter the formula, any resin print must be cleaned and cured to reach their final strength and aesthetic qualities. Understanding these resins' requirements is the first step toward mastering effective post-processing techniques.
Resin Safety
Refer to your resin printer and resin manufacturer’s safety instructions. Always wear safety gloves, safety goggles, a respirator, protective clothing, and work in a well-ventilated area. Do not allow the uncured resin to touch your skin.
Featured Printer: Anycubic Photon Mono M5s
For the projects and procedures described in this guide, we use the Anycubic Photon Mono M5s, a state-of-the-art resin 3D printer known for its precision and reliability. The M5s stands out with its high-speed printing capabilities, thanks to its advanced mono LCD technology, which allows for high-speed layer curing times. This printer is ideal for producing detailed models, providing excellent print quality and efficiency.
Cleaning and Removing Supports
Cleaning with Isopropyl Alcohol:
Once the print has been removed from the print base, with supports still attached, place the print in an ultrasonic bath filled with isopropyl alcohol. This method efficiently dissolves uncured resin without harming the integrity of the model. Run the bath for 5-10 minutes to ensure the cleaning solution exposes all surfaces.Rinsing:
After ultrasonic cleaning, gently rinse the print under cold tap water to remove residual alcohol and loose resin. This step is crucial for preparing the print for the curing process.Removing Supports:
Once the print is clean and dry, carefully remove the support structures. Use flush cutters or a similar tool to snip the supports close to the model's surface. File down any remaining nubs to smooth out the finish.Post-Cleanup Inspection:
Examine the print closely for any signs of uncured resin or missed supports. A clean, support-free print ensures a more effective curing process and a better final product.Following these steps creates a pristine, ready-to-cure print showcasing the design's features.
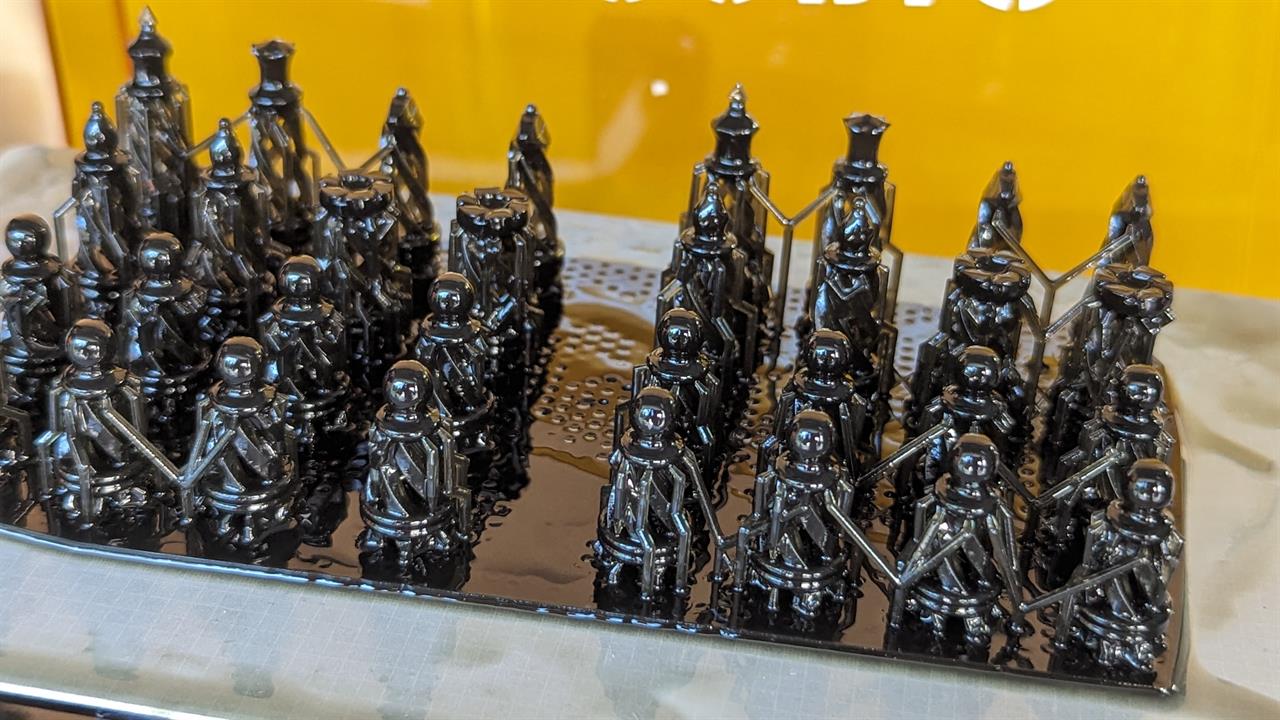 Photo: Micro Center
 Curing Process
Curing is a vital step in resin printing that solidifies and strengthens the model by exposing it to UV light. Here's how to effectively use a combo UV curing station to cure photopolymer resin prints:
Setup for Curing:
Ensure the print is clean and free of supports before setting it up in the curing station; this helps achieve an even cure without shadows or uncured spots.Using the Combo UV Curing Station:
Place the print inside the curing station. If the curing station has a turntable, position the print to rotate freely, ensuring all angles receive equal exposure to UV light.Checking for Complete Curing:
Check from multiple angles to ensure the entire print has been evenly exposed to UV light. Additional curing may be necessary for thicker or more intricate areas.
Post-Curing Handling:
Once fully cured, handle the print with care. Fully cured resin can be brittle, and thin features may be prone to snapping if handled roughly.Final Inspection:
Give the print a final inspection to ensure that it has cured properly. Check for a uniform finish and the absence of any uncured resin. Proper curing enhances the print's physical properties and visual appeal.Meticulously following these steps can ensure that resin prints are cured to perfection, bringing out the best in their aesthetic and functional qualities.
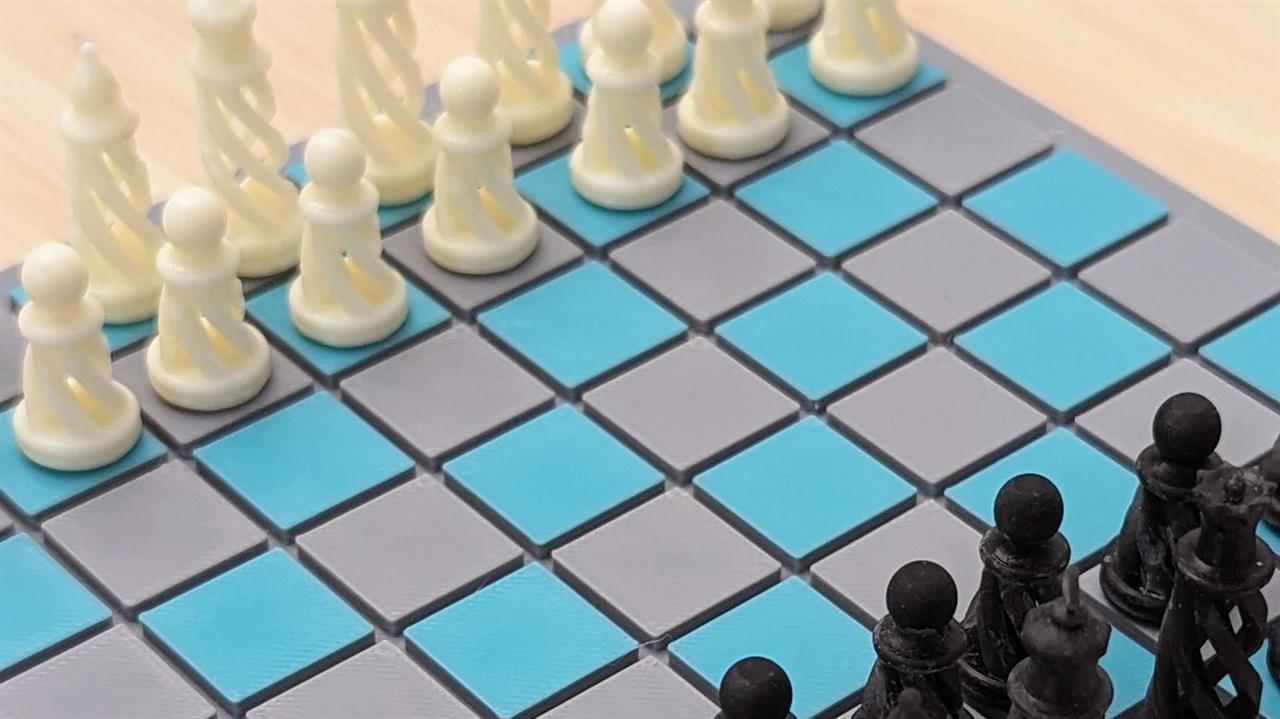
Photo: Micro Center
Troubleshooting
Even with careful post-processing, issues that affect the quality of resin prints can sometimes arise. Here are some common challenges and how to resolve them:
Sticky or Tacky Surfaces:
- If the print remains sticky after curing, it may not have been exposed to UV light long enough. Place it back in the curing station for additional time, checking periodically.
- Ensure that the UV light evenly covers all parts of the print. Uneven exposure can lead to incomplete curing.
Warping or Distortion:
- Warping can occur if the print is exposed to UV light too quickly after cleaning or cured for too long. To prevent this, allow the print to dry entirely before curing and closely monitor the curing duration.
- Maintain a consistent temperature and avoid direct sunlight during the curing process to minimize heat-related warping.
Residue on Prints:
- Residue or uncured resin often remains if the cleaning is insufficient. Clean the print thoroughly in the ultrasonic bath and rinse it well before curing.
- Consider changing the cleaning solution if residue issues persist, as it may have become contaminated or less effective.
Brittleness or Cracking:
- Brittleness can result from over-curing. Monitor the curing time carefully and avoid extending it beyond the recommended duration.
- If the resin is naturally brittle, consider using additives or a different type of resin formulated for increased flexibility.
Support Removal Scars:
- If scars from support removal are prominent, gently sand the affected areas after removing the supports and before curing.
- Use finer tools or slower settings when removing supports to reduce impact on the surface.
Mastering these critical post-processing techniques enhances any prints aesthetic appeal and ensures their functional integrity. Remember, the quality of the final print is significantly influenced by how well these post-processing steps are executed.
As you refine your skills in resin printing, experiment with different techniques and settings to find what works best for your specific projects. If you have additional questions about resin post-processing, leave a comment down below – it may get turned into an article of its own!