

How to schedule a Task in ESET Version 9
Description: This article will show how to schedule tasks in ESET Version 9.
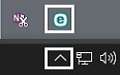
- Locate the ESET icon typically found in the lower right corner of the desktop screen - it may be found in the hidden icons here.

- Select the ESET icon to open the program.
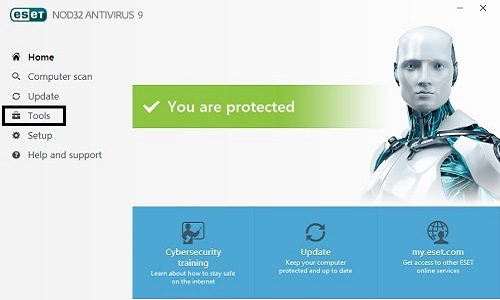
- The ESET home screen will open. Choose Tools on the left side.
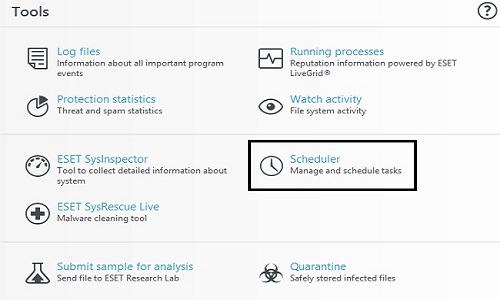
- Under the tools menu, select Scheduler.
- A list of scheduled tasks will appear. Select Add task at the bottom to create a new task.

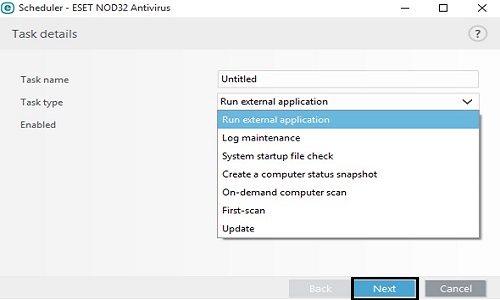
- The task details menu will show. Here tasks can be created, and assigned a name and type of task from the list. Select Next to continue.
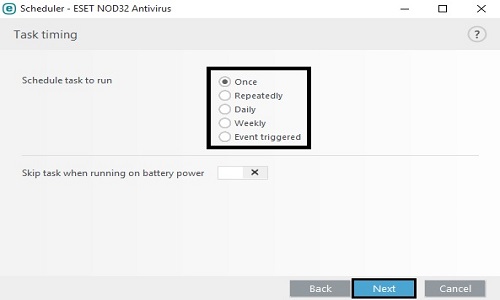
- The task timing screen will ask when the task will run, and whether to skip the task on battery power or not.
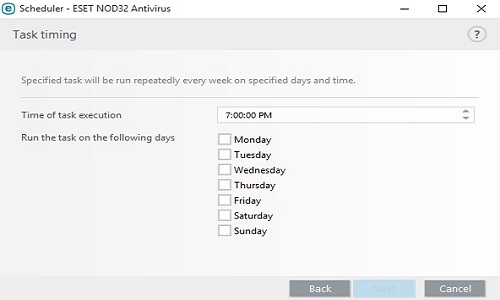
- An additional task timing will need to be set up for date and time for the task.
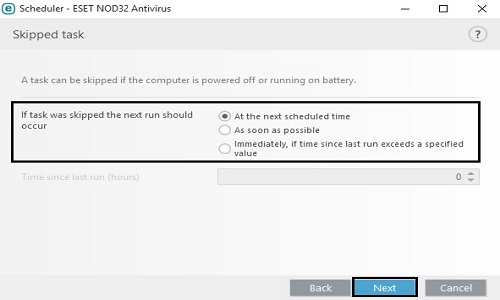
- The next window will be for what will happen if the task is skipped.
- Once finished, the new task will now appear in the list of scheduled tasks.

Technical Support Community
Free technical support is available for your desktops, laptops, printers, software usage and more, via our new community forum, where our tech support staff, or the Micro Center Community will be happy to answer your questions online.
Forums
Ask questions and get answers from our technical support team or our community.
PC Builds
Help in Choosing Parts
Troubleshooting