

How to prevent a Conflict with Trial Antivirus in Windows 10
Description: Most new computers will have a 30-60 day trial of internet security or antivirus pre-installed with the factory image. If ESET NOD32 Antivirus or Smart Security is installed before uninstalling the existing trial of a similar type of program, the two programs will conflict with each other causing the computer’s performance to slow dramatically. This article will show you how to restart a Windows 10 computer into Safe Mode and then to uninstall the pre-installed trial, using McAfee LiveSafe Internet Security for this example.
- If the computer is currently powered on, restart the machine. In some cases, it may be best to press and hold the power button for 10 seconds to fully shut down the computer and then press the power button again to start the computer.
- When Windows starts and the password prompt appears, do not enter the password and login.
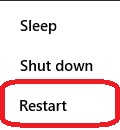
- Click the Power icon at the lower right hand corner of the screen.

- Hold the Shift key on the keyboard and click the Restart option.
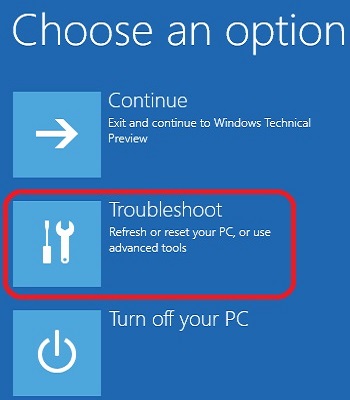
- A screen will appear with additional options. Click Troubleshoot.
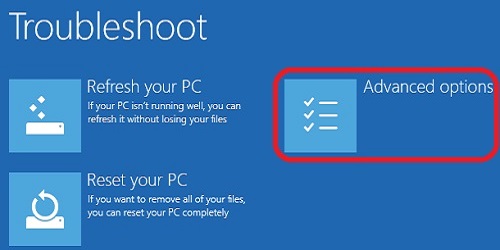
- Click Advanced options.
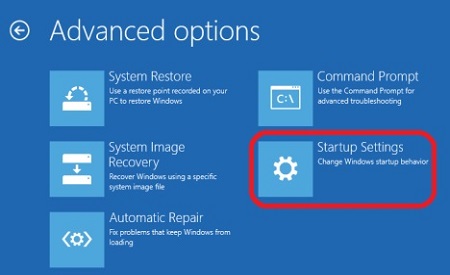
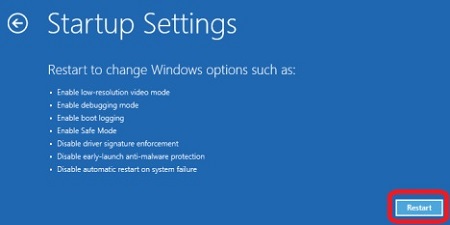
- Click Startup settings.
- Click the Restart button.
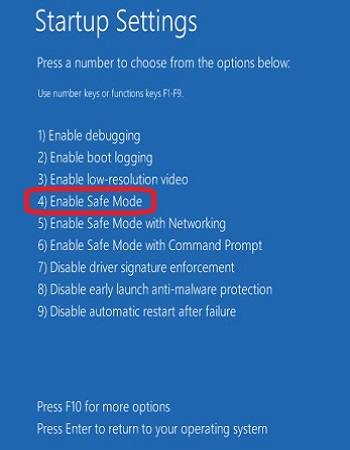
- The computer will restart again and will show additional options. Press either the 4 key or F4 on the keyboard to start the computer into Safe Mode.
- Log in normally to the computer.
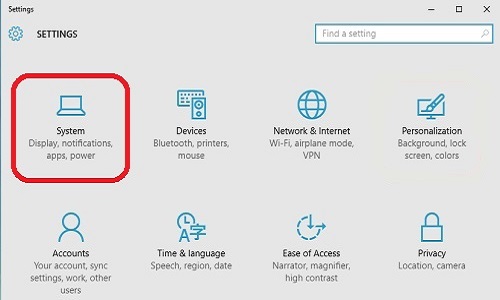
- Click the Start button and then click Settings.

- Click System and then click Apps & features.
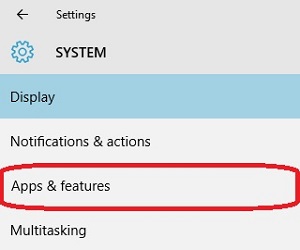
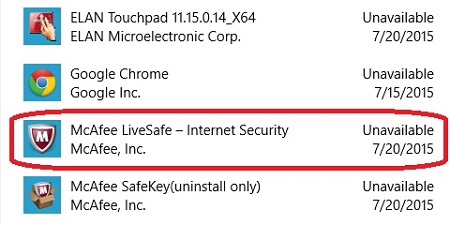
- Click McAfee LiveSafe – Internet Security.
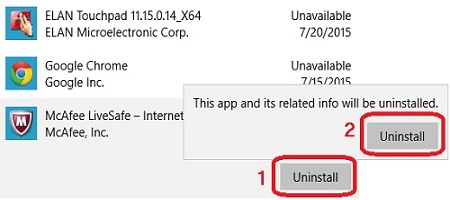
- Click the Uninstall button, and the second one to confirm.
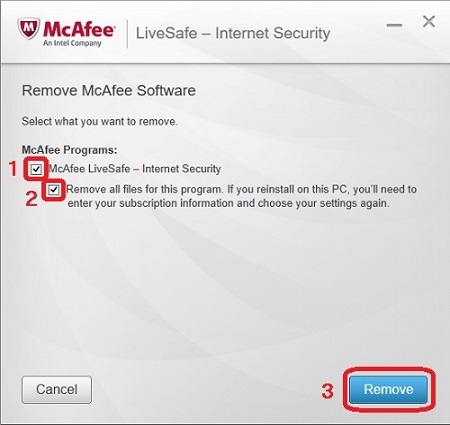
- The uninstaller will open for McAfee and will ask which programs to remove. Click both checkboxes to place a check in both of them, and then click Remove.
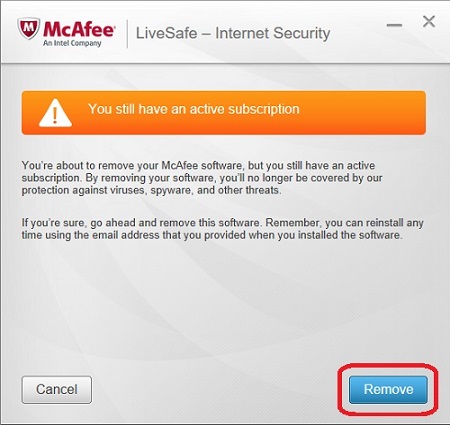
- There will a prompt that you still have an active subscription, click Remove.
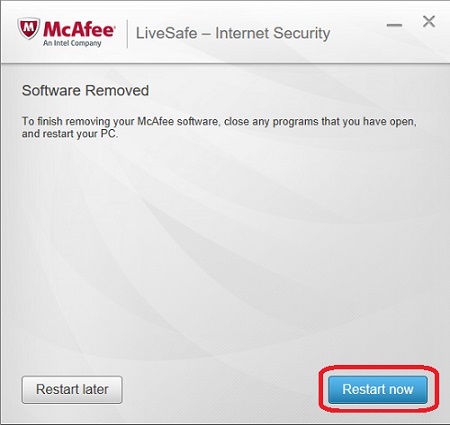
- Once the program has uninstalled, which can take several minutes, click the Restart now button. The computer will restart normally into Windows and will run much smoother than before.
Free technical support is available for your desktops, laptops, printers, software usage and more, via our new community forum, where our tech support staff, or the Micro Center Community will be happy to answer your questions online.
Ask questions and get answers from our technical support team or our community.
PC Builds
Help in Choosing Parts
Troubleshooting