

How to set up DDNS on a Tenda FH1201
Description: This article will show how to configure a DDNS (Dynamic Domain Name Server) on a Tenda FH1201 AC1200 router. This will allow you to host a server using a set domain name when you don't have a static IP address.
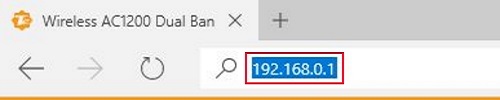
- Open up a web browser and type 192.168.0.1 into the address bar. Press enter.
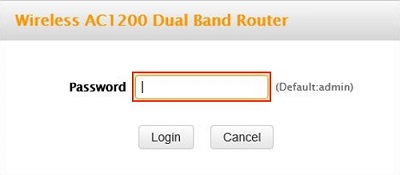
- You will now be on the login page. The default password is admin unless you have changed it. Enter the password and then click Login.
- Click on the Advanced link.
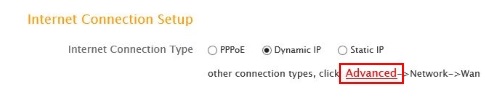
- Click on the Advanced tab.

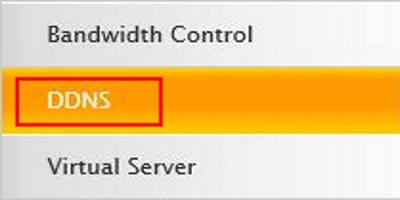
- Click on DDNS in the left menu.
- Select the Enable radio next to DDNS server.

- Select the service provider and click on Register. This will open a web page to that provider. You will need to register with them to continue.

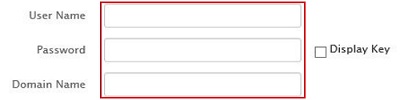
- Type in the username, password, and Domain Name that you get from the service provider.
- Click Save to finish.
Technical Support Community
Free technical support is available for your desktops, laptops, printers, software usage and more, via our new community forum, where our tech support staff, or the Micro Center Community will be happy to answer your questions online.
Forums
Ask questions and get answers from our technical support team or our community.
PC Builds
Help in Choosing Parts
Troubleshooting