

The Golden Dragon
by CHUCK J Posted on: 5/21/2026


Build Description
After leaving console behind and building my first PC in Sept.-Oct. last year, which was a dual gaming build for my wife and I, I wanted to upgrade to water cooling with a custom loop; however, Computer's are an addiction, and instead of getting water cooling components, I ended up purchasing and MSI Godlike X Edition Mother Board and then a few days later, got a good deal on an MSI Gaming Trio OC Nvidia 5090, and I the build quickly moved from simple upgrade to full on rebuild. We started with the same base Lian Li 011 XL I had used in my first build for budget, I decided to go with another Ryzen 9 9950X3D for CPU and then 96 GB of T-Create Ram (I decided afterwards to swap the T-Create with the 64 GB GSkill Z5 Royal CL28-36-36-96 6000 DDR 5 From my First PC Build even though aesthetically the Black T-Create Looked Good). I also upgraded the memory in this board, to an 8TB Samsung 9100 Pro, Moved my Second SSD a 4 TB Fury Gen 5, Crucial 500 Gb Scratch SSD, and 6tb Western Digital HDD from my previous build. (The Mother Board from that Build the MSI Edge WIFI and 4TB Fury SSD, were moved to my wife's PC since she wanted to go all white instead of the original black and white build). I then started putting together the components for the water cooling portion of my build. For the CPU I opted for the Alphacool Core LT 1and then an Alphacool Core GPU Cooling Block, Two Alphacool NexXxos XT45 Full Copper X-Flow Radiator, 420mm, and a Ultitube D5 Next reservoir/pump combo. I knew I wanted to go with a hard tube build, and I wanted spirals in the loop. Byski makes a spiral mandrel for bending pc cooling tube, but I was unable to find it in stock anywhere, so I used it as an excuse to add a Bambu P2S to print my own spiral bending tool from an STL file I found online. I then turned my attention to watching videos and reading everything I could get my hands on about putting a water block on my GPU. The CPU was not that much different from any AIO you would seat, but tearing into an MSI 5090 after only building two computers was slightly stressful to say the least. After watching multiple videos, I decided to go with Grizzly Putty in combination with Honeywell PMT 7950 for GPU Core and CPU. I was lucky enough to have a friend who works at Honeywell secure some for me, so I did not have to worry about the authenticity of what I was ordering, (Thank You, JEFF). I had initially considered keeping the Lian Li Infinity Fans from my original build. I, however, had been buying and stockpiling some things for a dedicated Streaming (THE STREAM BOX), which I am currently putting the finishing touches on and will upload once complete, and I really liked the look of the Thermal Take SwaFans and so I went with those for this build. In the case I mounted the D5 on the side. The build has 9 140mm and 1 120mm fan. The side mounted fans are configured with the top fan using the reverse blades for exhaust and the two bottom fans are intake. All radiator fans are intakes that pull cold air through and into case. The single 120mm in the rear exhaust, which leaves positive pressure and the cases interior temp general stays with in 4-5 degrees of ambient exterior temperature even under full load. I configured the loop in the following manner. Flow Exits the D5 ---> Alphacool NexXxos XT45 Radiator--> GPU--> 2nd Alphacool NexXxos X45T Radiator-->CPU-->Return to Reservoir. The system cools remarkably well. Even with unconventional bends and possible head loss, the system averages a flow of 4.68 L/min and maintains a water temp within 3-4 Centigrade of Ambient Temperature and generally about 1 Centigrade less than the System Temperature. Under load in 3DMark Speedway the GPU maintains 42-43 Centigrade and the CPU 52-55 Centigrade. Underload for longer gaming sessions running games such as, Crimson Desert and Indian Jones the temperature has not passed 52-53 Centigrade. The Low temperatures were actually a problem as the PMT7950 did not seem to be reaching a high enough temperature to obtain phase change and maximum results, I actually had to turn down pump speed to slow water flow and allow the PMT to change phases and break in for maximum performance. As good as thermals were, my first ever attempt at overclocking was an adventure. I scored 15,314, which I guess I would say was decent not only since I had only built my first PC ever 7 months earlier but also since it was my first attempt ever at Overclocking and was limiting it to the settings in MSI Afterburner. Only now am I starting to explore OC benchmarking changing Bios Settings. I do not, however, mention that first attempt to seem braggadocious because what happed immediately following that first attempt was a second attempt that ended in error, but worse ended up becoming a learning experience. When the screen blacked during second attempt, besides being frozen in fear, I noticed my hair standing up on my arm and the lightest tingle almost as if the air were electrically charged, and it was especially noticeable when I touched my keyboard. And once the card restarted, it came with a high pitched electrical whine. Naturally, Google... which initially mentioned card whine that can occur and may just go unnoticed in atypical air cooled system, but that electrical feeling was growing. I did what always fixes things. Turned it off to reboot....nothing... it wouldn't even attempt to post. At this point I was starting to sweat. Back to Google and every forum I could find. Eventually, after searching everything about GPU and electrical whine, I started to consider the PSU. Now, at the time I had kept the 1200 Watt Lian Li PSU that I had in my original build and that had never once given me a problem, I would discover though that I had cooked my first PCU. I hooked up the Lian Li 1200 Watt I had for THE STREAM BOX. Sure enough the PC posted and everything worked. After that I decided that I was going to avoid overpowering a PSU. I knew the circuit was good because I have run a dedicated 20 amp service line for each of my PCs, so I wanted to make sure I would have plenty of power. I replaced my Lian Li 1200 Watt with and MSI MEG 1600 Watt PSU and have not had any power issues since. While the pipe routing did not turn out exactly the way I had imagined it since it was my first time ever bending pipe for a custom loop and learning to measure and bend multiple 90s is an art that now only after another 2 months of practice am I starting to master, I was pleased with the overall look and performance of the loop. And it has only pushed me to want to build more. As I stated I am currently working on THE STREAM BOX to serve as a dedicated streaming platform. It will feature an MSI Project Zero MB, Tryxx AIO, ASUS ROG Hatsune Miku Edition 5080, with Ryzen 9 9950X3D set in a Thermal Take Strawberry Mint Tower, which Thermaltake might has well have named "the Hastune Miku Colored case we had to name something else to avoid copyright infringement." I am looking forward to finishing it up and sharing it with everyone, and then I hope to be able to stream live and then condense into a nice video my next build after THE STREAM BOX I will be taking the MSI Carbon WiFi Mother Board from White Case/Black MB Build that I built for my wife last year and pairing it with a new Singularity Computers Wall Mount Distro and the PNY RGB OC 5090 we have from those first builds. It will be a dedicated VR PC and mounted to my Mother Board inspired Console Wall (I will put picture of the wall below). I am going to use the Vesa Mount Kit and A TV mount to make it appear to float. And I will also take the time to add the decorative Transistors and Capacitors to the Wall to complete the Circuit Board like Appearance I wanted it to capture. We are also looking forward to adding a UV Printer in the near future that will allow us to custom print on our cases and certain other PC parts, so we can start exploring thematically with our PCs and builds. At the end of the Day, I want to offer my most sincere thanks to MicroCenter and the staff at our local store in Charlotte. I still remember walking into the Charlotte Store last July and Mrs. Savanah helped me pick the parts for my first PC. I cannot say thank you enough because without Mrs. Savanah, Mr. Dalton, Mr. Will, and the whole crew in Charlotte, I do not know if I would have ever taken that first step and build my own PCs. Without that little push from them and the Build of the Week Win for my first PCs, I don't know if I would have been inspired to create. In the end I hope the computers we build are things that people not only enjoy seeing but also that will inspire them to learn, explore, and build their own Ultimate PC.
Favorite Feature
The time I get to spend with my wife on the hour drive to MicroCenter, and the way building PCs, 3D Printing and Customizing our builds has brought us closer. The Couple that Plays, Together Stays Together.
AMD Ryzen 9 9950X3D Granite Ridge AM5 4.30GHz 16-Core Boxed Processor - Heatsink Not Included
Qty: 1
$619.99

MSI X870E MEG GODLIKE AMD AM5 eATX Motherboard
Qty: 1
$1,099.99
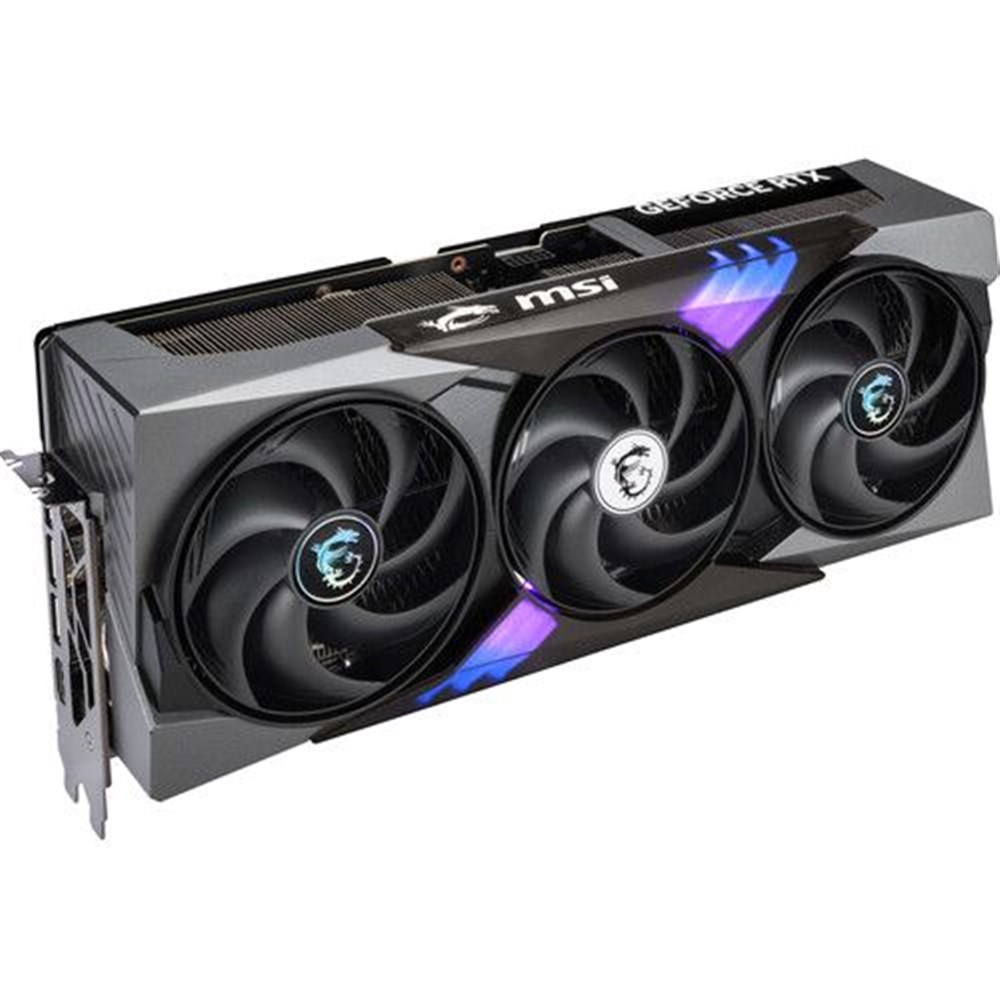
MSI Gaming Trio 0C 5090
Qty: 1
$2,399.00
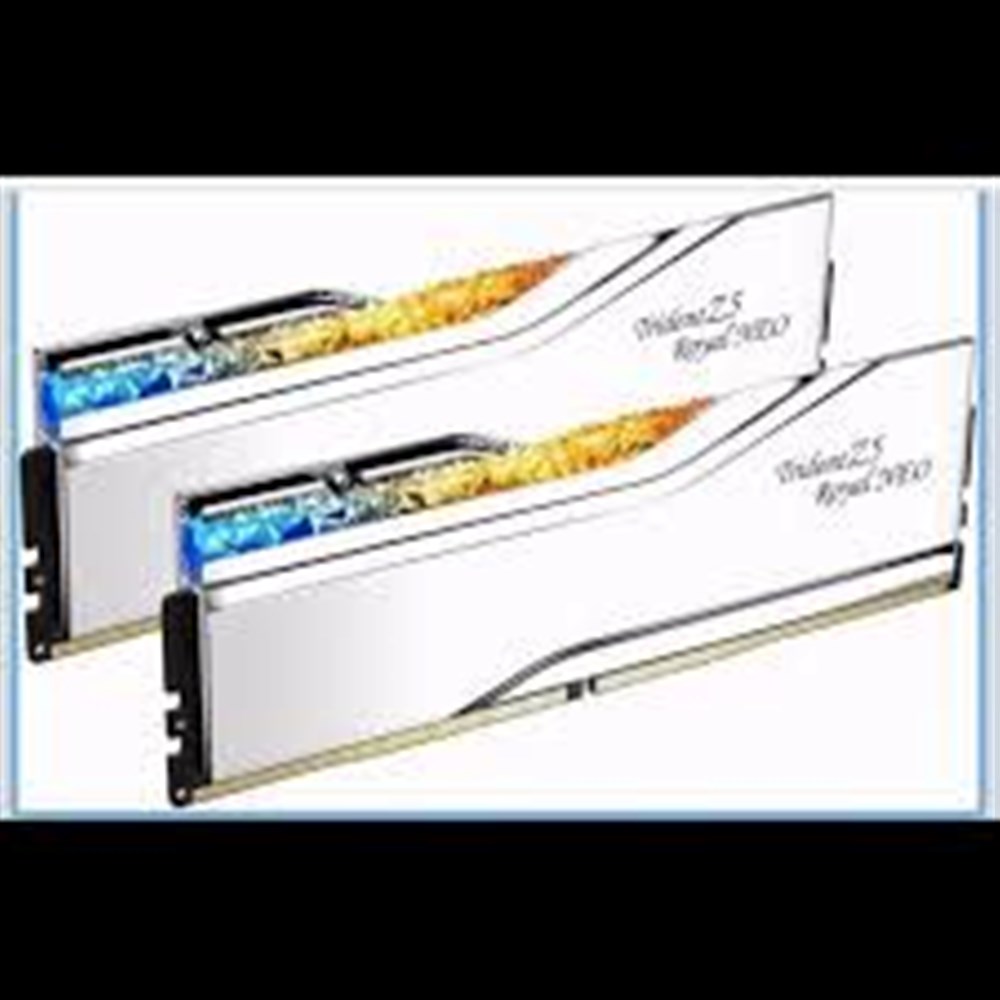
G.Skill z5 Royal Neo RGB 64GB (2x32) DDR5-6000 CL28
Qty: 1
$1,499.99
This was from My October 2025 Build, I paid 269.00 for this kit. Ugh....

Lian Li O11 Dynamic EVO XL RGB Tempered Glass eATX Full Tower Computer Case - Black
Qty: 1
$234.99

MSI MEG Ai1600T PCIE5 1600 Watt 80 PLUS Titanium ATX Fully Modular Power Supply - ATX 3.1 Compatible
Qty: 1
$769.99

WD BLACK 6TB 7200 RPM SATA III 6Gb/s 3.5" Internal Gaming CMR Hard Drive
Qty: 1
$254.99
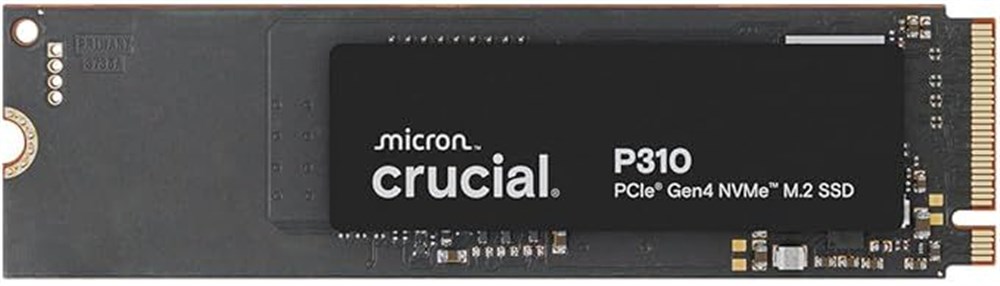
Qty: 1
$116.00
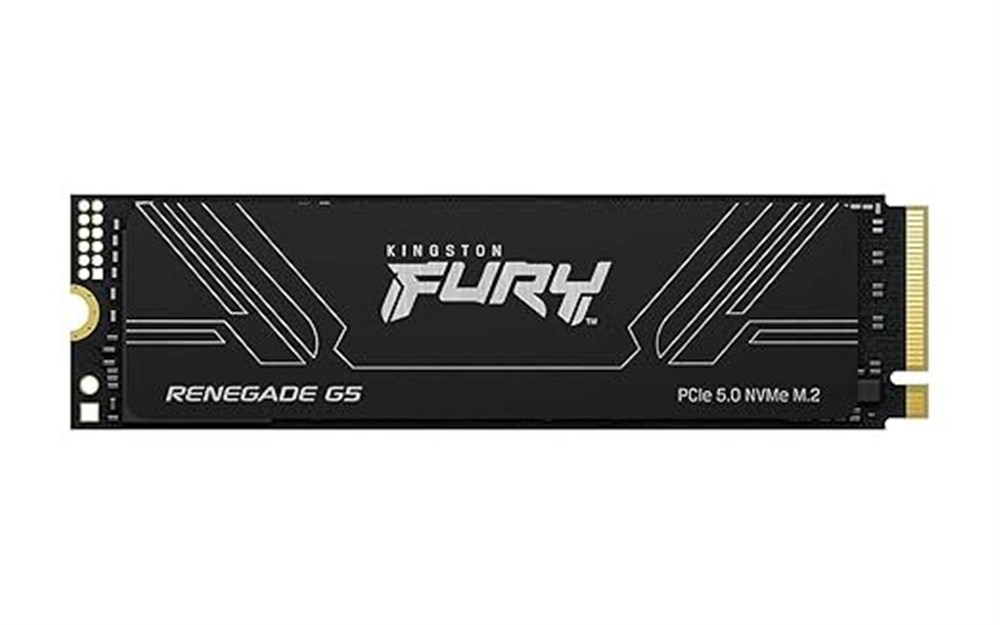
Qty: 1
$799.99

Samsung 9100 PRO 8TB Samsung V NAND TLC NAND (V8) PCIe Gen 5 x4 NVMe M.2 Internal SSD
Qty: 1
$2,299.99
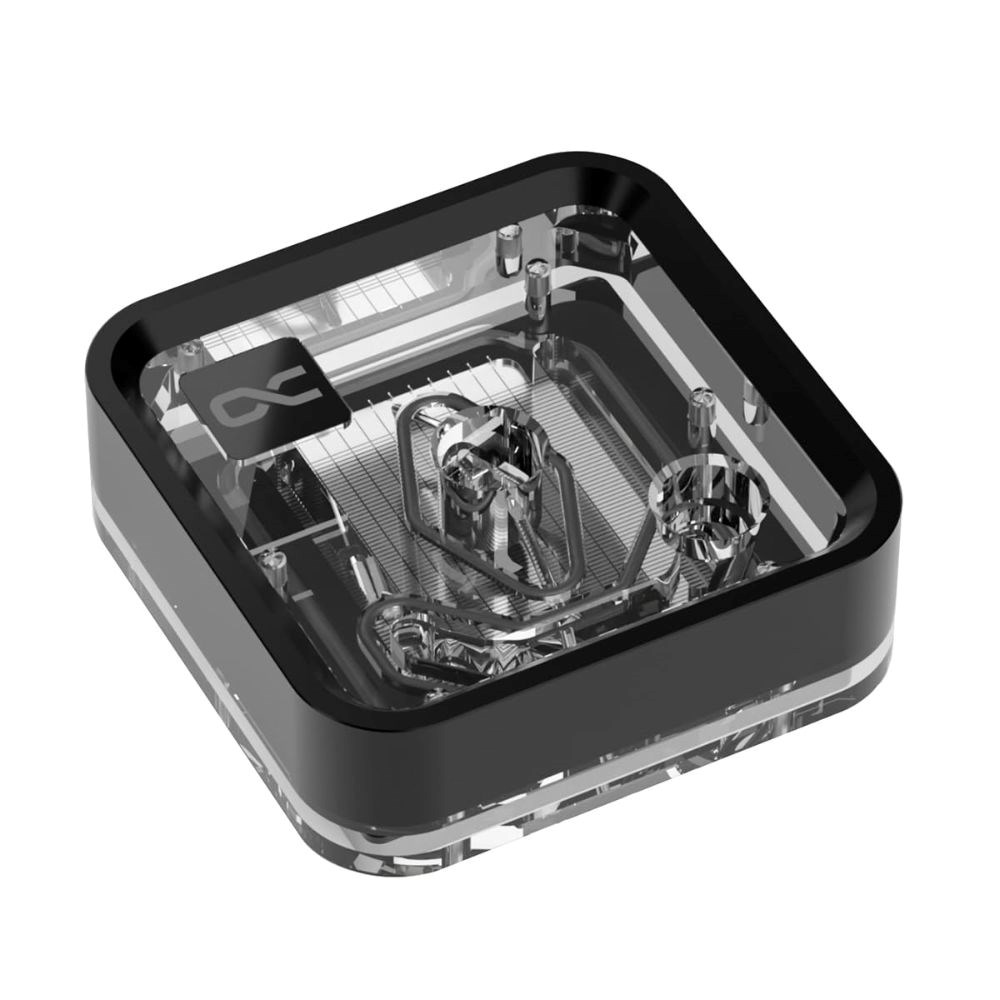
Alpha Cool LT 1 Block
Qty: 1
$100.00
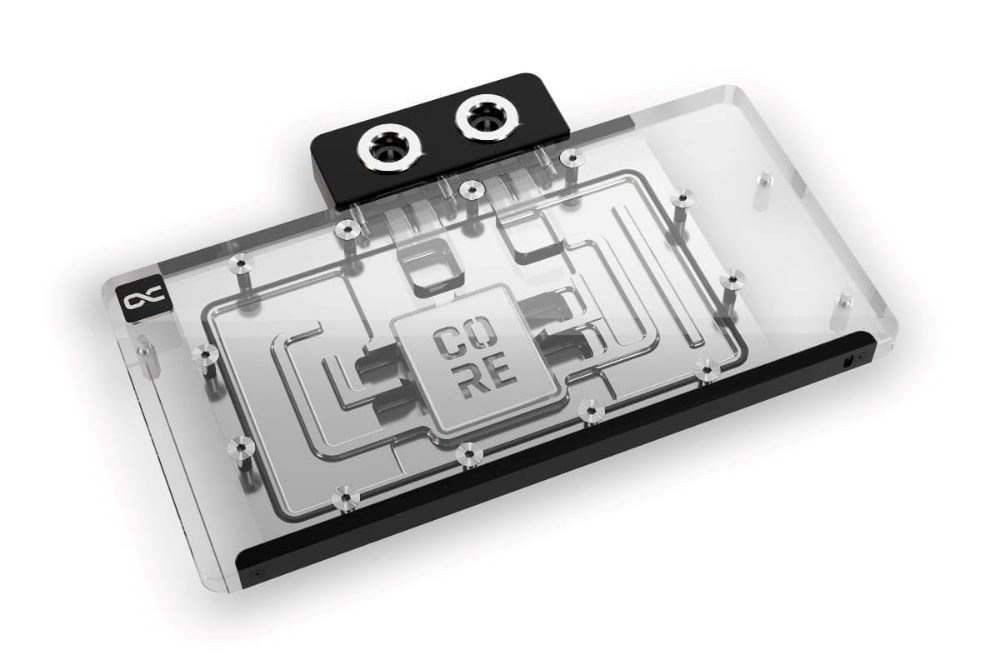
AlphaCool Block
Qty: 1
$248.99
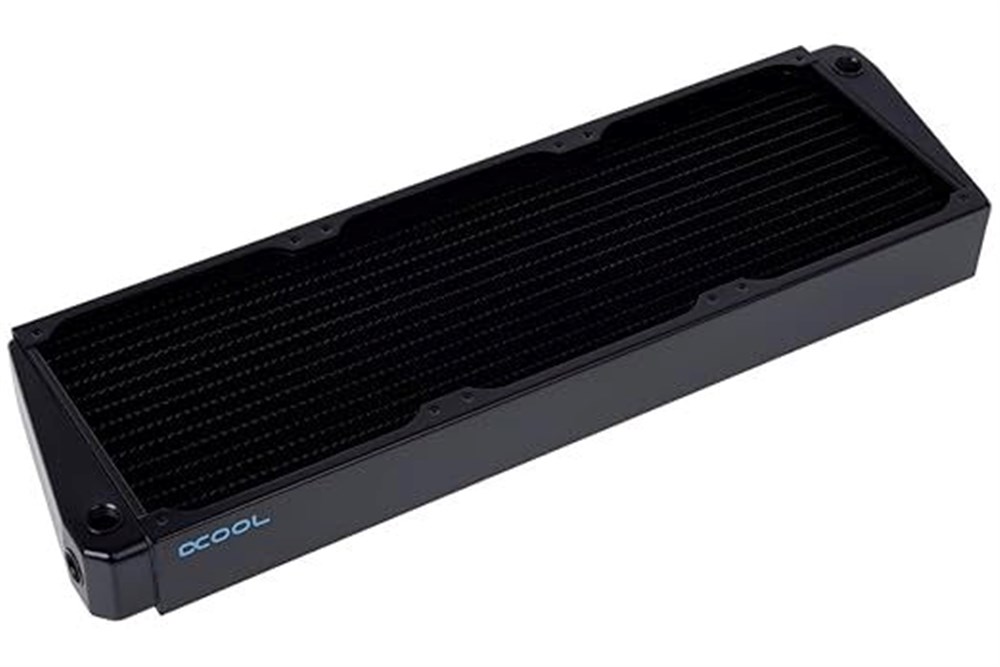
Alphacool Radiator
Qty: 2
$152.00
fury ssd
Qty: 1
$499.00
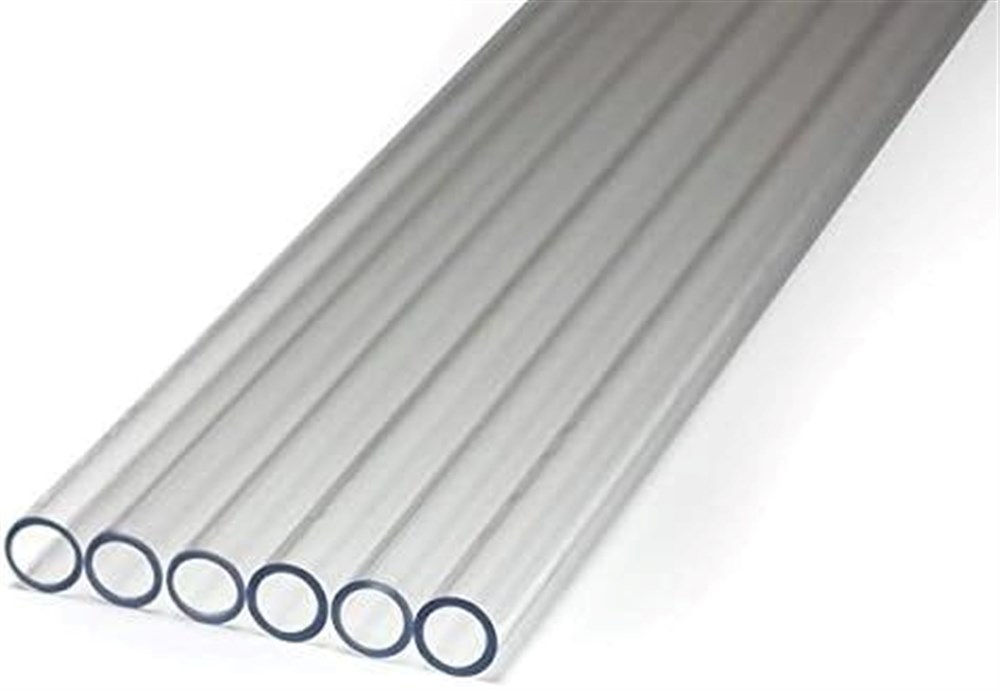
PETG 1 Meter Length
Qty: 1
$75.99
8 Pack
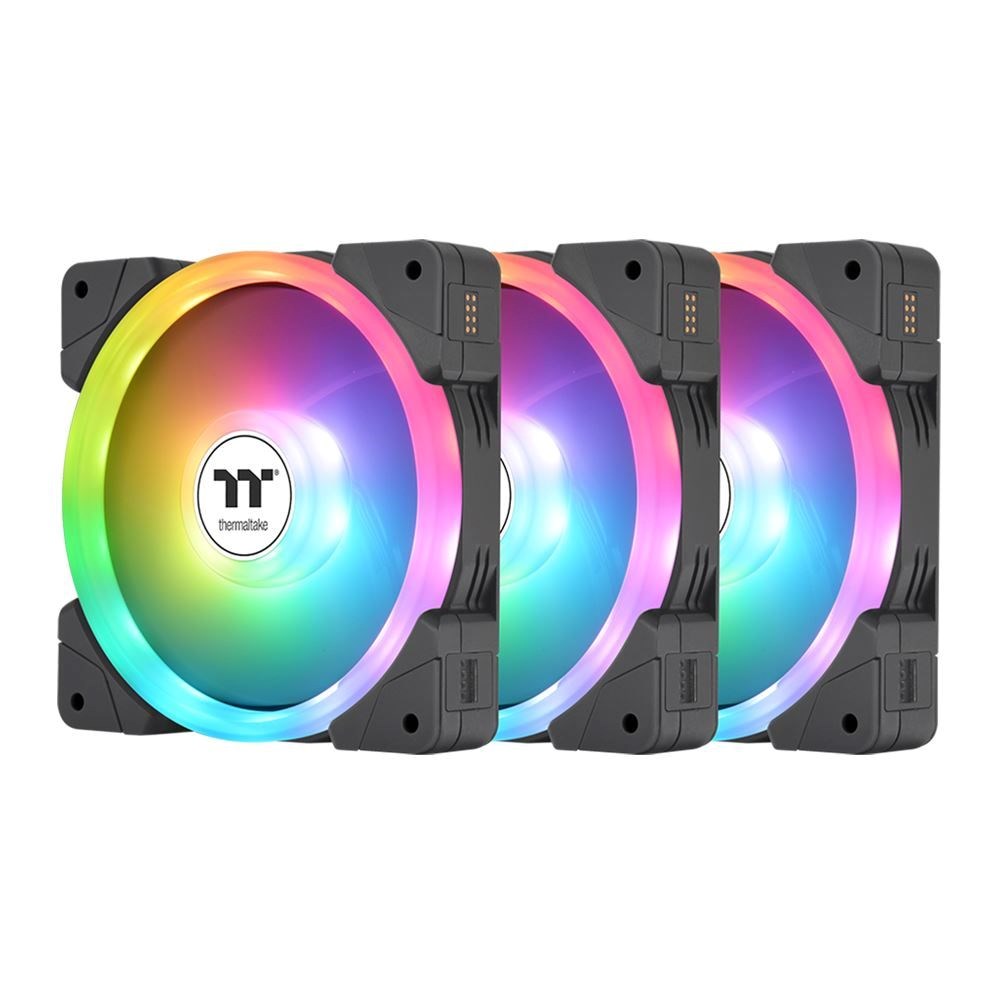
Thermal Take SwaFan
Qty: 3
$79.99
3-3 Pack
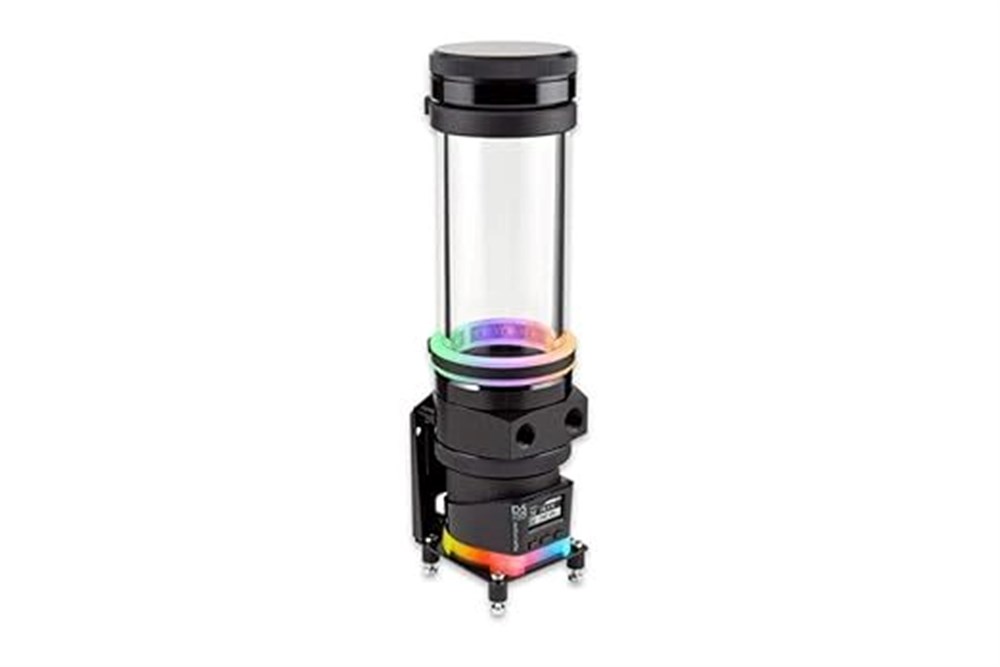
Ultitube D5 200 Pro with D5 Next Pump
Qty: 1
$284.99