
Showcase Your Custom PC.
Builds
Advanced FiltersSpecial Offers / Advertisements
Product Results Pagination
1 - 10 of 10 items
Sort by:
Items per page:
Compare up to 4 items
New list of matching projects
-
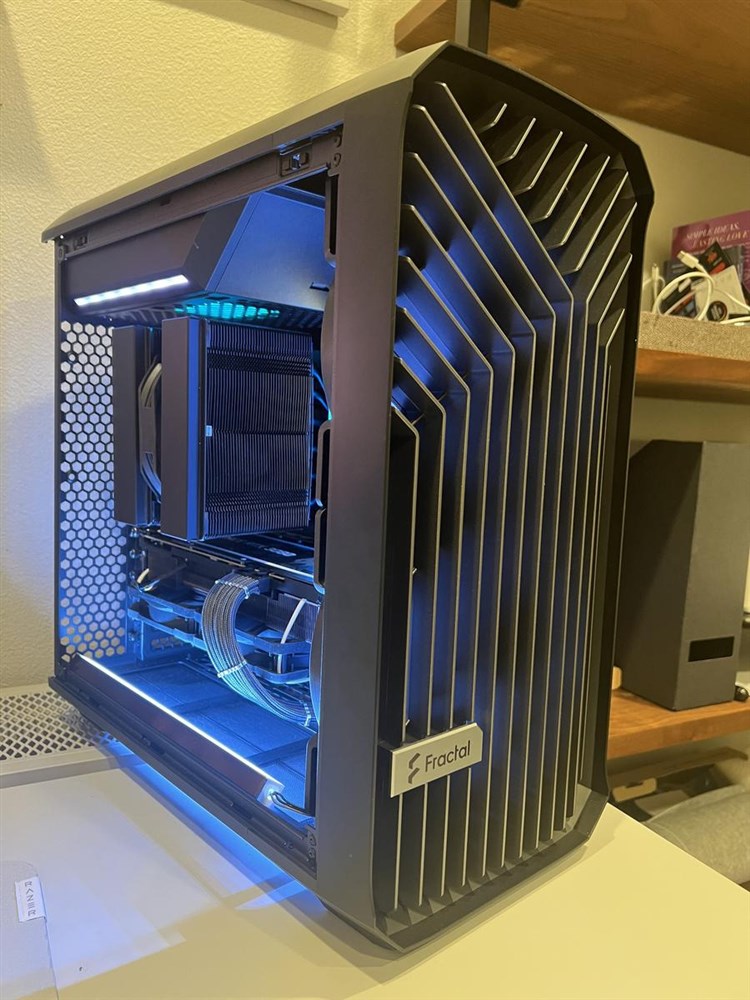
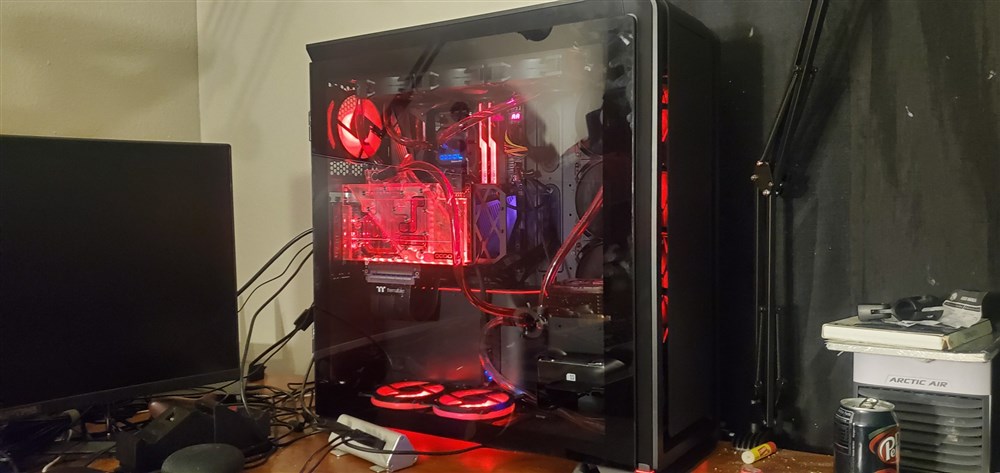
Torrent 13700k RTX 3080 Torrent 13700k RTX 3080
General purpose. Some gaming General purpose. Some gaming$2,292.91 -
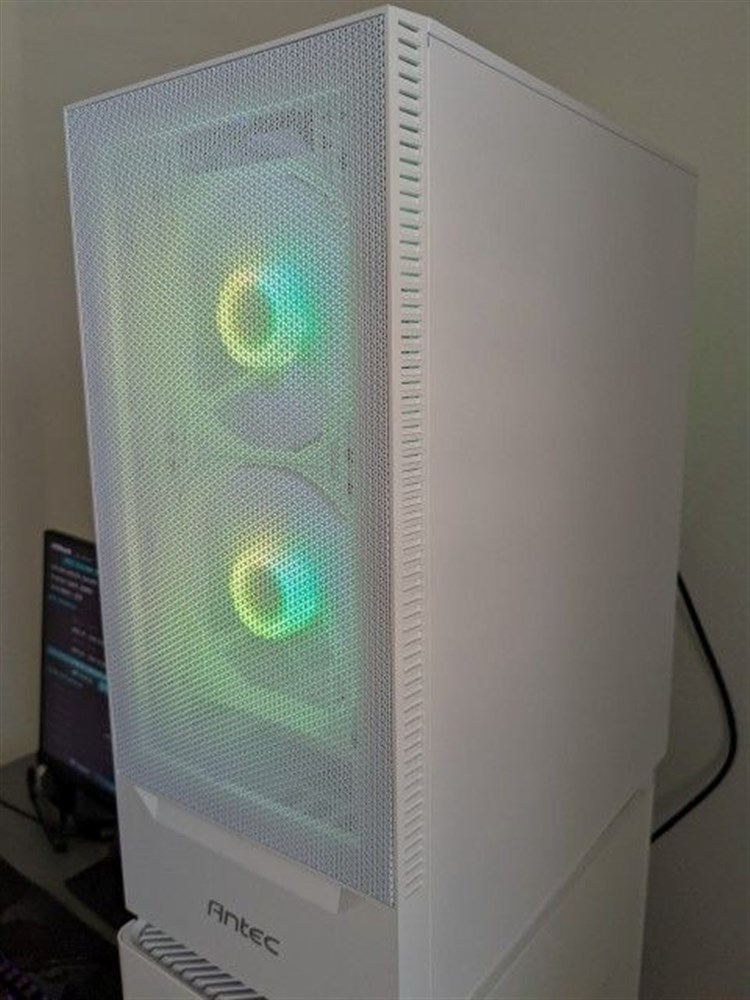
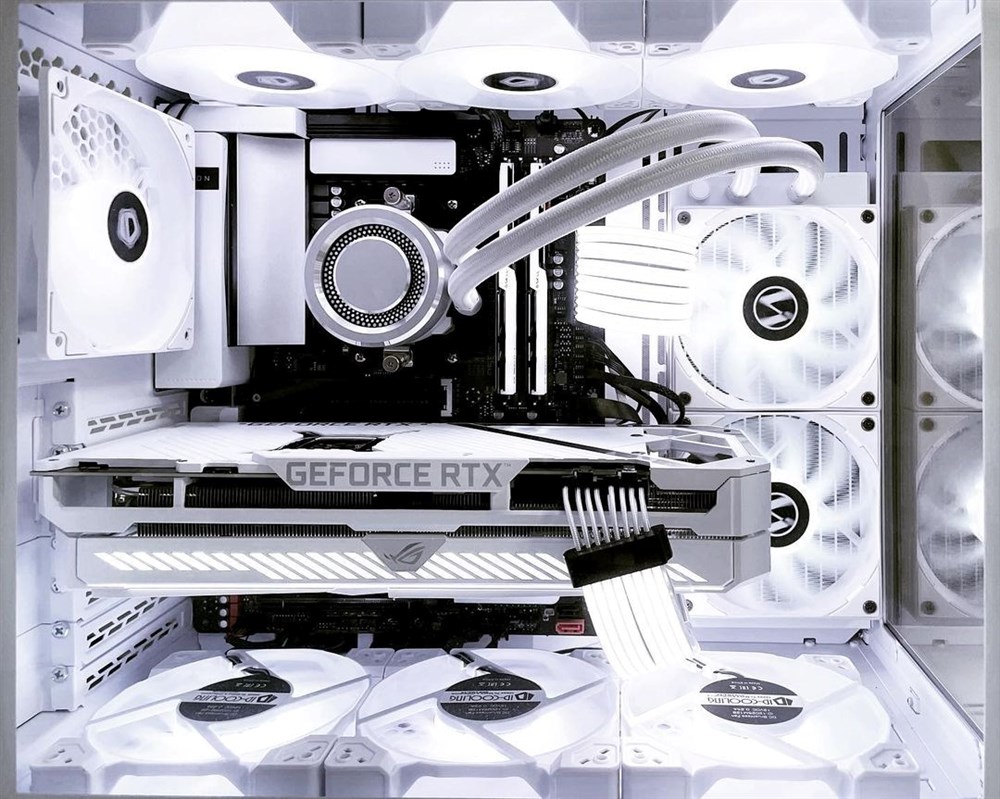
White PC White PC
Gaming PC made using as many white parts as I could find so far. Gaming PC made using as many white parts as I could find so far.$1,698.92 -
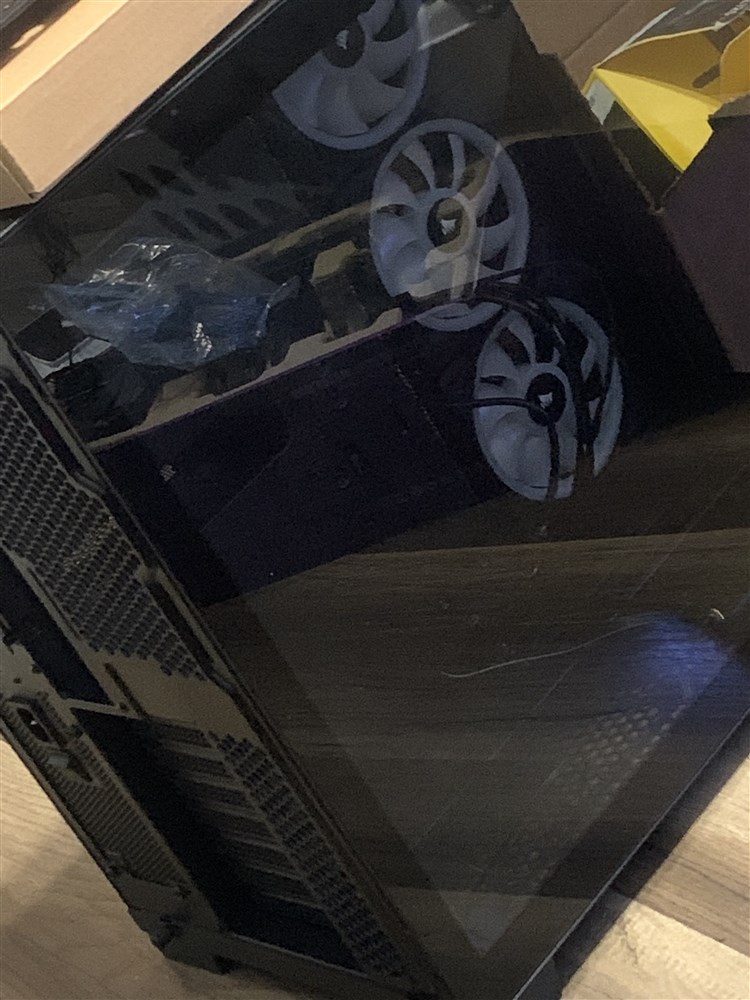
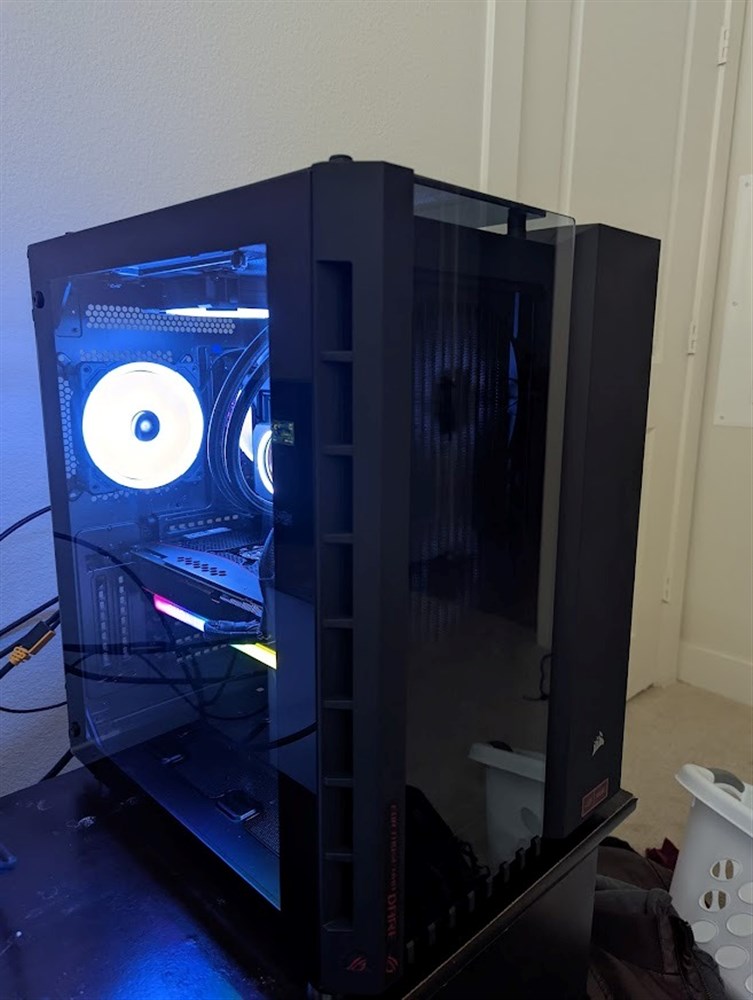
My first build My first build
This is my first build, I want it to come out nice, doesn’t necessarily need the best RGB, focused on performance/cost. Most... This is my first build, I want it to come out nice, doesn’t necessarily need the best RGB, focused on performance/cost. Most parts are used.$1,930.94 -

Ultimate PC Ultimate PC
Gaming PC to take on any AAA title and be future proof for the next few years Gaming PC to take on any AAA title and be future proof for the next few years$3,394.92 -
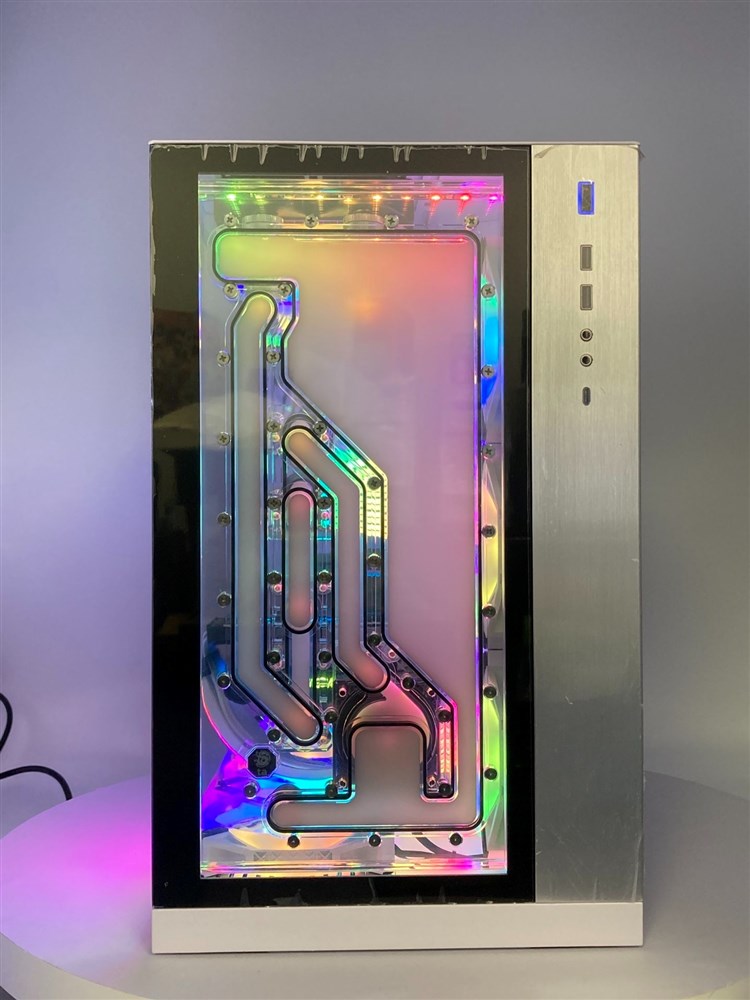
Video Editing Desktop Video Editing Desktop
Top of the line build made with the best parts. It is open looped to keep the computer as cool as possible. I use it for... Top of the line build made with the best parts. It is open looped to keep the computer as cool as possible. I use it for video editing mostly.$3,794.92 -
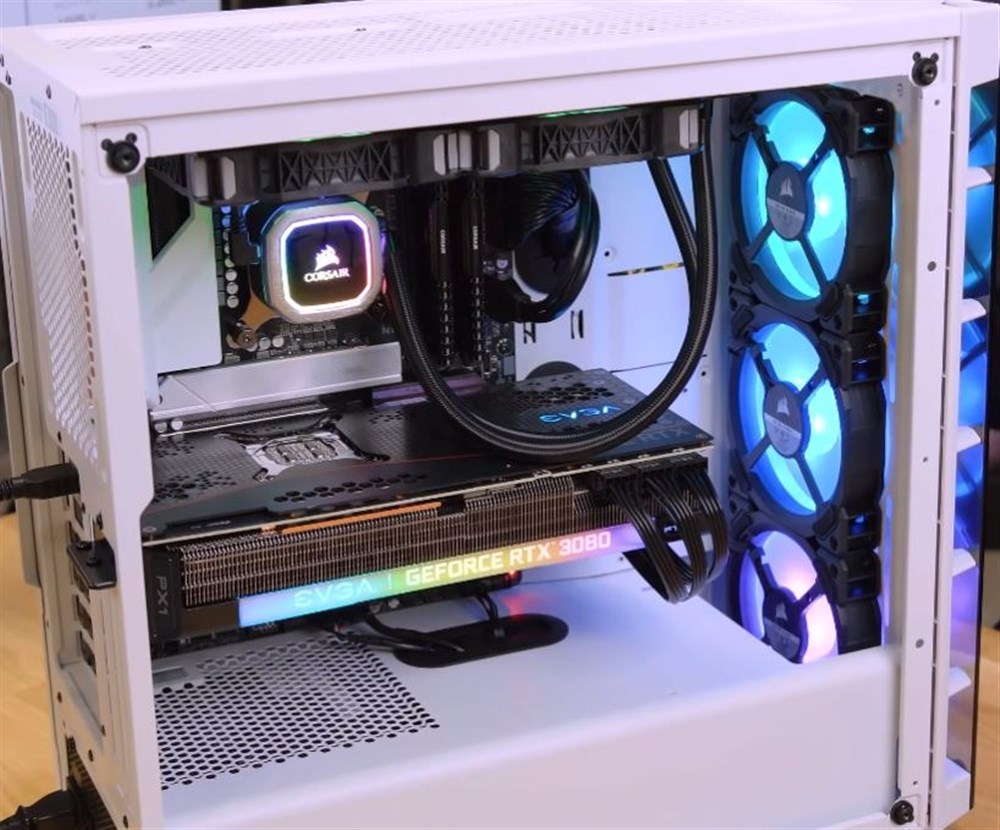
i9 / RTX 3080 i9 / RTX 3080
I built this for all purpose PC work and gaming. I mainly use it to play COD Warzone and average around 170fps at 3440x1440p. I built this for all purpose PC work and gaming. I mainly use it to play COD Warzone and average around 170fps at 3440x1440p.$2,844.93 -
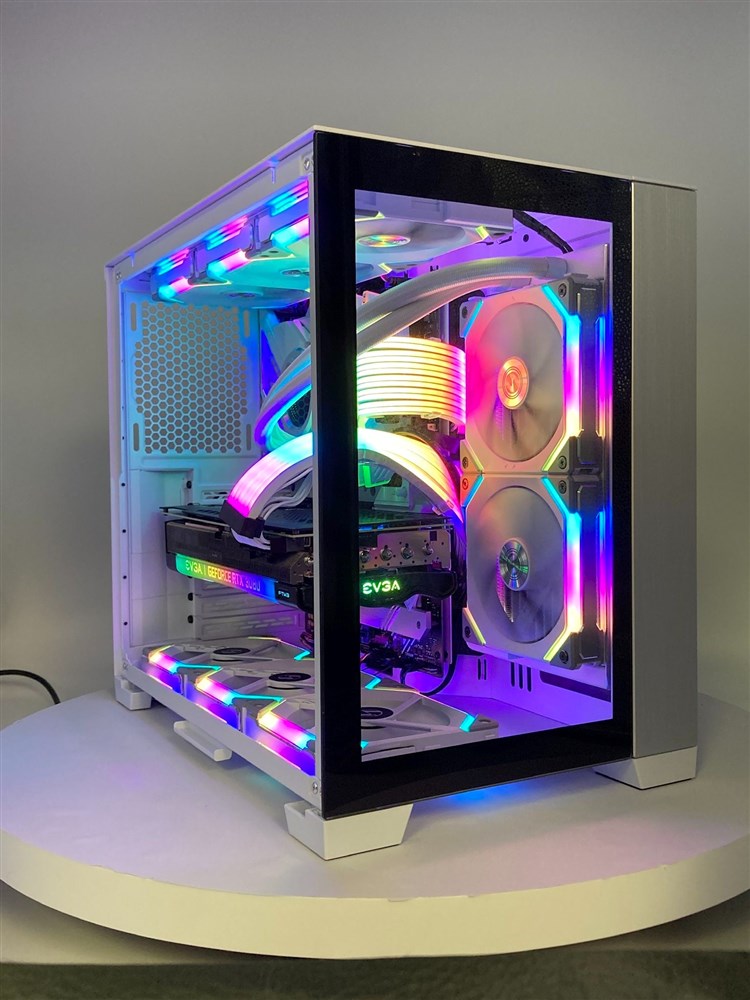
RGB GALORE RGB GALORE
New ubild i just made with all new components. Used lian li parts for maximum RGB New ubild i just made with all new components. Used lian li parts for maximum RGB$3,203.93 -
My desktop computer My desktop computer
GTA IV and V, Cyberpunk, COD, Tomb Raider GTA IV and V, Cyberpunk, COD, Tomb Raider$2,824.92 -
Maximus 2.0 Maximus 2.0
Going from an i7-4790k/Maxmius Hero VII/32gb ddr3/1080ti setup...there was a big leap involved.Mainly used for gaming, I... Going from an i7-4790k/Maxmius Hero VII/32gb ddr3/1080ti setup...there was a big leap involved. Mainly used for gaming, I needed something that was going to perform well with editing videos/photos, DDR5 performed better in early benchmarks. I went with the Asus ROG Hero for the simplistic reason of when I do eventually need more PCIe NVMe slots, it had an adapter ready to go and ready for PCIe 5.0 ones as well.$2,819.94 -
The Chimera #MicroCenterMadness The Chimera #MicroCenterMadness
The Chimera is a powerhouse machine designed to be both an aesthetic statement as well as fully functional for streaming... The Chimera is a powerhouse machine designed to be both an aesthetic statement as well as fully functional for streaming whatever games I want to stream. It was given the name Chimera as a suggestion from a viewer that was watching me upgrade the cooling loop on Twitch. The original name of this system was the Kraken. For me monsters and demons are part of my theme thus every one of my personal builds will be named after some sort of "dark" creature. This is currently version 2.0 of this build as I have learned and tried new things. I started out with a kit that I got from Alphacool with a Laing DDC pump and single 360x30mm radiator that I had expanded to two of as well as the Helix reservoir and the V2 DPP 755. Version 1.5 as described is what I had been running for my cooling for the last year. I decided that since I had to take everything apart for the one year cleaning event that I might as well take the opportunity to go ahead and upgrade the loop as a whole. There was a leak that occurred during my first build iteration that caused the RGB lighting in the GPU block to short out, which is something that is getting fixed at the beginning of April. I'm also taking that opportunity to drain the loop and make the loop order a little more efficient. This has been my first liquid cooling loop, and I chose this particular case to build into because of the unboxing video JayzTwoCents did on it. One of the biggest issues I had when it came to the upgrades I've done on the loop thus far was the pressure of the loop itself. In one iteration I considered I was going to have an Eisball pump/res combo but that ended up getting scratched. While I love everything about this build once I got everything working and without any leaking I realized a few things I could have, and will be doing differently as I already have the parts needed on order. First some extra 90º fittings, one of which will be getting placed on the bottom of the reservoir with a 10mm extension. From there I'm going to take the quick disconnect from the bottom radiator and move it to the pump with the black top's out port with a 90º fitting while taking another 90º fitting and putting it on the acrylic top pump with a direct downflow into the bottom radiator. I realized this should have been done solely for the purpose of being able to remove the bottom and front rads with the pumps and reservoir still attached without having to drain either one after taking a good long hard look at the loop order. Along with replacing the RGB strip in my GPU block I will be replacing the stock Red Devil backplate with one made by Alphacool and adding a 45º fitting on the end of the port that it fills the top radiator thru allowing a shorter run there as well. I'm switching the in/out ports on the back radiator and rerouting the connection between the two radiators to go around the quick disconnect on the reservoir while also adding a final quick disconnect to the front radiator allowing both radiators to be removed without having to drain the loop, if need be. The backplate replacement is only to help clean things up in the look. Other little additions are the 90º 24-pin ATX and two 8-pin 180º PCI-E power adapters and the LinkUp PCI-E Gen 4 riser cable. The first few photos are the original layout I attempted a year ago with the kit I bought from Alphacool, followed by the final layout once I got the Helix res and D5 pump. The third photo is of an iteration I had considered using the Alphacool Eisball pump/res combo that ended up not working out. All of the rest of the photos are of the build as it currently sits in my office.$4,554.92

